
Nothing ruins an elegant cheese board faster than uneven, crumbling slices that look like they were hacked with a butter knife. If you’ve ever struggled with cheese sticking to your wire cutter or ending up with ragged, inconsistent pieces, you’re not alone. Mastering how to use a cheese cutter transforms this $15 tool into your secret weapon for professional-looking results that impress guests and elevate everyday meals. This guide cuts through the confusion with precise techniques for flawless slices, creative applications beyond cheese, and fixes for common frustrations—all verified by culinary experts.
Stop wrestling with crumbling cheddar or sticky brie. Within minutes, you’ll learn to achieve paper-thin Swiss for charcuterie boards, uniform gouda for sandwiches, and even delicate vegetable ribbons. Whether you’re prepping for a dinner party or just want perfect grilled cheese, these actionable steps work for any wire-style cheese slicer. Let’s turn your cheese cutter from a drawer ornament into your most-used kitchen essential.
Choose the Right Cheese and Temperature
Firm and semi-hard cheeses deliver clean, unbroken slices while soft varieties like brie gum up the wire. Cheddar, gouda, havarti, and swiss glide through effortlessly when prepared correctly. Hard cheeses like aged parmesan require a gentle sawing motion rather than a single pull to prevent shattering. Avoid blue cheeses and fresh mozzarella—their high moisture content causes tearing.
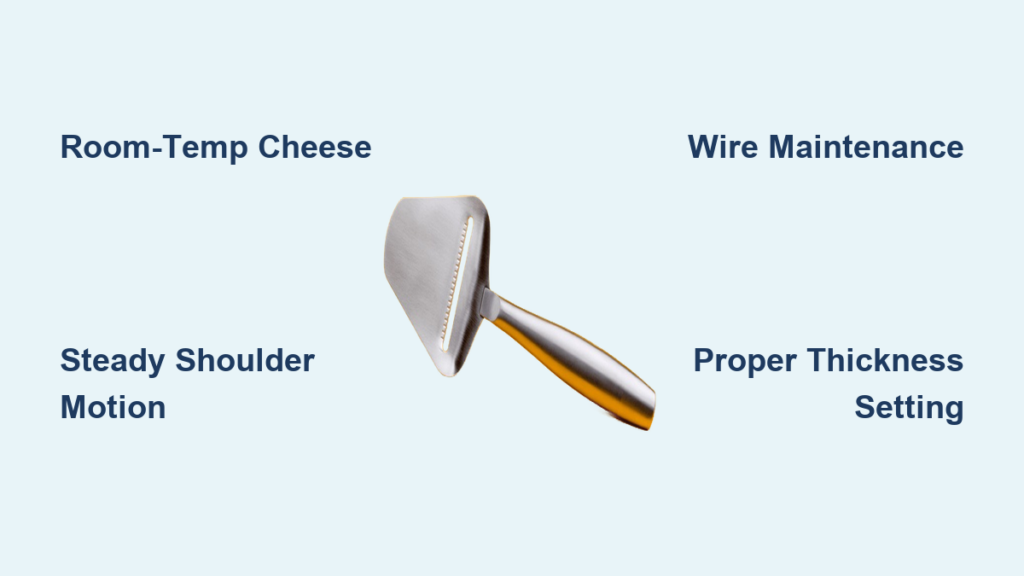
Temperature is your silent slicing partner. Pull firm cheeses from the refrigerator 20-30 minutes before cutting. Room-temperature cheese yields smooth, consistent slices without crumbling. Critical exception: For ultra-clean presentation slices (like those Instagram-worthy cheese boards), chill semi-hard cheeses like gouda for 15-20 minutes first. Cold cheese creates razor-sharp edges that hold their shape.
Why Your Cheese Keeps Crumbling
If slices shatter despite proper temperature, you’re likely using over-aged cheese or applying uneven pressure. Aged cheeses naturally become more brittle—opt for younger blocks when paper-thin slices are needed. Always apply steady, shoulder-driven motion rather than wrist pressure to maintain slice integrity.
Set Up Your Cutting Station for Success
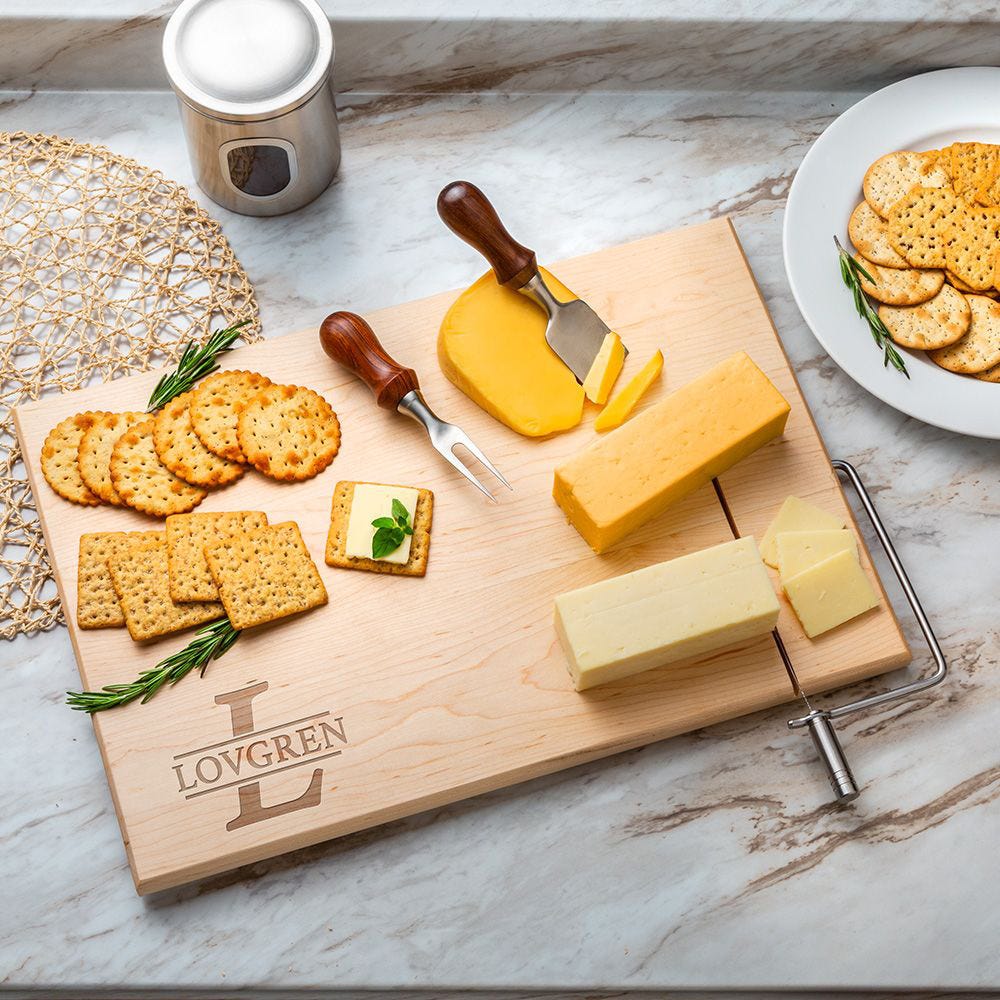
Place your cheese block on a stable, non-slip cutting board with the largest flat surface facing down. Uneven rinds cause rocking—trim a thin slice from the bottom to create a level base. Pro tip: Slide a damp kitchen towel beneath your board. This prevents dangerous slipping while ensuring consistent slice thickness across the entire block.
Position the cutter so the wire aligns perfectly perpendicular to the cheese surface. Any angle variation causes tapered slices—thick on one end, paper-thin on the other. For rectangular blocks, always cut across the shortest dimension first to maximize yield and stability.
Execute the Perfect Cutting Motion
Grip the handle firmly with your dominant hand, thumb on top for downward control. Keep your elbow locked and move from the shoulder—not the wrist—to maintain straight-line precision. Start at the far edge of the cheese block, applying light, even pressure as you pull the cutter toward you in one fluid motion. Imagine drawing a straight line with a ruler—no sawing or back-and-forth movement.
Critical mistake: Pushing down too hard. Let the wire’s tension do the work; excessive force strains the wire, creates uneven slices, and risks snapping the cutter. If resistance increases mid-slice, stop and check for wire misalignment before continuing.
Adjust Thickness Like a Pro
Most cutters feature a dial or slider for precision thickness control:
– Paper-thin (1-2mm): Ideal for delicate garnishes or melting quickly on hot dishes
– Standard (3-4mm): Perfect for sandwiches and crackers
– Thick (5mm+): Best for cheese boards and burgers
Visual benchmark: A standard credit card is 0.76mm thick—stack two for true paper-thin results. Always adjust thickness before starting your first cut to avoid damaging the mechanism mid-slice.
Handle Delicate Slices Without Breaking

Thin slices tear easily when lifted. Slide a metal offset spatula under the slice while it’s still on the board, using the cutter’s edge as a guide. If your model has a built-in lifter arm, engage it before cutting to transfer slices directly to your serving platter. For immediate serving, gently fold slices onto themselves like an accordion—this creates attractive layered presentations that hold together.
Pro tip for soft cheeses: Lightly dust your cutting board with cornstarch before slicing. This creates a non-stick barrier without altering flavor—especially crucial for creamy havarti or fontina.
Fix Common Slicing Problems Immediately
Cheese Sticking to the Wire
Wipe the wire with a paper towel dampened with vegetable oil before cutting. For stubborn stickiness, run the wire under hot water for 10 seconds (then dry thoroughly)—the slight warmth prevents adhesion without melting the cheese.
Crumbly, Uneven Slices
Your cheese is too cold. Return it to room temperature for 10-15 minutes. If using aged parmesan, switch to a gentle sawing motion with minimal downward pressure—the brittle texture requires finesse.
Wire Bending During Cuts
Reduce pressure immediately and check wire tension. If the wire feels loose or shows fraying, replace it before continuing. Most wires last 6-12 months with regular use—replacement kits cost under $5 and take 30 seconds to install.
Clean and Maintain Your Cutter Properly
Never submerge your cheese cutter in water—this loosens wire tension and corrodes metal components. Instead, wipe the wire with a soapy sponge immediately after use, then rinse under running water. Dry thoroughly with a microfiber cloth, paying special attention to the wire anchor points. Store hanging or in a protective sleeve to prevent accidental damage.
Replacement red flag: Ragged slices or visible wire fraying means it’s time for a new wire. Ignoring this strains the cutter’s frame and creates dangerous snapping hazards.
Unlock Creative Uses Beyond Cheese

Transform your cheese cutter into a kitchen multitasker:
Vegetable Precision Slicing
- Cucumbers: Create uniform rounds for tea sandwiches or cocktails
- Carrots: Make paper-thin ribbons for elegant salads
- Potatoes: Slice perfectly even layers for scalloped potatoes
- Zucchini: Cut lasagna sheets without tearing
Butter and Chocolate Mastery
Slice refrigerated butter into melt-in-seconds portions for toast. For chocolate, produce feathery shavings by pressing chilled blocks against the wire at a 45-degree angle—ideal for dessert garnishes. Hard chocolate bars yield cleaner results than soft varieties.
Fruit and Garnish Applications
Create apple slices for tarts that cook evenly, or citrus peels for cocktail twists by pressing the rind against the wire. For truffles, ultra-thin slices maximize flavor distribution in gourmet dishes.
Prioritize Safety at Every Step
Always cut away from your body—a snapped wire can cause serious injury. Keep fingers well clear of the wire path, especially when repositioning cheese. Never slice over unstable surfaces like bowls or plates. Critical emergency step: If the wire breaks mid-cut, stop immediately and replace it before continuing—never force a damaged cutter.
Achieve Restaurant-Quality Presentation
Arrange slices in overlapping fan patterns on slate boards for visual drama. Alternate colors—like orange cheddar with white havarti—for striking contrast. For events, pre-slice cheese and store between wax paper sheets in airtight containers; this prevents drying while allowing effortless plating. Properly stored, sliced cheese stays fresh for 3-5 days refrigerated.
Troubleshooting Quick Reference
| Problem | Cause | Solution |
|---|---|---|
| Uneven thickness | Inconsistent pressure or unlevel cheese | Re-trim cheese base; practice shoulder-driven motion |
| Cheese crumbling | Cheese too cold or aged | Warm 10-15 minutes; use sawing motion for hard cheeses |
| Wire dragging | Dull or loose wire | Replace cutting wire immediately |
| Sticking | Soft cheese or dirty wire | Oil wire lightly; chill cheese 15 minutes first |
Mastering how to use a cheese cutter unlocks professional results with minimal effort. Start with room-temperature cheddar to build confidence, then experiment with vegetables and chocolate. Remember: consistent pressure, proper temperature, and immediate wire maintenance make all the difference. Within weeks, you’ll reach for this tool before your knife for everything from cucumber garnishes to butter portions—proving that sometimes, the simplest gadgets deliver the most impressive culinary transformations. Your next cheese board isn’t just a snack; it’s a showcase of precision slicing that will have guests asking for your secret.


