That stubborn white powder clinging to your pill cutter’s grooves isn’t just messy—it’s a hidden health hazard. Medication residue left uncleaned contaminates future doses, alters drug effectiveness, and risks dangerous cross-contamination between prescriptions. If your cutter’s blade sticks or pills crumble instead of slicing cleanly, residue buildup is likely the culprit.
Learning how to clean a pill cutter properly takes under 10 minutes but prevents serious medication errors. This guide delivers field-tested methods for eliminating residue from every crevice while protecting delicate components. You’ll discover why weekly cleaning isn’t optional, how to disinfect without rusting blades, and exactly when to replace your device.
Remove Every Trace of Medication First
Never start cleaning while pills or fragments remain inside your cutter. Residue mixing with cleaning solutions creates paste-like compounds that bake into crevices, worsening contamination. Work over a trash can and dislodge visible particles by tapping the device firmly. Use a dry soft-bristled brush to sweep corners where pills nestle—especially around blade slots and collection trays.
Critical safety step: Wear disposable gloves when handling cutters used by multiple people. Wash hands thoroughly before and after cleaning to prevent transferring medications to your eyes or mouth. If residue appears discolored or sticky, avoid water initially—it may activate chemical reactions with certain drugs.
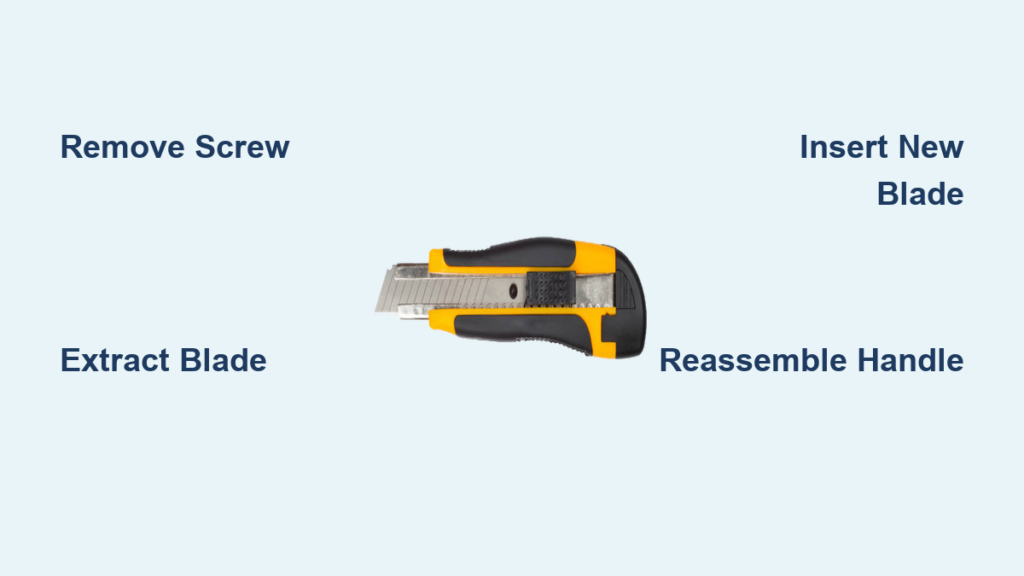
Disassemble Without Losing Parts

Your pill cutter’s lifespan depends on correct reassembly, so document each piece’s orientation before disassembling. Most models share these core components: cutting platform (base), sharp blade, protective lid, pill-positioning guides, and collection tray. Start by fully opening the lid to expose the blade chamber.
For blade removal:
– Slide-out blades: Press release tabs while gently pulling the blade forward
– Twist-lock blades: Rotate counterclockwise until it clicks free
– Fixed blades: Skip removal but clean in place with extreme care
Place small parts in a labeled container. Never force stuck components—soak them in warm water for 5 minutes first. If your cutter has adjustable pill guides, note their positioning settings before removal to maintain accurate dosing later.
Choose Cleaning Solutions by Material Type
Using the wrong cleaner ruins pill cutters faster than residue. Match solutions to your device’s construction:
| Material | Safe Cleaners | Avoid |
|---|---|---|
| Plastic bodies | Mild dish soap + warm water | Bleach, acetone |
| Stainless steel | 70% isopropyl alcohol | Vinegar (causes rust) |
| Electronic models | Damp microfiber cloth only | Any submersion |
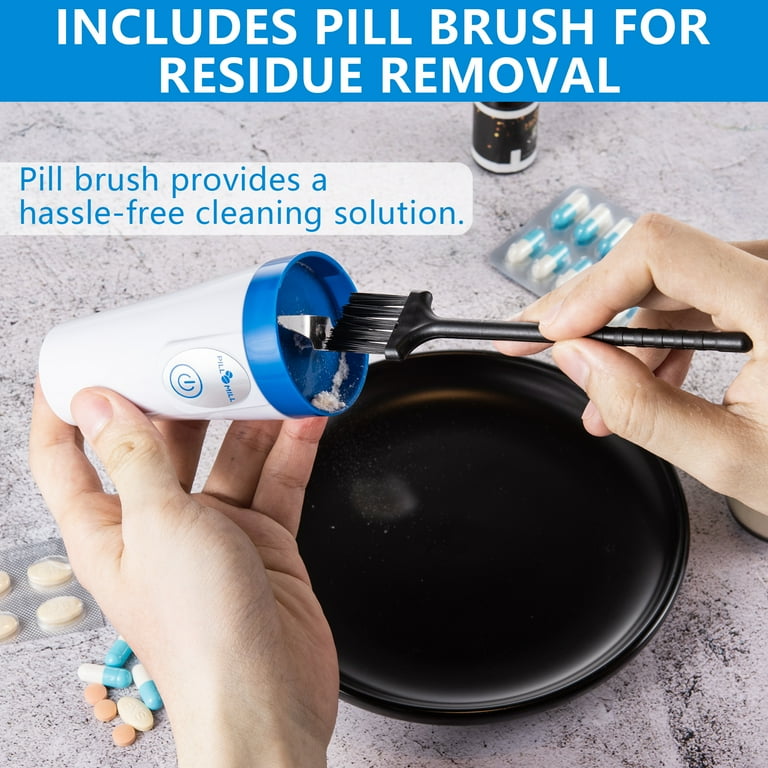
Pro tip: For multi-chamber cutters (used for multiple medications), clean each compartment separately with fresh cotton swabs to prevent cross-contamination. Keep a dedicated soft toothbrush for crevice cleaning—never reuse bathroom brushes.
Deep Clean in 4 Precision Steps
Tap Out Loose Powder Before Wetting
Dry cleaning prevents residue from becoming cement-like sludge. Hold your cutter upside down over a trash can and tap the base sharply 5-6 times. Insert a dry brush into the blade slot, rotating it to dislodge hidden fragments. Check collection trays for “false emptiness”—powder often hides under tray lips. If you spot stubborn chunks, scrape gently with a plastic toothpick, not metal.
Wipe Surfaces With Soap Solution
Mix 1 tsp mild dish soap in 1 cup warm water. Dip a microfiber cloth (not paper towel—lint traps residue) and wipe all external surfaces. Focus on the cutting platform’s grooves where pills rest—this is contamination ground zero. Clean the lid’s interior too; medication dust clings here invisibly. For positioning guides, work the cloth along adjustment tracks where residue jams mechanisms.
Sanitize Critical Components
Blade cleaning protocol: Dip a cotton swab in 70% isopropyl alcohol and wipe the blade’s edge in one direction only (never saw back-and-forth). Alcohol evaporates fast, preventing rust while dissolving oily medication films. For crevices, use a swab wrapped around a toothpick. In multi-blade cutters, clean between blades with a folded paper towel strip.
Disinfection rule: Let alcohol sit on surfaces for 30 seconds minimum—the CDC’s standard for killing pathogens. Reapply to blade edges if they dry too fast.
Fix Stubborn Residue Without Scratching
When soap fails, escalate strategically:
1. Soak removable parts in warm soapy water for 10 minutes (max)
2. Scrub mineral deposits with baking soda paste (1:1 baking soda/water) using a soft brush
3. Treat calcium buildup from pills with 50/50 white vinegar/water solution—rinse immediately after
4. Avoid steel wool or harsh scrubbers—they scratch surfaces, creating new residue traps
Warning: Never use boiling water—it warps plastic cutters. For electronic models, skip soaking entirely; use alcohol-dampened swabs only.
Dry Thoroughly to Prevent Rust and Mold
Moisture left in hinges or blade slots causes two disasters: rust on metal parts and mold in plastic crevices. Air-dry all components on a clean microfiber towel in a dust-free area for 1-2 hours. Speed up drying by:
– Blasting tight spaces with compressed air (hold 6+ inches away)
– Wiping blades with a lint-free cloth immediately after alcohol disinfection
– Placing parts near a fan (not heater—warps plastic)
Critical check: Shine a flashlight into blade slots. If you see condensation, dry 30 minutes longer. Reassembling wet parts guarantees residue reattachment.
Reassemble and Verify Function
Misaligned blades cause pills to shatter instead of slice. Before reassembly:
– Confirm blade orientation (shiny side usually faces up)
– Align positioning guides to their original settings
– Ensure collection trays click securely into place
Test the cutter with a sugar tablet (never actual medication first). It should slice cleanly with one press. If resistance occurs:
1. Disassemble again
2. Clean hinge points with alcohol-dampened swab
3. Apply 1 drop food-grade lubricant to moving parts only
Maintain Your Cutter With This Schedule
After Every Pill Cut
- Tap out fragments immediately
- Wipe blade with alcohol pad
- Store closed to protect blade
Weekly Deep Clean
- Disassemble fully
- Soak removable parts in soapy water
- Disinfect all surfaces with alcohol
- Dry completely before reassembly
Monthly Critical Checks
- Inspect blade sharpness: Pills should cut cleanly, not crumble
- Test safety locks: Lid should stay secured during cutting
- Replace worn positioning guides if pills shift during slicing
Non-negotiable rule: Always clean when switching medications—residue from blood pressure pills in a diabetes cutter can cause lethal overdoses.
Store Correctly to Double Lifespan
Humidity is a pill cutter’s silent killer. Never store it in bathrooms—steam warps plastic and rusts blades. Instead:
– Keep in a kitchen cabinet away from sinks
– Use the original case or a dedicated pillbox compartment
– Throw in a silica gel packet to absorb ambient moisture
– Store vertically to prevent blade pressure on plastic parts
Child safety: Place cutters in locked medicine cabinets. Even “dull” blades can cut skin when pressed forcefully.
Replace Before Residue Ruins Your Health
Don’t wait for complete failure. Replace your cutter immediately if:
– Pills consistently crush instead of slicing (blade is dull)
– Cracks appear in the cutting platform (harbors bacteria)
– Alcohol cleaning no longer removes white film (permanent contamination)
– Safety locks fail to engage
Most pharmacies accept old cutters for recycling. Some manufacturers like PillDrill offer trade-in programs—check their websites before trashing yours.
Key Takeaway: Cleaning how to clean a pill cutter properly after each medication change and weekly during regular use prevents dangerous cross-contamination and ensures precise dosing. This 5-minute habit protects your health far more than most realize—because when it comes to medication accuracy, residue isn’t just dirty, it’s deadly. Always prioritize cutter hygiene as rigorously as you would food preparation tools.