
That beautiful cake you spent hours perfecting deserves clean, professional cuts that showcase every layer. Whether you’re slicing a towering wedding cake or portioning brownies for a school party, mastering cake cutting transforms you from anxious host to confident cake commander.
Learning proper cake cutter techniques prevents crumbling disasters, frosting smears, and awkwardly-sized portions. This guide walks you through every step—from choosing the right tool to storing leftover cake—so your next celebration features picture-perfect slices every time. Discover exactly how to use a cake cutter like the professionals do for results that will impress even the most discerning guests.
Choose Your Perfect Cake Cutter

Serrated vs Non-Serrated Blades
Serrated knives excel at delicate sponge cakes and frosted surfaces. The tooth-like edges grip and slice without crushing airy textures. Use these for angel food cakes, chiffon cakes, or anything covered in buttercream. When you’re learning how to use a cake cutter properly, understanding this distinction prevents disastrous smears and crumbling.
Non-serrated blades create surgical-precision cuts through dense desserts. Pound cakes, cheesecakes, and fruitcakes submit cleanly to smooth, sharp edges. The lack of teeth prevents tearing sticky fillings or dense batters. For specialty cakes with multiple fillings, a non-serrated knife maintains structural integrity better than its serrated counterpart.
Specialized Cutting Tools
Cake levelers feature adjustable wires that create bakery-quality horizontal layers. Simply set your desired height and glide through cooled cakes for even layers ready for filling. These tools are essential when you need to know how to use a cake cutter for professional-looking layer cakes.
Cake servers combine cutting and serving in one tool. The triangular blade portions slices while the flat base supports them during transfer to plates. This dual-function design is perfect for events where you’ll be cutting and serving simultaneously.
Cutting guides are plastic or metal templates ensuring uniform slice sizes. These guides eliminate guesswork and guarantee every guest receives equal portions. When entertaining large groups, these tools solve the common problem of how to use a cake cutter to create consistent servings.
Blade Selection Checklist
- Length: Choose blades 2+ inches longer than your cake diameter for complete cuts in one motion
- Material: Select stainless steel for rust resistance and easy cleaning after each use
- Handle: Ensure comfortable grip even with buttercream-covered hands during cutting
- Weight: Heavier handles provide better control during downward cuts through dense layers
- Thickness: Thinner blades prevent fondant dragging or tearing delicate decorations
Prepare Your Cake for Cutting
Cool and Stabilize
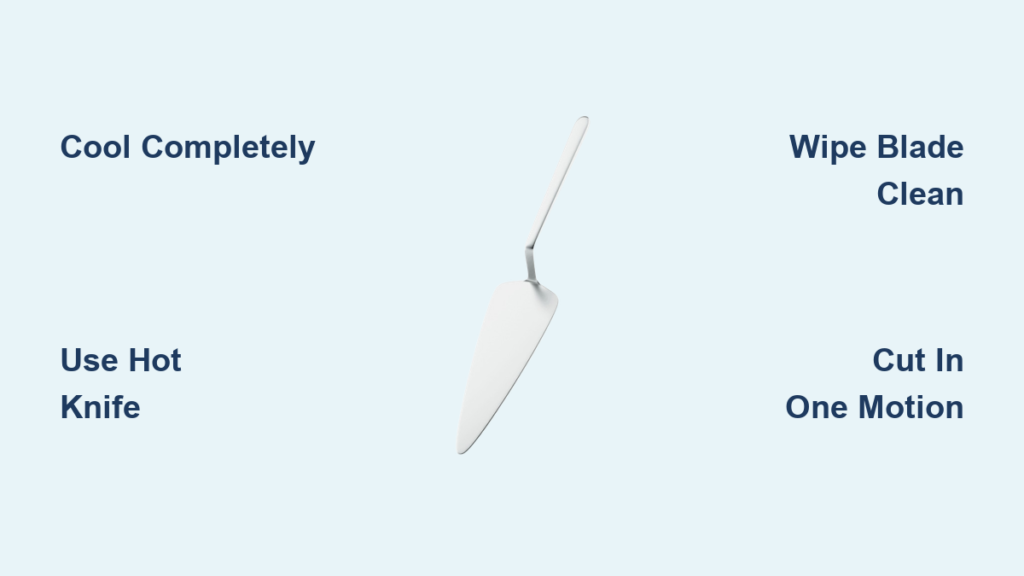
Cool completely for minimum 2 hours at room temperature. Warm cakes crumble under pressure, destroying your carefully crafted layers. Touch the center—if it’s still warm, wait longer. This crucial step often gets overlooked when people learn how to use a cake cutter properly.
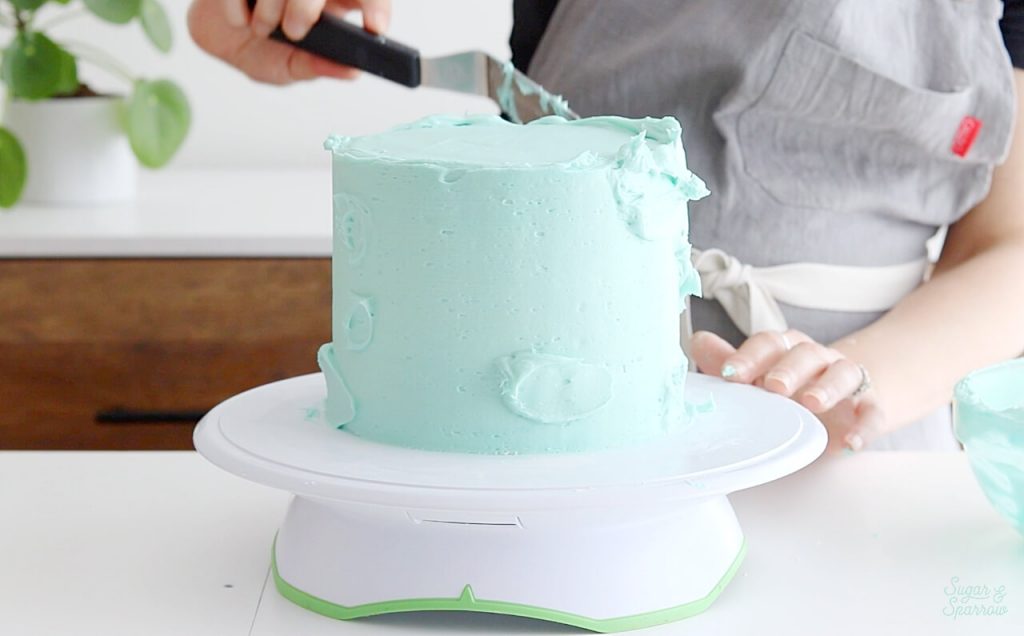
Chill frosted cakes for 20-30 minutes to firm buttercream. Cold frosting slices cleanly without smearing or sliding off the cake surface. This step proves especially crucial for intricate designs or whipped cream frostings. Proper cooling transforms the cutting experience from frustrating to flawless.
Remove decorations before cutting. Fresh flowers, plastic toppers, or delicate chocolate work should be set aside to prevent accidental damage during slicing. Preserving these elements maintains your cake’s visual appeal until serving.
Mark Your Cutting Guide
Create portion guides using toothpicks or light scoring marks. For round cakes, visualize clock positions—12, 3, 6, and 9 o’clock create four equal quarters. This technique is essential when you want to know how to use a cake cutter for precise party portions.
Calculate serving sizes based on your cake size:
– 8-inch round: 12-16 wedges
– 9-inch round: 14-18 wedges
– Sheet cake: 2×2 inch squares
Establish cutting height by positioning your cake on a stable, flat surface at comfortable working height. This prevents awkward angles that cause uneven cuts and reduces wrist strain during the cutting process.
Master Basic Cutting Techniques
Perfect Straight Cuts Every Time
Position yourself directly over the cake center with feet shoulder-width apart. This stance provides stability and ensures vertical blade placement. Many cutting mistakes happen because people don’t understand how to use a cake cutter with proper body positioning.
Insert knife tip at the exact center point, keeping the blade perpendicular to the cake surface. This starting point determines the accuracy of your entire cut. For first-time cake cutters, this precision point makes all the difference between clean slices and crumbling disasters.
Apply gentle downward pressure while maintaining a perfectly vertical angle. Avoid sawing motions that create jagged edges or compress delicate cake layers. Practice this motion without a cake first to build muscle memory.
Complete the cut in one smooth motion until the blade reaches the bottom. Lift the knife straight up without lateral movement to prevent tearing the cake’s sides. This single-motion technique is the secret to professional-looking slices.
Circular Cake Portioning
Mark equal angles using visual estimation or a protractor. For 12 pieces, aim for 30-degree angles. For 16 pieces, use 22.5-degree angles. When you’re learning how to use a cake cutter for round cakes, these measurements ensure mathematical precision.
Establish diameter lines by cutting through the cake’s exact center. Rotate the cake 90 degrees after each diameter cut to create four equal quarters. This method creates a foundation for perfectly symmetrical slices.
Divide quarters evenly by cutting each section into 3-4 equal wedges based on your desired portion size. Clean the blade between major cuts for pristine edges. This systematic approach prevents the common mistake of uneven portions that plague amateur cake cutting.
Handle Special Cake Challenges
Cheesecake Precision
Warm your knife by running it under hot water for 30 seconds, then drying thoroughly. Warm blades glide through dense cheesecake without cracking. This technique is essential when you need to know how to use a cake cutter for notoriously difficult cheesecakes.
Use dental floss for impossibly clean cuts. Unflavored dental floss creates perfect slices without disturbing the graham cracker crust. Simply press the floss straight down through the cheesecake for flawless results.
Cut straight down with a single firm press—no sawing motion needed. The smooth blade creates restaurant-quality presentation edges. This method preserves the delicate structure of your cheesecake while producing beautiful slices.
Ice Cream Cake Success
Partial thawing allows 10-15 minutes at room temperature for slight softening. Rock-hard ice cream cakes shatter under pressure or crack beautiful decorations. This timing is critical when you’re figuring out how to use a cake cutter for frozen desserts.
Heat your knife in hot water between cuts, drying completely each time. A warm blade melts through frozen layers smoothly without damaging the cake’s structure. Professional ice cream parlors use this technique daily.
Work quickly but carefully to prevent melting and structural collapse. Have serving plates ready and work assembly-line style for efficiency. Speed combined with precision creates the perfect ice cream cake experience.
Fix Common Cutting Disasters
Stop Cake Crumbling
Identify the cause: Usually undercooled cake or dull blade. Touch the cake center—if warm, refrigerate for 30 minutes more. Understanding how to use a cake cutter properly means recognizing these warning signs before disaster strikes.
Sharpen your knife or replace entirely. Dull blades tear rather than slice, creating crumbling edges and compressed textures. A sharp blade makes all the difference between success and failure.
Modify technique for delicate cakes by using gentle sawing motions with your serrated knife. Support the cake surface lightly with your free hand above the cut line. This adjustment preserves fragile structures while still creating clean slices.
Prevent Frosting Smears
Chill 20 minutes before cutting to firm buttercream. Cold frosting resists smearing and maintains sharp decorative edges. Temperature control is one of the most overlooked aspects of how to use a cake cutter effectively.
Control knife temperature—room temperature blades work best for buttercream. Avoid warming the knife as melting frosting creates streaks. Many beginners make the mistake of heating their knives for all cake types, causing smears.
Increase cutting speed with decisive, confident motions. Hesitant, slow cuts drag frosting and create uneven edges. Confidence in your cutting technique produces cleaner results every time.
Clean Cuts and Professional Presentation
Blade Maintenance During Cutting
Wipe after every cut using damp paper towels or clean kitchen cloths. This prevents frosting buildup that creates messy subsequent slices. Proper blade maintenance is essential when you’re learning how to use a cake cutter for multi-layered desserts.
Maintain consistent angles throughout each cut. Changing angles mid-slice creates visible lines and uneven portions. Consistency in your cutting motion produces uniform results that impress guests.
Apply even pressure across the entire blade length. Concentrated pressure at one point creates curved cuts and uneven portions. Balanced pressure ensures every slice looks professionally cut.
Transfer Slices Like a Pro
Slide server completely under each slice to support the full weight. Partial support causes breakage and ruins presentation. This simple technique transforms amateur attempts into professional results.
Keep horizontal orientation while lifting and transferring. Tilted slices slide apart, destroying beautiful layer displays. Proper transfer technique preserves the visual appeal of your carefully crafted cake.
Lower gently onto plates without sliding or dragging. Let gravity do the work for clean plate placement. This final step completes the professional presentation that guests will admire.
Master these cake cutting techniques once, and you’ll confidently slice through any celebration dessert. From towering wedding cakes to simple sheet cakes, your cuts will impress guests and preserve your beautiful creations. Practice on smaller cakes between special occasions—these skills improve with repetition and soon become second nature. When you truly understand how to use a cake cutter properly, your desserts will receive as much admiration for their presentation as for their taste.


