
That sharp Stanley box cutter sitting on your workbench could be a major hazard if not properly secured. Every year, thousands of preventable injuries occur because people don’t know how to close a Stanley box cutter correctly. Whether you’re opening holiday packages, breaking down cardboard boxes, or handling shipping materials in a warehouse, knowing the precise closure technique for your specific model is non-negotiable for workplace safety and tool longevity.
Unlike generic utility knives, Stanley box cutters feature specialized mechanisms that vary significantly across models. Attempting to close one without understanding its specific design can lead to dangerous slips, stuck blades, or even permanent damage to the tool. This comprehensive guide delivers the exact steps you need to safely retract the blade on any Stanley model you encounter—whether it’s the classic yellow-handled 10-499, a quick-change variant, or a folding utility knife. By the end of this guide, you’ll confidently handle closure procedures, troubleshoot common issues, and extend your tool’s lifespan through proper maintenance.
Identify Your Specific Stanley Box Cutter Model
The first critical step in learning how to close a Stanley box cutter properly is identifying which model you’re holding. Different mechanisms require completely different closure techniques, and using the wrong method could damage your tool or cause injury.
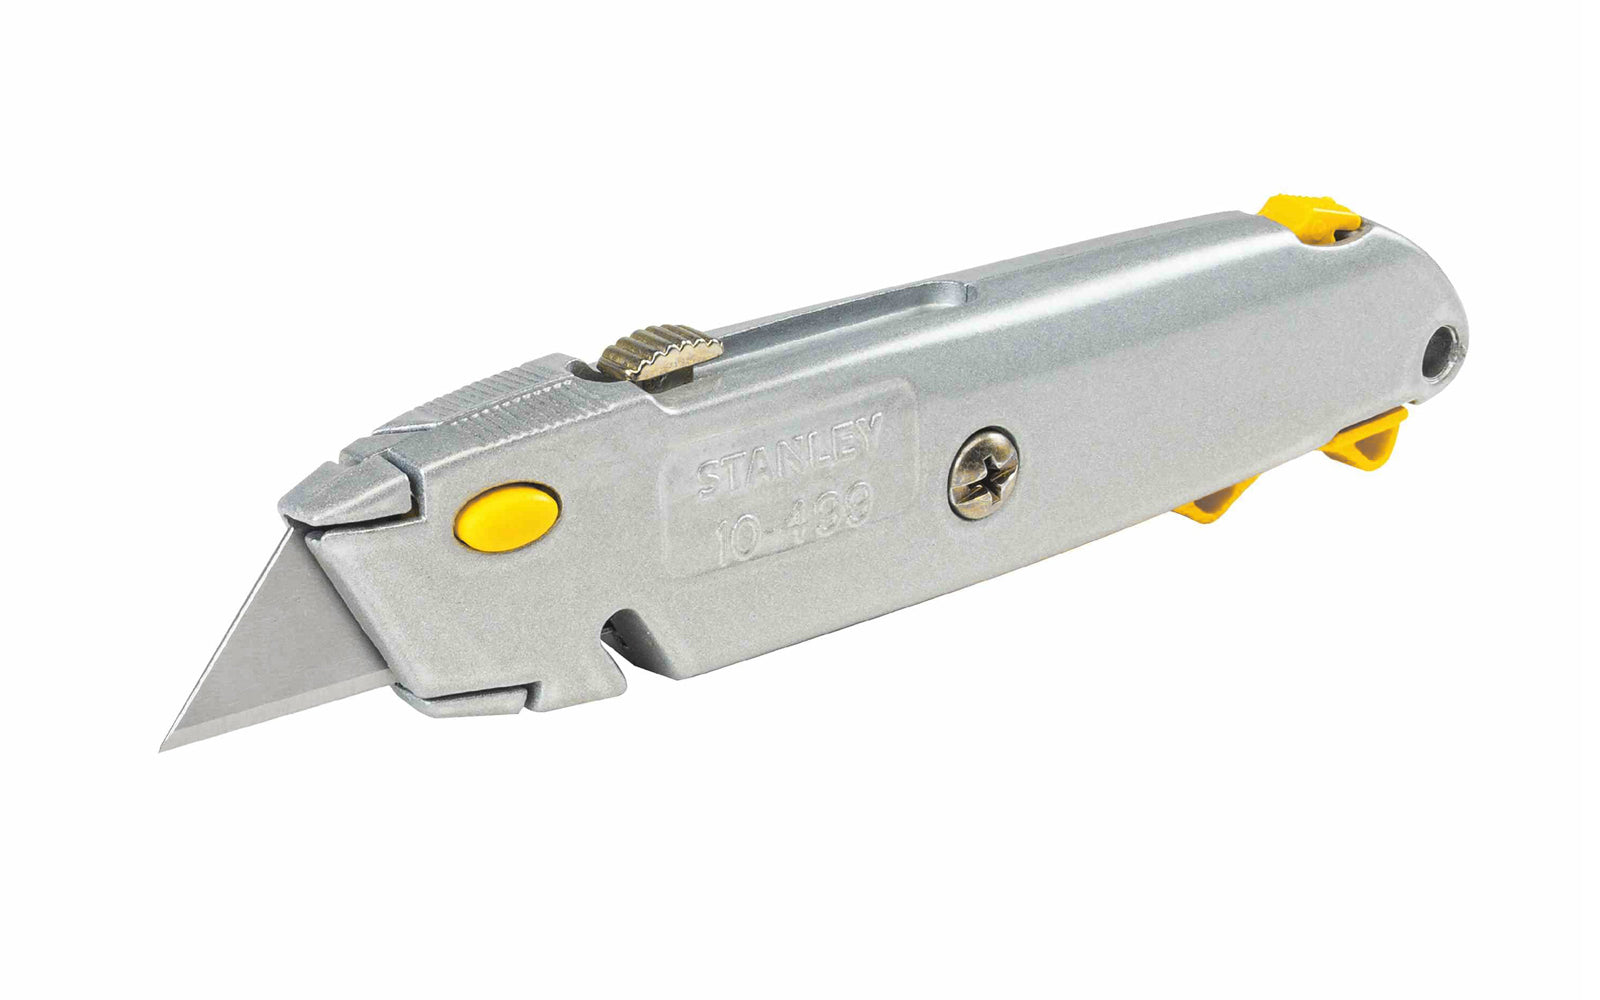
Classic Yellow-Handled 10-499 Retractable Knife
This iconic model features a bright yellow plastic handle with a sliding button along the top spine. When the blade is extended, you’ll see a metal blade protruding from the front with the Stanley logo visible on the handle. The closure mechanism relies entirely on that top-mounted slider—never try to force the blade back manually as this can damage the internal spring mechanism.
Quick-Change Models with Orange or Black Handles
Newer Stanley box cutters often have ergonomic orange or black handles with tool-free blade replacement systems. These feature either a side-mounted release button or a lever near the blade opening. These models require specific pressure points during closure—simply sliding the blade back won’t work and could jam the mechanism. Look for the Stanley Quick-Change logo on the handle to confirm this model type.
Compact Folding Utility Knives
Stanley’s pocket-style knives fold completely closed like traditional pocket knives but with utility blade functionality. These have visible hinge points along the handle and typically lock open at a 180-degree angle. Attempting to close these like a standard retractable knife could damage the hinge mechanism or cause your fingers to slip into the blade path.
Standard Retractable Knife Closure Procedure
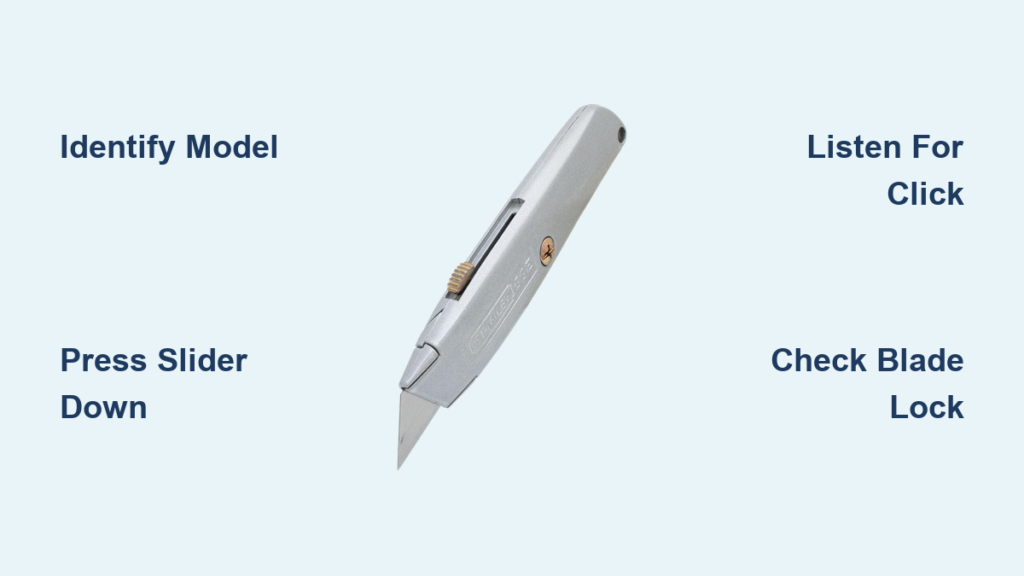
For the classic Stanley 10-499 model, follow these precise steps to safely close your box cutter every time. This process takes less than five seconds but prevents countless potential injuries.
Step 1: Grip the knife firmly in your dominant hand with the blade pointing away from your body and any people nearby. Rest the handle against your palm with your fingers wrapped securely around it—never hold it loosely between two fingers.
Step 2: Position your thumb on the ridged slider button located along the top of the handle. Ensure your thumb pad covers the entire button surface for maximum control.
Step 3: Apply steady downward pressure while simultaneously sliding the button toward the rear of the knife. Don’t jerk or rush this motion—smooth, deliberate movement prevents slipping. You should feel the blade begin to retract into the handle.
Step 4: Continue sliding until you hear or feel a distinct click indicating the blade has fully retracted and locked in place. This click is crucial—you’ve completed the closure process only when you hear it.
Step 5: Perform a visual verification by checking both the top and bottom of the knife. No metal edge should be visible from any angle. Gently shake the knife—if you hear rattling or see blade movement, the mechanism hasn’t fully engaged.
Pro Tip: If the slider feels gritty or sticks during closure, stop immediately. Forcing it can damage internal components. Clean the track first with compressed air before attempting closure again.
Quick-Change Model Closure Techniques

Newer Stanley box cutters with quick-change systems require different closure methods than traditional retractable models. These knives often have additional safety features that must be properly engaged.
Slide-Out Button Method for Orange-Handled Models
With your thumb on the orange side button, press it firmly while simultaneously sliding the entire blade housing backward with your index finger. Maintain pressure on the button until the blade is completely retracted. Release the button only after the blade has fully disappeared into the handle—releasing too early can cause partial retraction and create a dangerous situation.
Lever-Release System for Advanced Models
Some professional-grade Stanley knives feature a small lever near the blade opening. Press this lever downward while applying gentle pressure to push the blade inward. The lever must remain depressed throughout the entire retraction process. If your finger slips off the lever during closure, restart the process completely rather than attempting to compensate mid-motion.
Critical Locking Mechanism Check
Before storing any quick-change model, verify the blade lock is fully engaged by attempting to slide the mechanism forward again. It should resist movement completely. If the slider moves freely, the lock hasn’t engaged properly, and the blade could accidentally deploy during storage.
Troubleshooting Common Closure Problems
When your Stanley box cutter won’t close properly, these issues are most likely causing the problem—and here’s exactly how to fix them.
Debris Jamming the Blade Track
Cardboard fibers and dust accumulate in the blade channel over time, preventing smooth retraction. Never force the mechanism when it’s stuck. Instead, turn the knife upside down and blow compressed air through the blade slot. For stubborn debris, use a wooden toothpick (never metal) to gently dislodge particles without scratching the track.
Bent or Damaged Blade
If your blade appears bent or dented, it won’t retract smoothly regardless of your technique. Immediately replace the blade following Stanley’s safety guidelines—never attempt to straighten a bent utility blade as it could snap unexpectedly. Always retract the damaged blade completely before replacement to avoid exposure during the change process.
Worn Slider Mechanism
After months of heavy use, the plastic slider button can develop wear patterns that prevent full retraction. If cleaning doesn’t resolve the issue, consider replacing the entire handle assembly. Stanley offers replacement parts for most models, making this more cost-effective than buying a new knife.
Essential Safety Checklist Before Storage
Make these verification steps part of your routine every time you close a Stanley box cutter:
- Visual inspection: Run your finger along the blade path (without touching any potential edge) to confirm no metal is exposed
- Slider test: The button should move smoothly without catching or sticking
- Lock verification: Gently shake the knife—if you hear any movement inside, the blade isn’t fully secured
- Storage position: Always place the knife in its designated holder with the handle up and blade down to prevent accidental deployment
Critical Warning: Never store a Stanley box cutter in a drawer or toolbox without verifying complete closure. A partially extended blade can easily slice through packaging or cause serious injury when reaching blindly.
Prevent Common Closure-Related Injuries
Most box cutter accidents happen during the closing process when users become complacent. Follow these safety protocols religiously:
Never attempt these dangerous practices:
– Close the knife while it’s still touching cardboard or other materials
– Use excessive force when the mechanism sticks
– Store the knife with any portion of the blade visible
– Attempt closure with one hand while holding other items
Always implement these safety measures:
– Close the knife on a stable surface away from your body
– Keep the blade pointed in a safe direction throughout the process
– Store in a dedicated knife holder or clearly marked compartment
– Supervise others until they demonstrate proper closure technique
Maintenance That Prevents Future Closure Issues
Regular maintenance extends both blade life and smooth operation. Spend just two minutes weekly to prevent major problems:
Weekly quick maintenance:
– Blow out debris with compressed air
– Wipe the blade channel with a dry microfiber cloth
– Test slider movement through its full range
Monthly deep maintenance:
– Disassemble according to your model’s specifications
– Clean all components with rubbing alcohol
– Apply a single drop of light machine oil to moving parts
Blade replacement schedule:
– Replace blades at first sign of dullness (dull blades require more force, increasing closure difficulty)
– Change blades after heavy use with thick cardboard
– Never wait until the blade won’t cut efficiently—proactive replacement prevents accidents
Proper closure technique takes just seconds but protects you from potentially life-altering injuries. Whether you’re in a warehouse, retail environment, or home office, taking that extra moment to ensure your Stanley box cutter is fully secured demonstrates true professionalism and care. By following these precise procedures for your specific model, troubleshooting common issues, and maintaining your tool properly, you’ll enjoy years of safe, reliable service from your utility knife. Remember—safety isn’t just about opening boxes; it’s equally about securing the tool when the job is done.


