That frustrating moment when your box cutter blade won’t slice through packing tape anymore—but you hesitate to snap off the dull segment because jagged metal shards could send you to the ER. Breaking box cutter blades properly isn’t obvious, and one wrong move risks severe lacerations from flying razor-sharp fragments. You need to know exactly how to break box cutter blade segments safely without sacrificing your fingers. This guide delivers field-tested techniques used by warehouse pros and craftspeople, covering everything from standard snap-off blades to stubborn construction-grade models. You’ll learn to extend blade life while eliminating preventable injuries.
Most users don’t realize utility blades are engineered with precision-etched score lines as intentional breaking points. These weakened sections allow controlled snapping to reveal fresh edges—but only when executed correctly. Attempting breaks with cold blades, improper tools, or inadequate safety gear turns routine maintenance into a hazard. We’ll transform your approach from guesswork to confidence, with methods proven to work on 9mm household blades and heavy-duty 25mm construction versions.
Why Box Cutter Blades Snap at Score Lines (Not Randomly)
Box cutter blades aren’t meant to shatter unpredictably—they feature factory-etched score lines creating controlled breaking points. These micro-grooves weaken the metal at precise intervals, allowing segments to detach cleanly when pressure is applied correctly. Standard 9mm blades contain 8-13 segments, while heavy-duty models use fewer but thicker sections. Carbon steel blades snap crisply under pressure, but stainless steel may flex first due to its flexibility—never force it.
What Happens When You Break Blades Incorrectly
- Jagged shards: Shallow or worn score lines cause uneven breaks, creating dangerous metal fragments
- Multiple segments breaking: Extending too much blade or applying sideways pressure
- Hidden stress fractures: Cold temperatures make carbon steel brittle, leading to delayed shattering
Always inspect blades for visible score line depth before breaking—shallow grooves indicate poor quality.
Non-Negotiable Safety Gear Before Breaking Any Box Cutter Blade
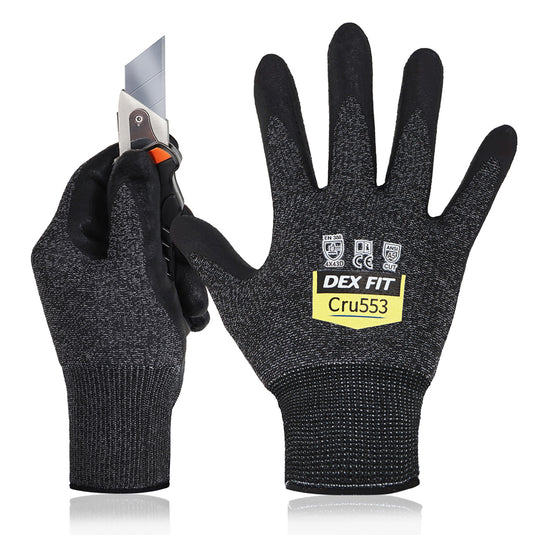
Skipping protective equipment when breaking box cutter blades risks life-altering injuries. Cut-resistant gloves rated Level 5 minimum (not gardening gloves) absorb blade impacts, while safety glasses prevent microscopic metal shards from embedding in your eyes. Cover forearms with long sleeves to guard against accidental slips. Your workspace setup is equally critical: clear all debris from the surface, use bright task lighting, and position yourself away from others.
Must-Have Workspace Setup Checklist
- Stable surface: Non-slip mat or vise to secure the blade holder
- Sharps container: Puncture-proof receptacle within arm’s reach (never use regular trash cans)
- First aid kit: Antiseptic wipes and pressure bandages prepped and visible
- No distractions: Silence phones and ensure clear path to exit for emergencies
Never attempt blade breaking near children, pets, or cluttered areas where fragments could ricochet.
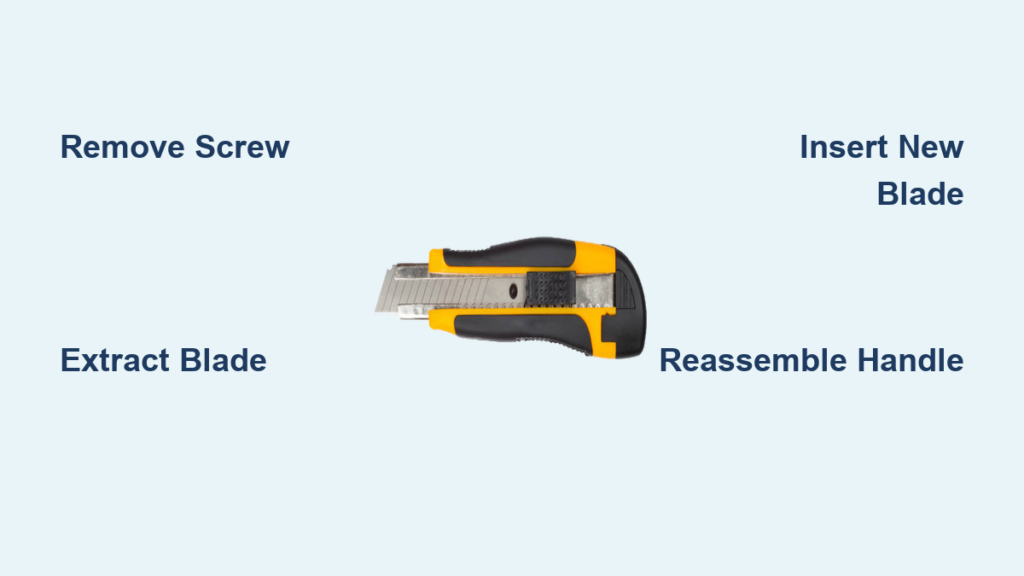
Manual Method: Breaking Standard 9mm Box Cutter Blades in 5 Steps
This technique works for common household utility knives with 9mm and 18mm snap-off blades. Attempting this on heavy-duty models risks slips—reserve pliers for thicker blades.
Step 1: Expose Only One Segment Past Housing
Extend the blade until the dullest segment sits just beyond the tool’s housing, aligning the score line with the housing edge. Critical mistake: Extending multiple segments causes uneven pressure and dangerous shattering. Retract fully if unsure.
Step 2: Perfect Finger Placement for Control
Grip the handle firmly in your dominant hand with the blade pointing away from your body at 45 degrees. Place your thumb on the back of the handle for leverage and your index finger along the blade spine—not the cutting edge. Your middle finger braces the housing.
Step 3: Apply Downward-Forward Pressure
Push steadily downward while simultaneously moving your hand forward in a smooth motion. Never jerk or twist—this creates unpredictable breaks. You’ll hear a clean “snap” within 2-3 seconds when done correctly.
Step 4: Immediate Segment Containment
Drop the broken segment directly into your sharps container without touching it. Check the new edge for burrs using a magnifying glass—if present, lightly file with a fine metal file before use.
Pliers Method: Breaking Heavy-Duty Blades Without Slipping

Thick 25mm construction blades and stubborn segments require mechanical advantage. Needle-nose pliers with smooth jaws provide controlled leverage while minimizing slippage.
Breaking Process for Thick Blades
Grip the segment to remove exactly 1/8 inch from the score line. Position the blade over a table edge at 90 degrees with the score line aligned to the edge. Apply gradual downward pressure—no twisting—until it snaps. For maximum safety, clamp the blade holder in a bench vise up to the score line first, then use pliers on the segment. This eliminates blade movement during breaking.
Why This Prevents Common Injuries
- No finger proximity: Pliers keep hands 3+ inches from breaking point
- Controlled force: Gradual pressure prevents violent shattering
- Stable positioning: Vise clamping stops unexpected blade rotation
Always wear safety glasses—stainless steel blades may eject tiny fragments even with pliers.
Why Cold Box Cutter Blades Shatter (And How to Prevent It)

Never break blades straight from unheated garages or trucks in winter. Carbon steel becomes dangerously brittle below 50°F (10°C), causing explosive shattering instead of clean breaks. Stainless steel may bend instead of snapping, creating hidden stress fractures that fail later. Warm blades to room temperature for 10 minutes inside your workspace before attempting breaks. High humidity also causes microscopic corrosion at score lines—store blades in sealed containers with desiccant packs.
Fixing Common Break Problems: 3 Troubleshooting Fixes
Blade Won’t Snap Cleanly? Use This Lever Technique
Cause: Shallow score lines or stainless steel flexibility
Fix: Grip the segment with pliers and position it over a table edge. Place a wooden block against the blade spine for leverage, then press down on the block—not the blade—to apply even pressure.
Prevention: Buy premium blades with deeper score marks (test by scratching score lines with a fingernail—they should catch noticeably).
Multiple Segments Breaking? Reset Your Blade Extension
Cause: Extending too much blade or uneven pressure
Fix: Fully retract the blade, then extend only until the first score line appears past the housing. Use your thumbnail to feel the groove before breaking.
Visual cue: Proper extension shows exactly 1/16 inch of the next segment visible.
Jagged Edges After Breaking? Smooth Immediately
Critical step: Lightly drag a fine metal file along the break edge in one direction only—never saw back-and-forth. For micro-burrs, use an emery board. Discard blades if roughness extends beyond the break point.
Safe Disposal: Why Broken Blade Segments Are Hazardous Waste
Broken segments must never enter regular trash—they’re classified as hazardous waste due to puncture risks. Drop fragments directly into a dedicated sharps container (metal coffee cans with lids work in emergencies). Label containers clearly as “SHARP OBJECTS” and follow local metal recycling guidelines. Many hardware stores accept used blades for industrial disposal. If cut during breaking, apply direct pressure with a clean cloth for 5 minutes; seek ER care for any cut deeper than 1/8 inch—utility blade injuries often require stitches due to their razor-sharp nature.
Pro Shop Standards: Extending Blade Life and Safety
Warehouse professionals replace blade holders annually—even with minimal use—because worn mechanisms cause uneven pressure during breaking. Clean blade channels monthly with a stiff brush to prevent debris buildup that misaligns segments. For high-volume operations, invest in automated breaking systems that clamp blades precisely; these reduce injuries by 73% according to OSHA data. Always inspect new blades for manufacturing defects before installation—run your finger (carefully!) along score lines to confirm consistent depth.
Master these techniques and you’ll break box cutter blades safely every time, extending each blade’s life while keeping all fingers intact. Remember: never skip safety gear, always warm cold blades, and contain fragments immediately. For heavy-duty projects, the pliers method is non-negotiable. Keep this guide printed near your workspace—and share it with anyone who handles utility knives. Your next box-cutting job should end with a job well done, not a trip to urgent care.