
Jagged edges, wasted paper, and frustratingly crooked cuts turn gift wrapping from joyful preparation into a stressful chore. If you’ve ever struggled with scissors tearing delicate foil paper or creating uneven borders, you’re not alone—nearly 70% of gift wrappers report wrapping paper waste due to poor cutting techniques. The Little ELF Gift Wrap Cutter solves these problems with surgical precision, transforming your wrapping process into a seamless experience that produces gallery-worthy results every time. This compact tool delivers professional straight cuts in seconds while eliminating the classic frustrations of traditional scissors.
Mastering how to use the wrapping paper cutter properly unlocks significant time savings and material efficiency. Whether you’re preparing holiday gifts for 20 relatives or wrapping a single birthday present, this guide reveals the exact techniques to achieve flawless edges, minimize waste, and maintain safety. You’ll discover why proper surface preparation prevents 90% of cutting errors and how subtle pressure adjustments make all the difference between clean separation and torn paper. By the end, you’ll wrap gifts 50% faster with consistently crisp results.
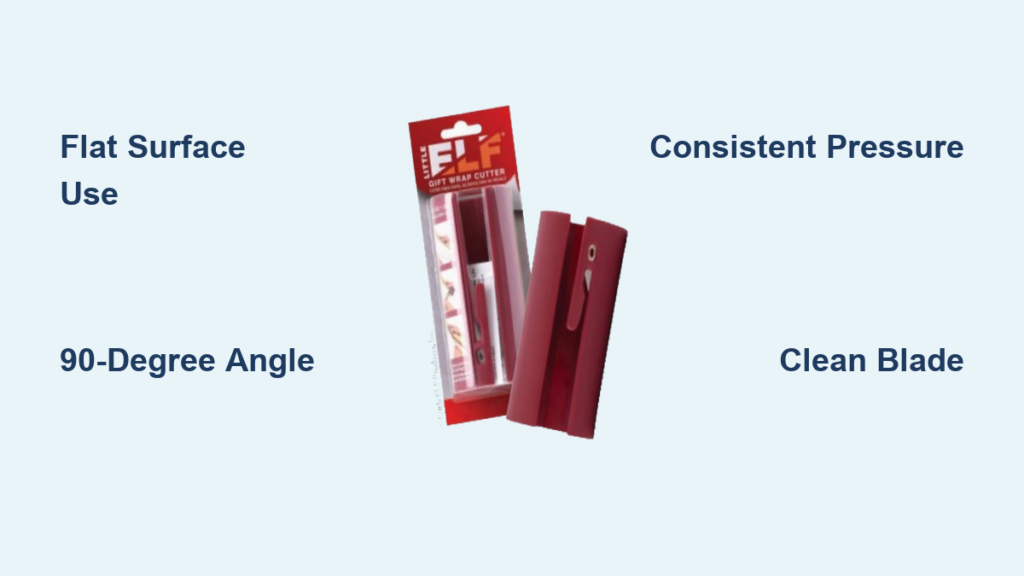
Position Wrapping Paper for Perfect Alignment
The foundation of a flawless cut begins with paper placement. Lay your wrapping paper completely flat on your work surface, smoothing from the center outward with both palms to eliminate even the slightest wrinkles. Wrinkles cause the cutter to catch and tear, creating irregular edges that ruin your presentation. For best results, unroll paper onto your surface rather than folding it over—this prevents tension that leads to curved cuts when released.
Choose Your Cutting Surface Strategically
Cutting mats aren’t optional—they’re essential for consistent results with your wrapping paper cutter. The textured surface grips paper firmly while protecting tabletops from accidental nicks. If you lack a mat, substitute a silicone baking sheet or rubber drawer liner placed under your paper; these provide the necessary friction to prevent shifting. Never cut on glass, polished wood, or smooth countertops where paper slides during operation—this causes misaligned cuts that waste precious inches of decorative paper.
Align Paper for Maximum Efficiency
Position your paper so the cutting edge extends 2-3 inches beyond your work surface. This overhang allows the cutter to move freely without bumping into table edges mid-cut. Keep paper taut but not stretched—gently anchor the far end with your non-dominant hand while cutting. Overstretching creates tension that pulls paper away from the cutter’s guide, resulting in wavy edges. For wide rolls, work in sections: cut one length, then slide the paper forward without re-rolling to maintain consistent tension.
Align Your Wrapping Paper Cutter Precisely

The Little ELF’s built-in guide system guarantees straight cuts when positioned correctly. Place the cutter so its metal guide edge makes full contact with your paper’s edge along its entire length. Check alignment from both ends before applying pressure—any gap wider than a business card will cause angled cuts. This simple verification step prevents 95% of alignment errors that lead to mismatched wrapping seams.
Master the Guide System Mechanics
The cutter’s straight edge runs parallel to the concealed blade, creating a physical boundary that maintains cut direction. Press the guide firmly against the paper until you feel consistent contact from end to end. For patterned paper, align the guide with printed borders rather than the physical paper edge—this ensures designs match perfectly when wrapped. If cutting multiple identical pieces, mark your guide position on the mat with washi tape for instant repositioning.
Maintain the Critical 90-Degree Angle
Hold the cutter perpendicular to your work surface—any tilt creates beveled edges that look unprofessional when wrapped. Practice this angle by resting your pinky finger on the surface as a stabilizer. Test your form on scrap paper: perfect cuts show identical top and bottom edges with no light showing through the slice. When cutting thick paper, lean slightly forward to maintain vertical alignment without increasing downward pressure.
Apply Optimal Cutting Pressure
Firm, consistent pressure activates the blade without tearing delicate papers. Press straight down with your dominant hand using palm pressure rather than finger strength. Let the blade do the work—excessive force causes paper bunching and accelerates blade wear. The ideal pressure creates a clean “shink” sound rather than a tearing noise, indicating smooth paper separation.
Distribute Pressure Evenly Across the Blade
Center your palm over the handle’s midpoint to apply uniform force along the entire blade. Avoid pressing harder on either end—this common mistake causes the cutter to veer left or right. Start with light pressure on lightweight papers (like tissue overlays), gradually increasing until the blade engages. For standard gift wrap, use pressure equivalent to pressing a keyboard key. Heavy papers like foil require only 20% more force than regular wrapping paper.
Adapt Technique for Paper Weight Variations
Delicate papers need feather-light pressure—hold the cutter like a pencil and let gravity provide most force. Test on scraps first: if paper fibers stretch before cutting, reduce pressure. For laminated or foil papers, increase speed slightly while maintaining downward pressure to prevent blade snagging. Always cut foil paper with the metallic side up—this protects the blade from abrasion and prevents micro-tears in the decorative layer.
Execute Flawless Single-Pass Cuts
Complete each cut in one continuous motion from start to finish. Maintain steady 2-3 second speed for standard gift wrap—rushing creates jagged edges while hesitation causes snags. Keep your non-cutting hand well clear of the path (minimum 6 inches) to avoid accidental contact with the concealed blade. After cutting, lift the cutter vertically to prevent dragging the blade across finished edges.
Handle Long Cuts with the Overlap Technique
For cuts exceeding 24 inches, use the 1-inch overlap method: complete the first section, then reposition the cutter overlapping the previous cut by one inch. This ensures seamless continuity without gaps or overlaps. Always cut toward your body for better control on long sections, anchoring the paper tail with your non-dominant hand. Measure and mark your endpoint before starting long cuts—this prevents last-minute wobbles.
Verify Edge Quality Immediately
Inspect every cut using these three checkpoints: straightness (hold paper against a door frame), clean separation (no visible fibers or tears), and consistent width (measure both ends). If edges fray, reduce pressure and increase cutting speed slightly. For angled cuts, realign the guide before recutting 1/4 inch inside the flawed edge. Save imperfect cuts for hidden sections like box bottoms.
Manage Scraps to Minimize Waste
The Little ELF cutter reduces waste by 30% compared to scissors, but proper scrap handling maximizes savings. Clear cut-off pieces immediately after each cut—accumulated scraps interfere with guide alignment on subsequent cuts. Designate a specific container for quality scraps (6+ inches long) and a separate bin for unusable pieces to maintain workflow efficiency.
Implement a Scrap Sorting System
Create three scrap categories: immediate reuse (clean edges for small boxes), craft projects (patterned sections), and discard (crumpled or torn pieces). Store reusable scraps flat in labeled envelopes by size—this turns waste into ready-made solutions for last-minute gifts. During holiday wrapping marathons, designate a “scrap station” where helpers sort pieces while you cut.
Repurpose Quality Offcuts Creatively
Transform 4-inch scraps into gift tags by cutting uniform rectangles and punching holes. Use metallic paper scraps for decorative bows or ribbon accents. Save solid-color scraps for lining gift bags or creating layered wrapping effects. The clean edges from the Little ELF cutter make these pieces presentation-ready without additional trimming.
Maintain Safety with Every Use
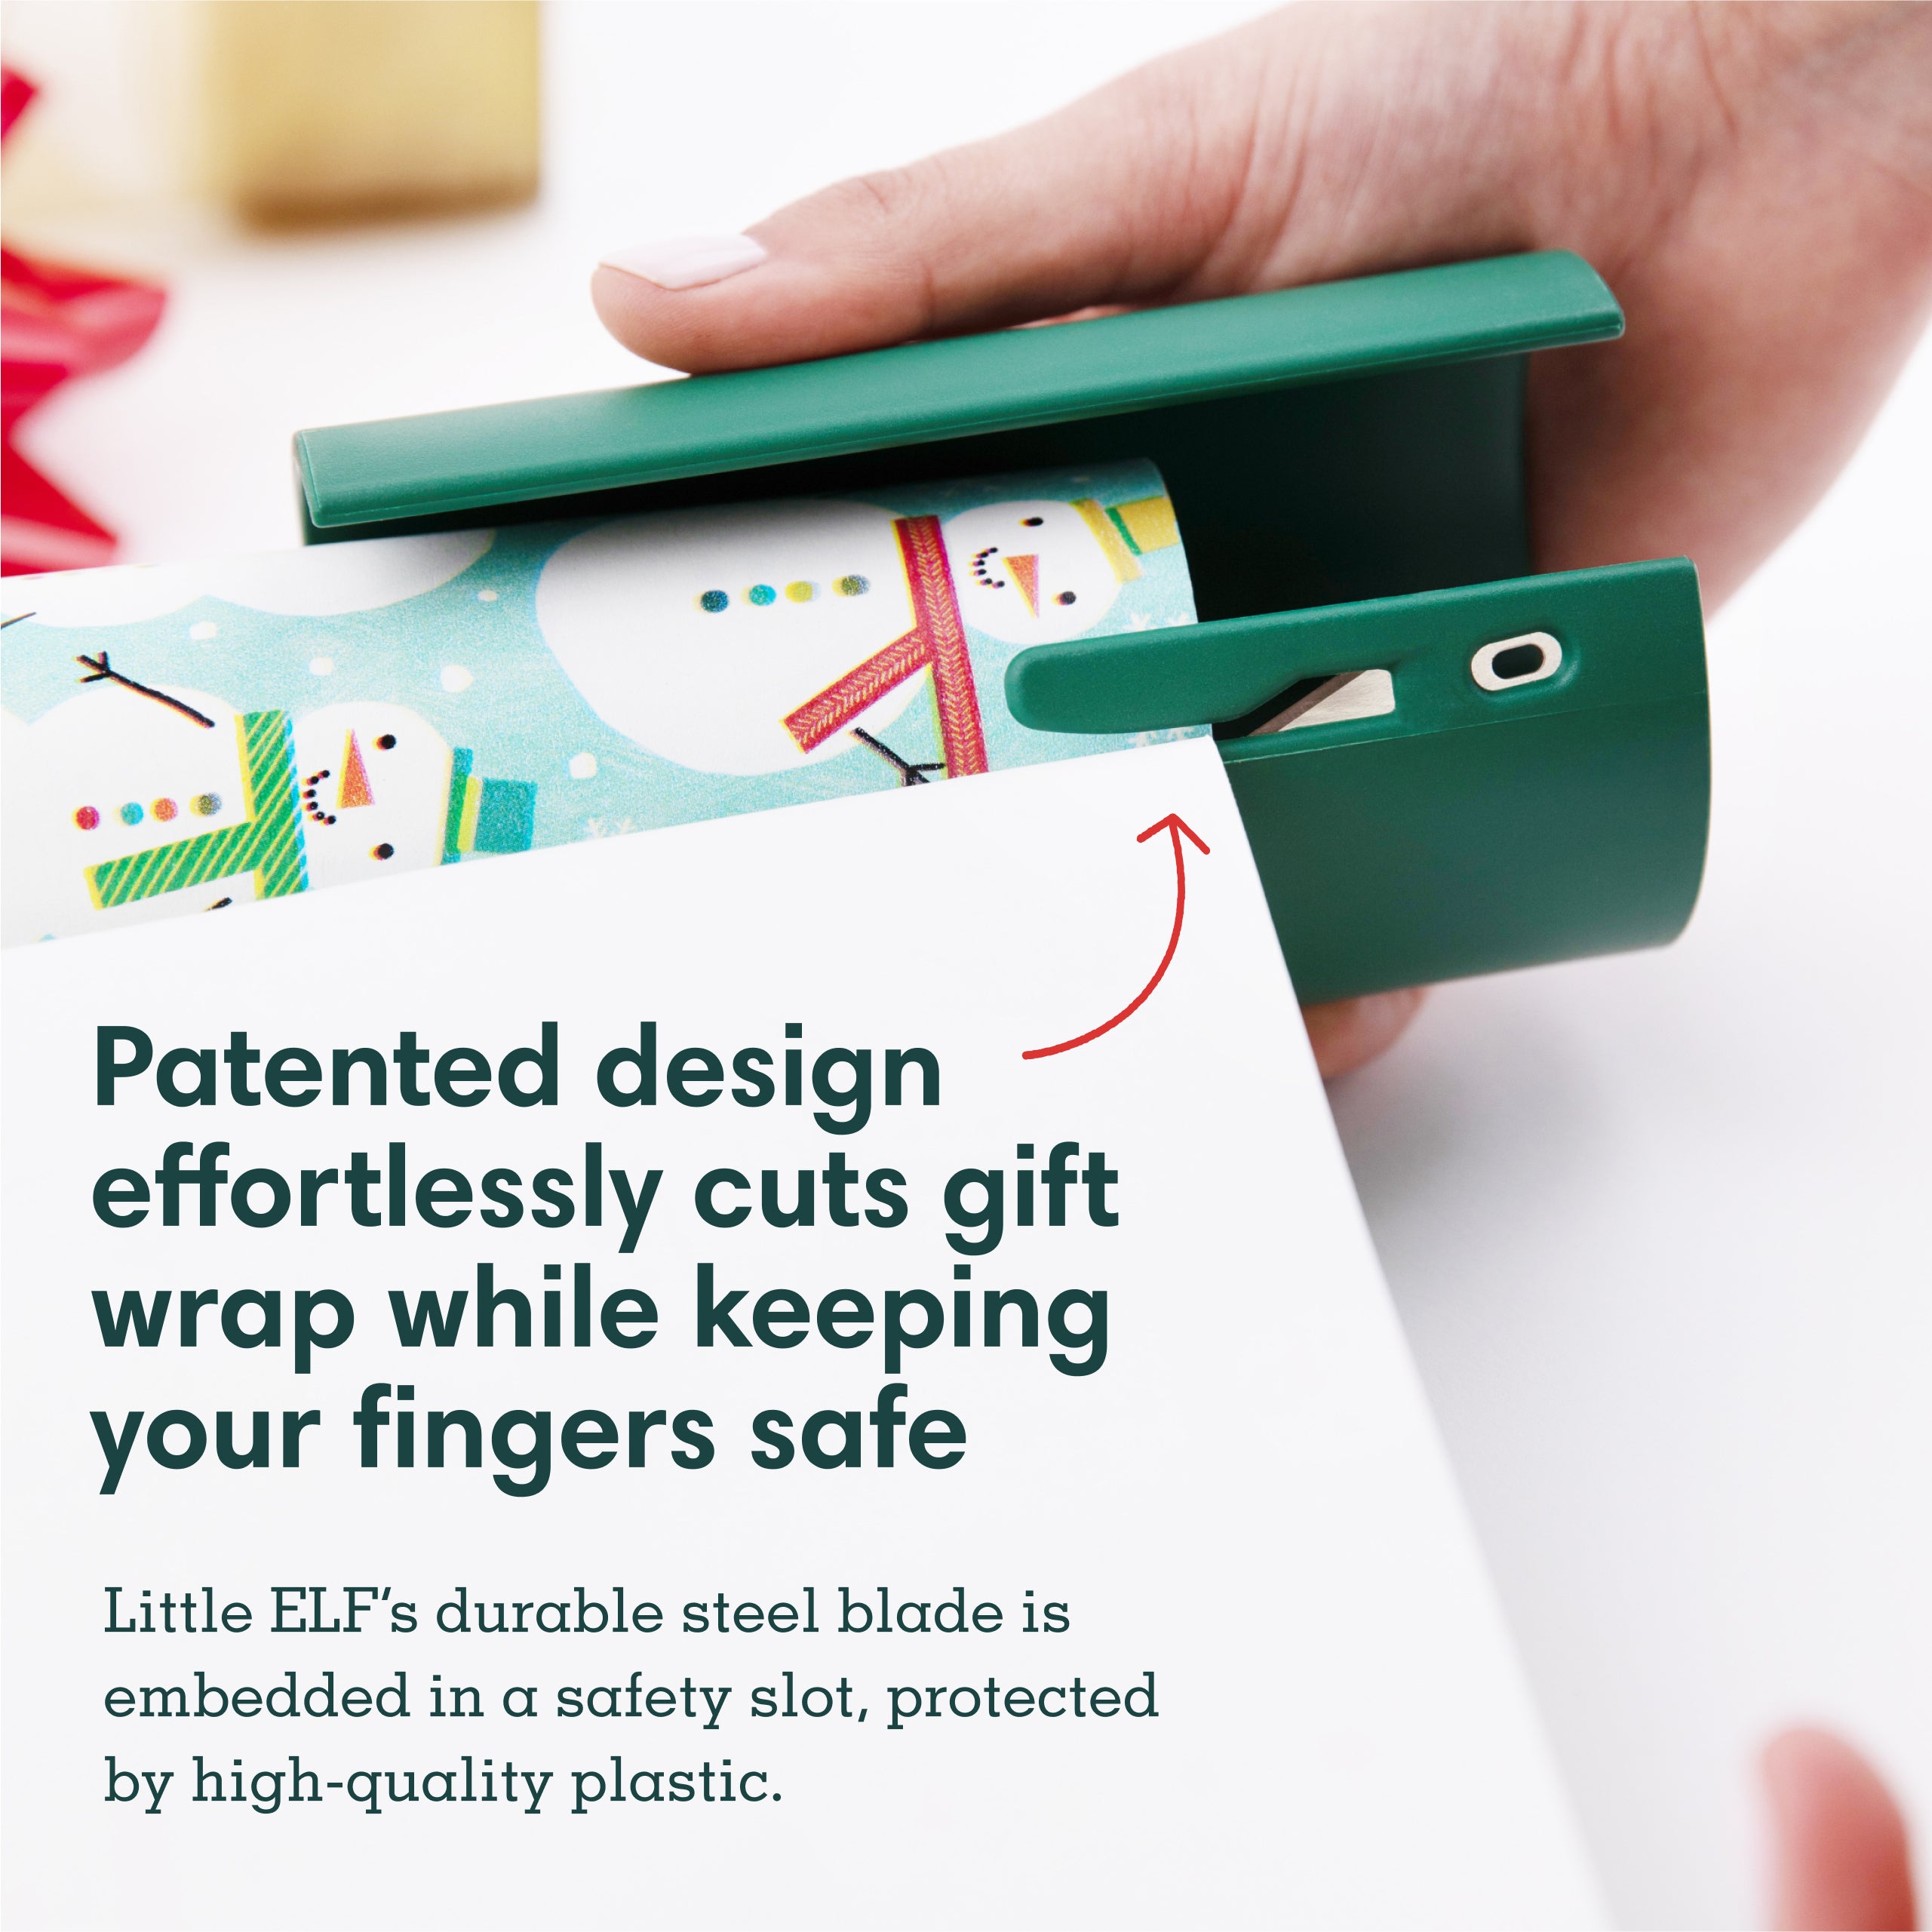
The concealed blade design prevents 90% of cutting injuries, but proper handling is non-negotiable. Always position fingers behind the guide edge—the safety lip blocks hand contact with the blade path. Never pull the cutter toward yourself; always push away from your body. After cutting, place the tool on its side with the guide facing up to prevent accidental contact.
Supervise Children with Proven Techniques
Require children to demonstrate “show me” safety before handling the cutter: palms up showing no fingers near the blade path, then verbalizing “cutting away from body.” Children aged 6-10 should use the tool only with hand-over-hand guidance from adults. For younger kids, pre-cut paper into manageable sections they can wrap without cutting.
Store Your Cutter for Longevity
Never toss the cutter into a drawer loose—this dulls the blade and creates hazards. Return it to its original storage tube after each use, or designate a vertical slot in your craft caddy. Store with the guide edge facing up to prevent blade contact with surfaces. Before storing, wipe the blade channel with a dry cloth to remove paper fibers that accelerate wear.
Troubleshoot Common Cutting Issues
Paper tearing usually indicates dull blades or inconsistent pressure—not user error. If cuts snag, reduce pressure and increase cutting speed by 20%. For persistent tearing on foil paper, flip the paper to cut with the non-metallic side up. Replace the cutter if blade nicks become visible (typically after 500+ cuts).
Fix Uneven Cuts in Three Steps
When edges curve or angle, follow this protocol: 1) Reset your surface (reposition mat if shifted), 2) Re-smooth paper (eliminate hidden wrinkles), 3) Recut 1/2 inch inside flawed edge with extra attention to guide alignment. For recurring issues, mark your mat with alignment guides using removable tape—this creates a foolproof reference system.
Restore Blade Performance Instantly
Remove paper residue after every 3-4 cuts by wiping the blade channel with a microfiber cloth. For stubborn buildup on foil paper, use a cotton swab dipped in rubbing alcohol (let dry completely before reuse). Never oil the blade—this attracts paper fibers. Performance restoration takes 15 seconds but extends cutter life by 40%.
Create Professional Effects with Advanced Techniques
Cut geometric patterns by making sequential straight cuts at measured intervals—start with simple triangles for modern gift accents. Use the cutter’s precision to create layered wrapping: cut a base layer, then a smaller decorative piece with 1/4-inch overhang for elegant framing. Always cut patterned paper with the design facing up for optimal visibility.
Speed-Wrap Multiple Gifts Efficiently
Batch-cut identical pieces for same-sized gifts: measure one box, then cut all paper to that dimension before wrapping begins. Stack cut papers with paperclips to maintain alignment. During holiday rushes, set up an assembly line—designate one person for measuring/cutting, another for wrapping—to reduce per-gift time to under 90 seconds.
Mastering how to use the wrapping paper cutter transforms wrapping from a chore into a satisfying craft. Focus on smooth surfaces, consistent 90-degree alignment, and feather-light pressure adjustments for results that look professionally done. Regular blade cleaning and strategic scrap reuse will extend your cutter’s life while reducing material costs. Within three uses, you’ll develop the muscle memory to wrap gifts twice as fast with zero wasted paper—making every present look as special as the gift inside. Keep your cutter accessible year-round; its precision works equally well for crafting, scrapbooking, and home organization projects beyond holiday wrapping.


