
That sinking feeling when your hand-drawn circle resembles a wobbly potato instead of a perfect disc? Professional button makers and crafters ditched freehand circles decades ago for a reason. A circle paper cutter delivers flawless, consistent circles every time—whether you’re producing 50 pinback buttons or intricate scrapbook elements. This precision tool eliminates guesswork and wasted materials, transforming frustrating projects into satisfying successes. By the end of this guide, you’ll know exactly how to use circle paper cutter tools to achieve professional results, avoid common pitfalls, and expand beyond basic paper cutting.
Unlike modern gadgets that require software updates, the circle paper cutter’s 1872 design remains brilliantly simple. John V. Nunn’s original steel-and-wood prototype established the lever-based adjustment system still used today, now enhanced with critical safety guards. When you master this tool’s fundamentals, you’ll cut cleaner circles faster than any digital method—no batteries or calibration needed. Let’s dive into the exact steps to harness this timeless tool.
Set Up Your Circle Cutter Station
Choose Your Work Surface
Position your perspex cutting board on a rock-solid table or desk—any wobble transfers to your cut, creating uneven edges. This board isn’t optional; it shields surfaces while providing the rigid foundation your blade demands. Test stability by pressing the board’s corners; if it shifts, reposition until immobile. Skipping this step guarantees off-center cuts, especially with delicate materials like metallic paper.
Pro tip: Place a rubber mat under your cutting board for instant stability on slippery surfaces.
Position Your Materials Correctly
Lay paper or fabric directly on the perspex board, then use the metal alignment plate to position designs precisely. This plate ensures your circle centers exactly where intended—critical for button production where misalignment ruins the final product. For multi-layer projects, secure materials with low-tack tape at the edges to prevent slippage during rotation. Never freehand placement; even 1mm of drift creates visible flaws.
Check Your Blade Sharpness First
Inspect the circular blade before cutting: a sharp blade glides cleanly, while a dull one tears fibers, leaving fuzzy edges. If your last cut required excessive downward pressure or produced ragged results, replace the blade immediately. Material buildup also dulls performance—wipe blades with rubbing alcohol after each use to maintain factory-sharp precision. Ignoring this wastes expensive specialty papers.
Master the Circle Cutter Cutting Process
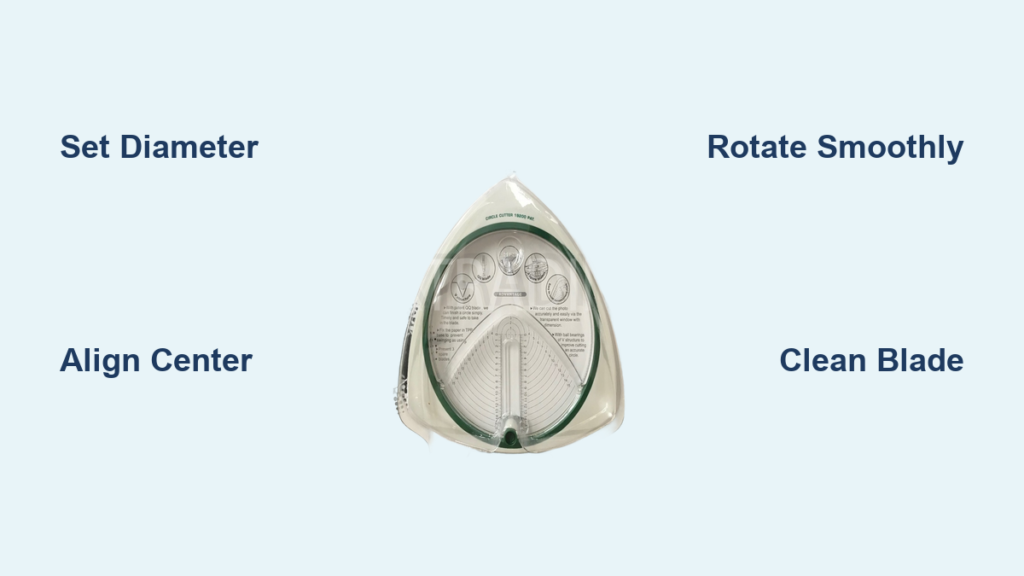
Set Your Circle Diameter Precisely
Locate the lever mechanism (inherited directly from Nunn’s 1872 design) and slide it to your desired diameter. Tighten the securing knob firmly—any play during cutting causes inconsistent sizing. Verify measurements with a ruler before proceeding; adjustable models require this double-check, as settings can shift during handling. For button projects, match diameters exactly to your badge maker’s specifications.
Position and Align for Perfect Centers
Press the cutter’s center point firmly onto your material where the circle’s center belongs. Use the metal alignment plate to position artwork under the cutter, ensuring graphics sit concentrically. For batch production, mark center points lightly with pencil first. Hold the cutter base steady with your non-dominant hand—shifting during rotation guarantees oval-shaped disasters.
Execute the Perfect Cut in One Motion
Grip the ball handle firmly and apply steady downward pressure while rotating clockwise. Maintain consistent speed: too fast causes blade skipping; too slow leads to paper bunching. Complete the full 360-degree rotation without stopping—you’ll feel a subtle “release” when the cut finishes. Rushing this step creates incomplete circles, while hesitation causes jagged edges. For thick materials, increase pressure gradually over two rotations.
Troubleshoot Common Circle Cutter Problems
Paper Tears or Frays During Cutting
Why it happens: Dull blades or inconsistent pressure tear fibers instead of slicing them cleanly.
Fix immediately: Replace the blade and restart with firm, uniform downward pressure. For delicate papers like vellum, place a sheet of cardstock underneath for support. Always rotate at a medium pace—speed wobbles cause micro-tears invisible until you lift the circle.
Off-Center Cuts Ruining Your Project
Why it happens: The cutter base shifted during rotation or center point wasn’t secured.
Fix immediately: Re-secure the center point with your thumb before cutting. Use the metal alignment plate to verify positioning, and hold the base firmly throughout rotation. For critical projects, tape the cutter base to the perspex board.
Incomplete Circle Cuts
Why it happens: Stopping rotation prematurely or uneven pressure distribution.
Fix immediately: Complete the full rotation even after feeling the “release” sensation. If material resists, increase downward pressure slightly mid-rotation. For thick stacks, make two lighter passes instead of one heavy cut.
Material Slips While Cutting
Why it happens: Insufficient surface tension on smooth materials like silk or vinyl.
Fix immediately: Secure edges with low-tack tape or place a light weight on material corners. For fabrics, add interfacing underneath to prevent stretching. Always cut on the perspex board—it provides optimal grip without damaging blades.
Cut More Than Paper: Material Expansion Guide

Fabric Circles Without Distortion
Place lightweight fabrics (like cotton or silk) on the perspex board with iron-on interfacing underneath. The interfacing prevents stretching during rotation, yielding crisp appliqué circles. Use a fresh blade—fabric fibers dull blades faster than paper. For stretchy materials, cut twice: first with interfacing, then trim excess after removal.
Thin Plastic Sheets for Stencils
Adjust technique for plastics like acetate: increase downward pressure gradually over two rotations. Start with light pressure to score the surface, then deepen the cut on the second pass. This prevents cracking and delivers smooth edges for professional stencils. Never use excessive force—it risks blade damage.
Cardstock Challenges Solved
Standard circle cutters struggle with thick cardstock. Switch to circle die cutters—non-adjustable tools designed specifically for heavy materials. These fixed-size cutters leverage more force through precision engineering, eliminating the “crushing” effect that adjustable models cause on cardstock. Always test on scrap first.
Maintain Your Circle Cutter for Professional Results
Clean Blades After Every Use
Wipe the circular blade with rubbing alcohol and a lint-free cloth immediately after cutting. Material residue (especially adhesives from sticker paper) accelerates dulling. This 30-second habit doubles blade lifespan and prevents “sticky” cuts that mar finished projects. Never submerge the cutter—moisture damages internal mechanisms.
Store Safely to Prevent Accidents
That razor-sharp blade demands secure storage: place the cutter in a dedicated drawer with blade-side down, or use the included safety guard. Never leave it exposed on work surfaces—children or pets could suffer serious injuries. For shared studios, attach a bright warning tag to the handle.
Create Templates for Batch Production
For repetitive projects (like 50+ buttons), make cardboard templates showing optimal placement on your perspex board. Trace light pencil guides for center points and alignment marks. This eliminates repositioning time while ensuring identical sizing across all pieces—critical for commercial button production.
Advanced Circle Cutter Techniques for Pros
Multi-Material Layered Cuts
Stack paper over fabric or thin vinyl to create textured designs. Cut both layers simultaneously by securing them with low-tack tape at the edges. Start with the thinnest material on top, and use a fresh blade to prevent snagging. Perfect for custom patches with paper labels fused to fabric bases.
Nested Circles with Precision
Create concentric circles by cutting progressively smaller diameters from the same center point. Mark the center with a pinprick first, then reset the lever for each size. Any deviation greater than 0.5mm ruins the nested effect—use the metal alignment plate for each adjustment. Ideal for mandala designs or layered art.
Batch Production Efficiency Hacks
When cutting dozens of identical circles, pre-mark your perspex board with a grid of light pencil dots at exact center intervals. Position materials on these dots for instant alignment. For button projects, organize materials in rows matching your badge maker’s layout. This cuts production time by 40% while maintaining surgical accuracy.
Final Pro Tip: Your circle cutter’s unchanged 1872 design is proof that perfection needs no updates. Master these fundamentals, and you’ll create flawless circles faster than any digital cutter—no software learning curve or expensive cartridges required. Start with scrap paper to perfect your rotation speed and pressure, then graduate to precious materials. That first perfect circle will make you wonder how you ever managed without this tool. Ready to transform your projects? Grab your circle paper cutter and cut your first professional-grade disc today—your future self will thank you for the time saved and headaches avoided.


