
Tired of spending hours measuring and cutting fabric strips with a rotary cutter only to find inconsistent widths that throw off your entire quilt? The AccuQuilt strip cutter solves this frustration by delivering perfectly sized strips in seconds—no more wobbly lines or mismatched seams. Whether you’re preparing binding strips for a baby quilt or cutting dozens of strips for a jelly roll race, mastering this tool transforms tedious prep work into satisfying precision. In this guide, you’ll discover exactly how to use AccuQuilt strip cutter to get flawless results every time, avoiding common mistakes that waste fabric and time.
Essential Components Checklist
Before you make your first cut, gather these critical items to ensure smooth operation. Having everything ready prevents mid-process interruptions that compromise your strip accuracy.
Primary Equipment Must-Haves
– AccuQuilt GO! or GO! Big cutter: Choose manual for portability or electric for speed
– Correct strip cutter dies: Available in 1-1/2″, 2″, 2-1/2″, 3-1/2″, and 4-1/2″ widths
– Two cutting plastics: One for top protection, one for bottom cushioning
– Die pick tool: Essential for safely removing strips without damaging blades
Workspace Setup Essentials
– Stable surface: A table with 2-3 feet of clearance around your cutter
– Bright lighting: Crucial for spotting fabric misalignment before cutting
– Organized storage: Keep dies and cut strips within arm’s reach to maintain workflow
Quick Machine Preparation Steps
Position Your Cutter Correctly
Place your AccuQuilt cutter on a solid surface away from table edges—this prevents tipping during operation. For manual models, ensure you have enough space to rotate the handle fully without hitting walls. Electric GO! Big users should verify easy access to the power button and outlet. Never place your cutter on unstable surfaces like fabric-covered tables that reduce cutting pressure.
Check Moving Parts Before Cutting
Run your cutter empty through one complete cycle to confirm smooth roller movement. If you hear grinding or feel resistance, clean the rollers with a soft cloth before proceeding. Weekly roller maintenance prevents inconsistent pressure that causes incomplete cuts. Remember: clean rollers equal crisp strip edges every time.
Inspect Cutting Mats for Damage
Hold your cutting plastics up to bright light to check for deep grooves or cracks. Even minor imperfections transfer to your fabric edges, ruining strip precision. Replace damaged mats immediately—they’re not worth risking your project. Clean both sides with mild soap and water, then dry completely before use to maintain optimal cutting performance.
Fabric Prep for Perfect Strips
Choose Your Fabric Wisely
Best performers: 100% quilting cotton and batiks (limit to 4 layers for high-thread-count batiks)
Handle carefully: Lightweight flannel (max 4 layers)
Avoid entirely: Fleece, upholstery fabric, or anything with heavy texture
Pre-wash all fabrics to prevent post-project shrinkage, then apply light spray starch. Starched fabric cuts cleaner and reduces stretching during the cutting process—this simple step dramatically improves strip accuracy.
Smart Folding Techniques
For Single Fabrics: Fold selvage to selvage, then fold lengthwise to fit your die width. Leave 1/2″ margin on each side to prevent overhang that causes uneven cuts.
For Multiple Strips: Stack fabrics right sides together for paired cutting—this doubles your output while keeping strips organized. Never exceed 6 layers for standard cotton or 4 layers for batiks, as overloading causes incomplete cuts.
Master the Cutting Process
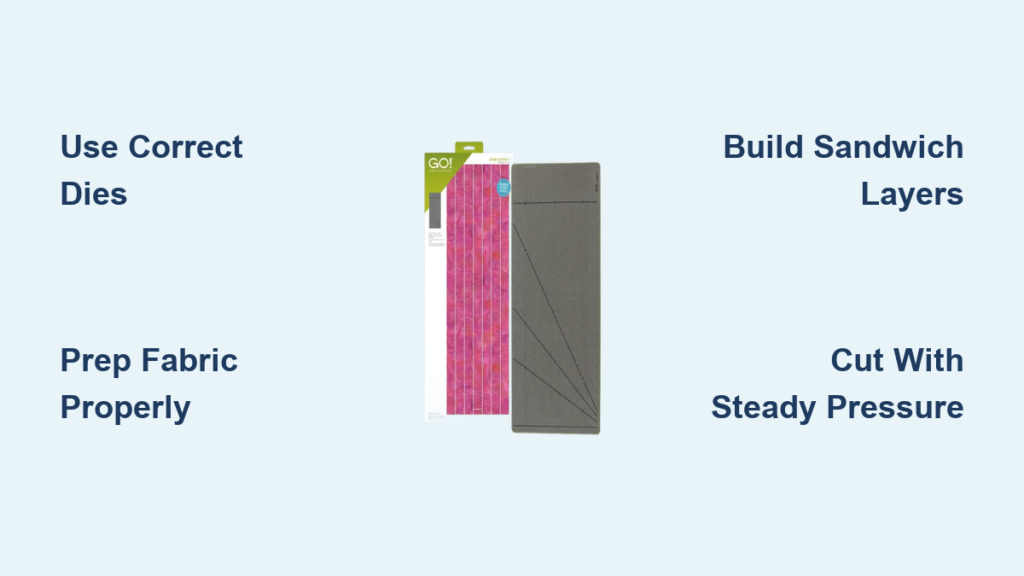
Build Your Sandwich Correctly
Follow this exact layer order (bottom to top):
1. Bottom cutting plastic
2. Strip cutter die (foam side up)
3. Prepared fabric stack
4. Top cutting plastic
Center everything on the cutting platform and align fabric edges precisely with die edges. Press out all wrinkles with your hand before adding the top plastic—any folds will transfer to your strips.
Execute the Cut Properly
Manual GO! Method: Turn the handle clockwise with steady, consistent pressure. Rushing causes uneven cuts—maintain one complete rotation for full die coverage.
Electric GO! Big Method: Press and hold the power button while gently guiding the sandwich. Let the motor do the work; your role is keeping everything aligned. Release immediately when strips emerge.
Remove Strips Safely
Peel back the top plastic first, then use the die pick to lift strips from the blade ends—never pull from the middle. Handle strips by the edges to prevent stretching. Fan strips immediately to separate them and check widths before moving on.
Troubleshoot Cutting Issues Fast

Fix Incomplete Cuts Immediately
Problem: Partially cut strips or uncut areas
Solution: Reduce layers to 4 maximum or increase pressure slightly
Prevention: Always test with scrap fabric before cutting project pieces
Stop Fabric Shifting During Cutting
Problem: Strips cut at angles or varying widths
Solution: Use temporary spray adhesive on bottom layer or reduce fabric count
Check: Clean foam on die—lint buildup reduces grip and causes shifting
Handle Die Damage Correctly
Warning signs: Visible nicks, bent blades, or inconsistent cutting
Action: Replace die immediately—never attempt repairs
Protection: Follow layer limits religiously; never force materials through
Maximize Cutting Efficiency
Batch Process Like a Pro
- Color Organization: Cut all strips from one fabric before switching colors
- Chain Cutting: Prepare 3-4 fabric sandwiches and feed continuously
- Mixed Cutting: Combine different fabrics in one pass for scrappy projects
Pro Tip: Pre-starch fabrics lightly for crisp edges and create cutting templates for common widths to save time during setup.
Advanced Layout Tricks
- Nested Dies: Position multiple width dies together for complex projects
- Angled Cuts: Rotate die 45 degrees for bias binding strips
- Strip Sets: Cut identical lengths from coordinated fabrics
Calculate Fabric Needs Accurately
Quick Reference Chart
– 1-1/2″ finished strips: Cut 2″ strips → 20 per yard
– 2-1/2″ finished strips: Cut 3″ strips → 13 per yard
– 3-1/2″ finished strips: Cut 4″ strips → 10 per yard
Pro Tip: Add 10% extra for miscuts and design adjustments—this prevents mid-project fabric shortages.
Safety Rules That Matter
Never skip these critical steps:
– Always use both cutting plastics—blades are razor sharp
– Keep fingers clear of roller mechanism during operation
– Store dies out of children’s reach
– Wear safety glasses when cleaning blade areas
Equipment warnings:
– Never force manual handle past normal resistance
– Don’t cut paper, plastic, or non-fabric materials
– Unplug electric models when cleaning or changing dies
– Stop immediately if you hear unusual sounds
Project Ideas for Strip Cutters

Quick Wins
- Jelly roll race quilts: 2-1/2″ strips in coordinated colors
- Log cabin blocks: 1-1/2″ and 2-1/2″ strips for traditional look
- Binding strips: 2-1/4″ bias strips for curved edges
- Bargello quilts: Multiple widths for graduated color effects
Advanced Applications
- Strip piecing: Speed up complex block construction
- Foundation paper piecing: Pre-cut strips save hours
- Curved piecing: Bias strips bend easily around templates
Final Pro Tips
Accuracy Boosters
– Cut test strips from scrap before starting projects
– Use registration marks on dies for perfect alignment
– Maintain consistent fabric grain direction throughout
Time Savers
– Pre-fold fabrics the night before big cutting sessions
– Color-code storage bins for instant organization
– Create laminated reference cards for common cuts
Mastering how to use AccuQuilt strip cutter transforms quilt preparation from tedious to enjoyable. With these techniques, you’ll produce perfect strips faster than ever, leaving more time for the creative parts of quilting you love most. The key is consistent fabric preparation, proper layer limits, and immediate troubleshooting of any cutting issues—follow these steps and your strips will always measure up.


