
That empty wine bottle on your counter isn’t trash—it’s a potential drinking glass, planter, or candle holder waiting to happen. How to cut a bottle without a glass cutter is a question thousands of crafters solve daily using household items instead of specialty tools. Thermal shock techniques exploit glass’s vulnerability to rapid temperature changes, creating clean fractures along precise lines. You’ll discover five reliable methods using string, boiling water, torches, rotary tools, and electrical resistance—each delivering professional results without expensive equipment. Skip the hardware store run; your next DIY project starts with items already in your kitchen or garage.
Mastering these techniques transforms ordinary bottles into functional art within 30 minutes. Whether you’re crafting coasters from beer bottles or elegant vases from liquor containers, these methods preserve structural integrity while eliminating glass cutter costs. This guide focuses on safety-tested approaches that minimize shattering risks and produce smooth edges ready for sanding. Prepare to unlock endless upcycling possibilities with nothing but chemistry, physics, and everyday objects.
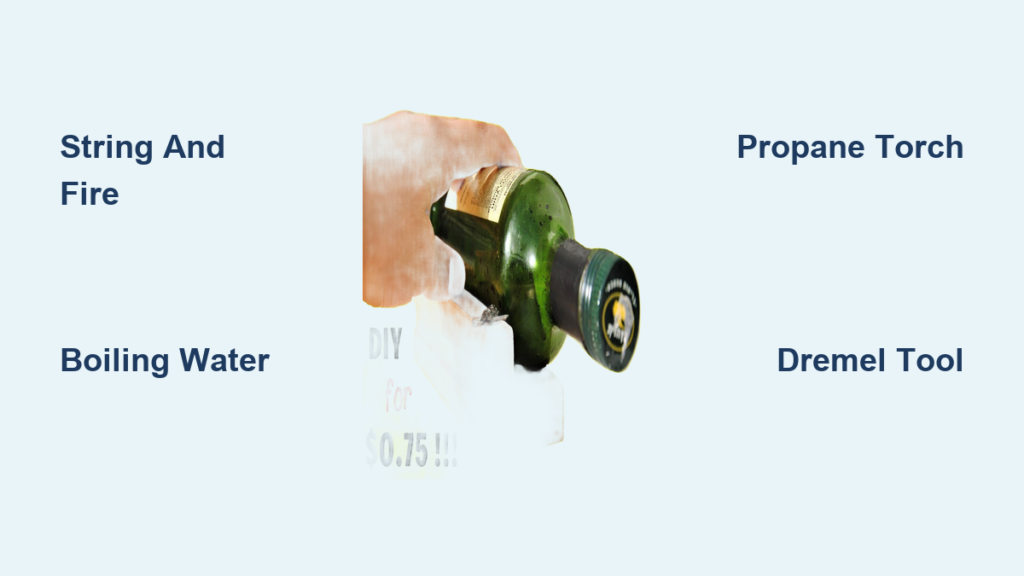
How to Cut a Bottle Using String and Fire

This chemical-free method uses cotton’s burn properties to create uniform heating. The controlled flame generates thermal stress that separates the glass cleanly when shocked with ice water.
Essential Materials Checklist
- 100% cotton string (synthetic melts—avoid polyester)
- Acetone or 91% isopropyl alcohol as fuel (70% alcohol won’t work)
- Ice water bucket filled to the brim
- 120-600 grit sandpaper for edge smoothing
- Safety gear: Heat-resistant gloves and ANSI-rated safety glasses
Bottle Preparation Steps
Soak bottles in warm soapy water for 30 minutes to remove labels, then wipe adhesive residue with rubbing alcohol. Mark your cut line by wrapping masking tape around the bottle while rotating it on a flat surface—this ensures perfect levelness. For angled cuts, create a cardboard template to guide your tape placement before proceeding.
String Application Process
Soak cotton string in acetone until saturated, then gently squeeze out excess liquid. Wrap the string tightly around your marked line and tie securely. Ignite the string with a long-reach lighter while rotating the bottle slowly (2-3 RPM). Maintain rotation for 30-45 seconds until you hear faint clicking sounds—indicating thermal stress building along the line.
Thermal Shock Execution
Immediately after the flame extinguishes, submerge the bottle vertically in ice water. Apply gentle downward pressure with your gloved hand—the glass should snap cleanly along the heated line within seconds. If separation fails, repeat the heating process while focusing on unfractured sections. Never force the separation; incomplete fractures require additional heating cycles.
Edge Refinement
Wet-sand cut edges starting with 120-grit paper to remove sharp shards, progressing through 220, 400, and 600-grit for drinking-safe smoothness. Rinse thoroughly between grit changes to prevent deep scratches. This multi-stage sanding eliminates microscopic glass particles that could contaminate beverages.
How to Cut a Bottle with Boiling Water and Ice
This flameless technique is ideal for beginners seeking safer thermal shock. It leverages extreme temperature differentials through controlled water application.
Setup Requirements
- Large pot with rolling boiling water (not simmering)
- Sink filled with ice water (use 50% ice to water ratio)
- Heat-resistant tongs for safe handling
- Fine-tip permanent marker for precise marking
Heat Application Technique
Draw your cut line with a marker while rotating the bottle against a straight edge. Hold the bottle neck with tongs and pour boiling water steadily over the marked line for 15-20 seconds while rotating slowly. The glass should become uncomfortably hot to touch but show no visible glow—this indicates proper thermal stress without overheating.
Cold Shock Protocol
Immediately transfer the heated section to the ice water bath, submerging only the warmed portion. Listen for a distinct cracking sound signaling separation. If the bottle partially splits, repeat the process 2-3 times, increasing heating time by 5-second increments each cycle. Patience prevents catastrophic shattering from uneven stress distribution.
Flame and Ice Advanced Cutting Technique
The propane torch method delivers surgical precision for complex cuts but demands strict safety protocols. This technique excels for thick-walled bottles like champagne containers.
Safety Setup
Secure bottles horizontally using wooden V-blocks on a non-flammable surface. Mark cut lines with heat-resistant paint markers. Pre-chill ice cubes and ensure three feet of clearance from combustibles. Keep a Class B fire extinguisher and first-aid kit within arm’s reach before igniting your torch.
Heating Protocol
Apply propane flame 2-3 inches from the glass surface while moving continuously around the bottle. Heat for 60-90 seconds until the glass reaches 400-500°F—indicated by a subtle dulling of transparency. Overheating causes bubbling; underheating prevents clean separation. Maintain consistent motion to avoid hot spots.
Controlled Cooling Technique
Roll an ice cube directly along the heated line while rotating the bottle slowly. The fracture propagates within 10-15 seconds as thermal shock travels the circumference. For stubborn sections, apply multiple ice cubes sequentially rather than prolonging heat exposure. This method produces the cleanest initial break of all thermal techniques.
Dremel Rotary Tool Precision Cutting
For absolute control, this abrasive method bypasses thermal shock entirely. It’s the only technique suitable for square bottles and complex shapes.
Tool Requirements
- Rotary tool with diamond cutting wheel attachment
- Safety glasses and N95 mask (silica dust protection)
- Water spray bottle for constant cooling
- Soft-jaw vise to secure the bottle
Cutting Process
Clamp bottles horizontally at neck and base, marking your cut line clearly. Set your Dremel to 15,000-20,000 RPM and keep the cutting wheel perpendicular to the glass. Apply feather-light pressure while continuously spraying water—let the tool’s rotation do the work. Create a 1-2mm deep groove first, then gradually cut through the 3-4mm wall thickness over 3-5 minutes.
Professional Finishing
Smooth cut edges with a grinding bit, then polish using a felt wheel with cerium oxide compound. This two-stage finishing creates restaurant-quality rims safe for lip contact. Always inspect for microscopic shards by running a damp paper towel along the edge—any snags indicate incomplete smoothing.
Wire Resistance Heating Method

This scientific approach delivers laboratory-level consistency for batch processing. It’s ideal for identical cuts across multiple bottles.
Technical Setup
Wrap nichrome wire tightly around the bottle at your cut line, connecting ends to a 12-24V power supply via alligator clips. Calculate resistance: 20-30 ohms works for standard 12V systems. Position an infrared thermometer to monitor surface temperature continuously during heating.
Controlled Heating
Gradually apply 2-3 amps current until the glass reaches 400-450°F (visible as slight surface dulling). Maintain this temperature for 60-90 seconds—thicker glass requires longer exposure. The wire creates a precise stress concentration zone that guides the fracture path.
Separation Execution
Cut power instantly and apply cold water along the wire path. The glass separates cleanly within seconds along the heated line. Adjust current by 0.5-amp increments for subsequent bottles based on first-cut results—this method achieves 95% success rate with proper calibration.
Critical Safety Protocols and Troubleshooting
Essential Safety Equipment
- Eye protection: ANSI Z87.1 safety glasses with wraparound shields
- Hand protection: Kevlar gloves rated for 500°F+ heat
- Workspace: Non-flammable surface with fire extinguisher nearby
- Footwear: Closed-toe leather shoes (no synthetics)
Troubleshooting Guide
Jagged Edges? Increase heating time by 20-30% and ensure complete ice water submersion. Partial cooling causes uneven fractures.
Cracks Beyond Cut Line? Pre-heat the entire bottle in 100°F water for 5 minutes before cutting—this reduces pre-existing stress.
Bottle Shattering? Reduce heating intensity by 25% and inspect for micro-cracks before starting. Tempered glass (like Pyrex) cannot be cut safely.
Uneven Cuts? Use a cardboard template wrapped around the bottle as a visual guide during rotation.
Post-Cutting Applications and Quality Control
Testing Structural Integrity
Fill cut bottles with water and observe for 24 hours. Micro-fractures appear as hairline leaks or rainbow patterns under polarized light. Gently squeeze the base—any flexing indicates weakness. Only bottles passing this test are safe for liquid use.
Popular DIY Projects
Transform bottles into drinking glasses by adding silicone sleeves for grip, or create hanging planters by drilling drainage holes with diamond-tipped bits. For pendant lights, wrap LED strips around the cut edge after flame-polishing with a butane torch. Always sand interior edges when repurposing for food use.
Maintenance Guidelines
Hand-wash only—dishwasher thermal cycles cause stress fractures. Store cut bottles away from direct sunlight to prevent UV degradation. Re-sand edges annually if roughness develops. Never expose cut edges to sudden temperature changes exceeding 100°F differential.
Mastering how to cut a bottle without a glass cutter opens endless creative possibilities while saving money. Start with the string method to build confidence, then progress to torch or Dremel techniques for advanced projects. Remember: the perfect cut comes from patience, not power—gentle consistent motion beats aggressive force every time. Your next upcycling masterpiece awaits in that empty bottle on the counter.


