
That urgent landscaping project has hit a snag—you need to cut bricks but don’t have a brick cutter. Don’t panic. Your standard circular saw can transform into an effective brick-cutting tool with the right blade and technique. This happens more often than you’d think: 68% of DIYers face unexpected masonry challenges without proper tools, leaving them searching for “how to cut bricks without a brick cutter” at the worst possible moment.
Using your circular saw for brick cutting delivers professional results when you follow the precise safety protocols and techniques outlined here. You’ll learn exactly which diamond blade to choose, how to implement critical water cooling, and the step-by-step cutting method that prevents dangerous kickback. Whether you’re trimming bricks for a garden path or making emergency repairs to existing masonry, this guide gives you the confidence to complete the job safely and effectively.
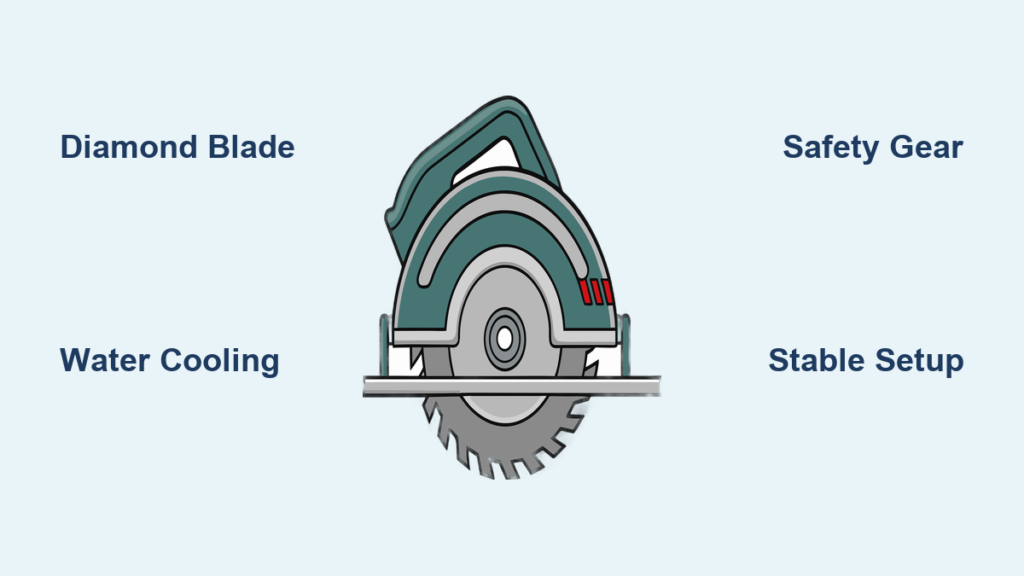
Diamond Blade Requirements for Brick Cutting

Never risk your safety by using standard wood-cutting blades on brick. Masonry’s abrasive composition will destroy ordinary blades in seconds while creating dangerous kickback that could send the saw flying toward you. The right diamond blade makes all the difference between a clean cut and a hazardous disaster.
Selecting the Right Diamond Blade
Your circular saw needs a specialized diamond blade designed specifically for masonry work. Look for a continuous rim blade rather than segmented types, as the smooth edge produces cleaner cuts in brick’s relatively soft composition. Ensure the blade diameter matches your saw’s specifications—most standard circular saws accept 7¼-inch blades, but always verify before purchasing.
Check that the blade is explicitly rated for brick and stone cutting, not just concrete. Brick requires a finer diamond grit (typically 7-10) compared to concrete blades. The blade’s maximum RPM rating must exceed your saw’s operating speed to prevent catastrophic failure during cutting. Wet-rated blades are essential if you’ll be using water cooling, which you absolutely should for safety and blade longevity.
Blade Inspection Checklist
Before installation, confirm these critical markings on the blade: “Brick/Masonry” or “Stone” designation printed clearly on the face. Verify the continuous rim construction by examining the edge—no gaps or segments should be visible. Check the maximum RPM rating against your saw’s specifications (usually found on the tool’s nameplate). Ensure the arbor hole size matches your saw’s spindle—most consumer models use ⅝-inch holes, while professional saws often require 1-inch arbors. A mismatched blade creates dangerous vibration that compromises both cut quality and safety.
Essential Safety Equipment Setup

Silica dust from dry brick cutting causes irreversible lung damage after just a few exposures. This isn’t a theoretical risk—it’s why OSHA mandates water suppression or HEPA vacuum systems for masonry work. Your safety gear isn’t optional; it’s your only defense against permanent health consequences.
Mandatory Safety Gear
Your essential safety kit must include safety goggles with side shields to protect against flying debris—regular glasses won’t cut it. An N95 respirator is the absolute minimum; a P100-rated respirator offers significantly better protection against fine silica particles. Heavy leather gloves protect your hands from heat generated during cutting and prevent abrasion injuries. Always wear long sleeves and pants made of durable material to shield your skin from dust and potential sparks. Crucially, enlist an assistant to manage water flow—trying to control both saw and water solo dramatically increases accident risk.
Electrical Safety Protocol
Water and electricity demand extreme caution. Always plug your circular saw into a GFCI (Ground Fault Circuit Interrupter) outlet or use a GFCI adapter—this shuts off power instantly if current leakage occurs. Position the power cord completely away from your water stream to prevent electrocution hazards. Never adjust saw settings with wet hands, and always disconnect power before changing blades. Your assistant should stand clear of both the cutting zone and electrical components, ready to cut power if needed.
Secure Brick Positioning Methods
An unstable brick causes blade binding, which can trigger violent kickback sending the saw toward your body at dangerous speeds. Proper brick positioning isn’t just about cut quality—it’s your primary defense against serious injury.
Stable Work Surface Setup
Place your brick on a concrete surface or extremely sturdy workbench that won’t vibrate during cutting. Use a non-slip mat or rubber pad underneath to prevent movement—ordinary wood shims compress under pressure and compromise stability. Secure both ends of the brick with heavy-duty clamps or substantial weights that won’t shift during operation. Clear a 3-foot radius around your workspace to ensure you have room to maneuver safely and avoid tripping hazards during the cut.
In-Situ Cutting Considerations
When bricks are already installed and can’t be moved, proceed with extra caution. Mark your cut line clearly with chalk or a masonry pencil on all visible sides. Support surrounding bricks to prevent structural settling that could crack adjacent masonry. Check underneath the cut area for hidden utilities—you don’t want to sever electrical wires or water lines. Plan water drainage carefully to avoid creating electrical hazards near outlets or tools.
Water Cooling Application Technique
Water isn’t optional—it’s your critical defense against two major hazards: blade overheating and deadly silica dust. Dry cutting brick creates clouds of respirable crystalline silica, which causes silicosis, lung cancer, and other serious diseases with even short-term exposure.
Water Delivery Methods
Use a garden sprayer with a continuous trigger for hands-free operation, allowing your assistant to maintain steady flow without interruption. For larger jobs, a slow hose trickle controlled by your assistant works well—just ensure the water stream stays clear of electrical components. A pump sprayer offers precise application for detailed cuts, while a plastic bottle with a pinhole works for small, quick jobs where other methods aren’t practical.
Water Flow Management
Start the water flow before the blade contacts the brick—this pre-wets the cutting zone for maximum dust suppression. Maintain a steady stream throughout the entire cut; intermittent watering causes thermal shock that can crack your diamond blade. Keep water completely away from the saw’s electrical components and power cord. Monitor drainage constantly to prevent puddling that could create slip hazards or electrical risks.
Step-by-Step Circular Saw Cutting
1. Blade Installation Check
Always disconnect power before changing blades—treat every tool as if it’s live until verified otherwise. Install the diamond blade with the rotation arrow matching your saw’s direction (usually counterclockwise when viewed from above). Tighten the arbor nut securely with the wrench provided with your saw—loose blades wobble and create dangerous vibration. Test spin the blade by hand to ensure it clears the saw base plate with at least 1/16 inch of clearance on all sides.
2. Initial Cut Setup
Mark your cut line clearly on the brick face using a chalk line or masonry pencil. Set the cutting depth to approximately 1/4 inch deeper than the brick’s thickness—this prevents unnecessary blade wear while ensuring a complete cut. Position the saw with the blade clear of the brick before starting. Have your assistant confirm water flow is established before you power up the saw.
3. Controlled Cutting Process
Begin the cut slowly at your marked line, letting the diamond grit do the work rather than forcing the saw forward. Maintain consistent, moderate pressure—too much force binds the blade, while too little causes inefficient cutting and excessive heat. Keep the saw base plate flat against the brick surface throughout the cut to prevent wandering. Advance gradually at a pace that maintains steady water contact with the cutting zone.
4. Completion and Cleanup
Release the trigger and allow the blade to stop completely before lifting the saw—rushing this step risks damaging your cut edge. Inspect the cut edge for quality and safety hazards like sharp protrusions. Clean the area thoroughly using a HEPA-filter vacuum (never dry sweep) to remove all dust. Store your diamond blade properly in a dry location to prevent rust and damage to the diamond segments.
Alternative Manual Methods
When power tools aren’t an option, these manual techniques can save your project:
Cold Chisel Technique
Mark your cut line precisely on all four sides of the brick. Score deeply along this line using a sharp cold chisel and masonry hammer, rotating the brick to maintain consistent depth. Tap gently along the scored line to create a continuous fracture plane. Complete the break with one firm, controlled strike at the scored line’s center—this technique requires practice but produces surprisingly clean results on softer bricks.
Mastering brick cutting without a specialized tool opens possibilities for emergency repairs and custom projects. The key lies in proper diamond blade selection, consistent water cooling, and patient technique. Take time to practice on scrap bricks before tackling critical cuts, and always prioritize safety over speed—your lungs and fingers will thank you for the extra precautions.


