
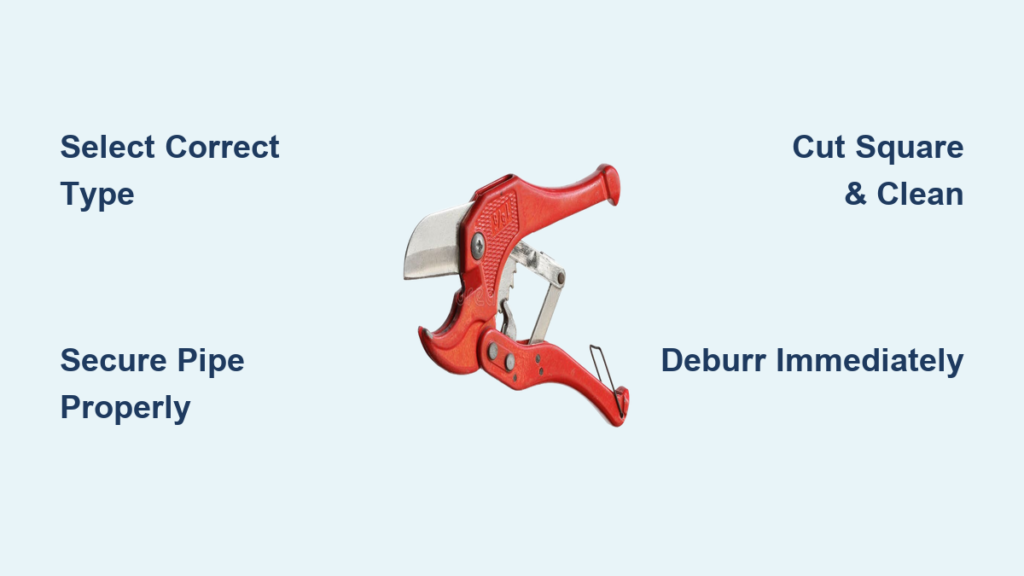
That frustrating leak you’re trying to fix might actually stem from a poorly cut pipe during your last plumbing project. A clean, square cut is non-negotiable for leak-free connections—whether you’re working with copper supply lines or PVC drain pipes. Knowing how to use a pipe cutter properly separates DIYers who create lasting solutions from those who end up with water damage and costly callbacks. This guide delivers the exact techniques professionals rely on to achieve flawless cuts every time, regardless of pipe material or workspace constraints.
Mastering your pipe cutter means never wasting expensive fittings due to misaligned pipes or dealing with the headache of re-cutting sections. You’ll learn to select the right cutter for your specific job, position it perfectly, apply the correct pressure, and finish cuts that slide seamlessly into fittings. Whether you’re a weekend warrior tackling a bathroom remodel or a new apprentice building foundational skills, these methods will transform your plumbing results immediately.
Select the Perfect Pipe Cutter for Your Material
Match Cutter Type to Pipe Material
Using the wrong cutter destroys tools and creates leak-prone connections. Tubing cutters with hardened steel wheels deliver clean, non-crushing cuts on copper, brass, and aluminum with minimal burrs. For PVC and CPVC pipes, ratcheting or scissor-style cutters prevent deformation with their controlled slicing action. Heavy-duty steel pipe cutters feature reinforced frames and specialized wheels to handle galvanized or black iron pipes that would shatter standard cutter wheels.
Size Your Cutter to the Job
Check the capacity markings on your cutter—most standard models handle 1/8″ to 1-1/8″ diameter pipes. Attempting to cut beyond this range risks uneven cuts or tool damage. For tight spaces behind walls or under sinks, mini cutters fit in just 1-1/2″ of clearance while maintaining precision. When you need multiple identical cuts for repetitive installations, auto-cut tools self-adjust pressure for consistent results that save hours of rework.
Know Your Cutter’s Critical Components
Your tubing cutter has five essential parts working together: The cutting wheel scores the pipe surface with hardened steel precision. Roller wheels stabilize the tool and maintain alignment during rotation. The adjustment knob controls cutting pressure incrementally. The C-shaped frame houses the mechanism while the handle provides leverage. Understanding each component’s role prevents user error that leads to failed cuts.
Secure Setup Prevents Costly Mistakes
Essential Safety Preparations Before Cutting
Eye protection is mandatory—metal fragments from copper or steel pipes can cause permanent eye damage. Wear cut-resistant gloves when working with metal pipes to prevent slicing your hands on sharp edges. Ensure your workspace has bright, shadow-free lighting so you can see the cut line clearly. Set up your pipe vise or clamp on a stable surface at waist height to maintain control during cutting.
Workspace Organization for Efficiency
Clamp your pipe securely with 6-8 inches of clearance on both sides of your cut line. Keep a deburring tool, tape measure, and permanent marker within arm’s reach to avoid fumbling mid-cut. For metal pipes, use a serrated-jaw vise positioned so the cut line sits 2-3 inches from the edge. Plastic pipes require padded clamps tightened just enough to prevent movement—over-tightening crushes PVC and creates oval-shaped ends that won’t seal.
Measure, Mark, and Position for Precision
Critical Pre-Cut Inspection Steps
Examine your pipe for cracks, dents, or corrosion that could cause splitting during cutting. Never cut damaged pipe—weak spots create immediate leaks or future failures under pressure. Verify the pipe diameter matches your cutter’s capacity range to prevent tool damage. Add 1/8″ to 1/4″ extra length to your measurement for fitting connections and potential re-cutting.
Create a Perfect Cut Line
Use a framing square against the pipe to transfer your measurement into a perpendicular line around the circumference. Mark this line with a dark permanent marker—light-colored pipes may require multiple passes for visibility. Check alignment from multiple angles before cutting; a misaligned mark guarantees an angled cut that won’t seal properly in fittings.
Execute Flawless Metal Pipe Cuts
Progressive Cutting Technique for Copper
Start with the adjustment knob barely touching the pipe surface. Rotate the cutter clockwise once with light pressure to establish a clean score line. After each full rotation, tighten the knob 1/8 turn—this incremental approach prevents pipe deformation. Maintain steady rotation speed without jerking; let the hardened steel wheel do the work rather than forcing it. When the pipe nears separation, reduce pressure to minimize burrs that restrict water flow.
Avoid Common Metal Cutting Errors
Over-tightening creates oval-shaped pipes that leak at fittings—adjust in small increments. Rushing the process causes jagged cuts that require rework—allow 30-60 seconds for a standard copper cut. If your cut becomes uneven mid-process, stop immediately—trying to correct it worsens the problem. Instead, mark a new line 1/2″ away and restart with proper alignment.
Achieve Clean Plastic Pipe Cuts
Ratcheting Cutter Method for PVC
Fully open the cutter jaws beyond your pipe diameter. Position the blade exactly on your marked line with the pipe seated against the anvil. Squeeze the handles until you feel resistance, then use ratcheting motion—squeezing and releasing repeatedly—to advance the blade. Maintain consistent alignment throughout; PVC requires less pressure than metal but demands precise positioning. The pipe should snap off cleanly with a crisp “click” sound when complete.
Scissor-Style Cutter Technique
Place the pipe between the blade and anvil with the mark aligned. Apply gentle initial pressure to create a starting groove, then gradually increase pressure while keeping the cutter perpendicular. Complete the cut with firm, controlled motion—sudden force can crack PVC. Immediately remove any plastic burrs with a utility knife before they harden, as they prevent proper fitting insertion.
Perfect Your Cut Quality Every Time
Essential Deburring Procedures
For metal pipes, use an internal deburring tool rotated inside the pipe to remove flow-restricting burrs. Clean outside edges with an external reamer or fine file, then finish with emery cloth for a smooth surface. Remove all metal shavings with a shop rag—leftover debris causes pinhole leaks. Plastic pipes need their edges chamfered at 15 degrees with a deburring tool to help fittings slide on smoothly.
Quality Verification Checklist
Check cut squareness with a framing square—more than 1/16″ deviation causes leaks. Re-measure length to confirm accuracy within tolerance. Inspect for cracks or splits at the cut edge that compromise integrity. Test-fit in your intended fitting before soldering or gluing; resistance indicates a poor cut requiring rework.
Solve Cutting Problems Immediately
Fix Uneven Cuts Before They Cause Leaks
An uneven cut almost always means your cutter was not perpendicular to the pipe axis. Reposition the cutter using a square as a guide and restart from a new mark. Prevention is simpler—place a small level on top of the cutter before starting to verify 90-degree alignment. For recurring issues, check if your cutter’s roller wheels are worn and need replacement.
Stop Pipe Deformation in Its Tracks
Excessive pressure or dull cutting wheels cause oval-shaped pipes that leak at connections. Reduce pressure and replace worn wheels immediately. For plastic pipes, ensure you’re using padded clamps and haven’t over-tightened the vise. If deformation persists, your cutter may be the wrong size—verify pipe diameter against the tool’s capacity range.
Maintain Your Cutter for Years of Service

Daily Cleaning Protocol
Wipe your cutter clean after each use with a dry cloth to remove metal shavings and plastic debris. Use compressed air to blow out particles from roller mechanisms and cutting wheel grooves. This simple habit prevents buildup that affects cutting precision and accelerates wear. Store with the jaws partially closed to protect the cutting wheel edge.
Wheel Replacement Indicators
Replace cutting wheels showing visible nicks or requiring excessive force to cut. If your cuts become jagged or uneven despite proper technique, the wheel is likely dull. Use manufacturer-specific replacements—generic wheels often have incorrect bevel angles that compromise cut quality. Properly maintained wheels typically last for 50-100 cuts depending on material hardness.
Avoid Costly Beginner Mistakes
Top Errors That Cause Plumbing Failures
- Using copper cutter on steel pipe—destroys the cutting wheel and creates dangerous shards
- Skipping deburring—causes restricted flow and fitting misalignment
- Cutting damaged pipe—leads to splits during installation or future leaks
- Rushing the cut—produces uneven edges that won’t seal properly
- Ignoring safety gear—risks serious injury from flying debris
Pro Tips for First-Time Success
Measure twice, cut once—double-check your mark before committing. Secure the pipe firmly but without crushing plastic materials. Apply steady, gradual pressure rather than forcing the cutter. Verify squareness with a framing square before proceeding. Deburr completely—this 10-second step prevents 90% of fitting failures. Keep these principles in mind, and you’ll achieve professional-quality results from your very first cut.
Mastering how to use a pipe cutter properly transforms plumbing from a frustrating chore into a precise craft. Clean, square cuts create reliable connections that last for decades rather than weeks. Take time to practice on scrap pieces before tackling critical installations—your future self will thank you when fixtures remain leak-free through years of use. With these techniques in your toolkit, you’re now equipped to handle any pipe cutting challenge with confidence.


