

That first time holding a brush cutter can be intimidating—between the engine’s roar, spinning blades, and safety warnings, many beginners wonder if they’re doing everything right. If you’re staring at an overgrown backyard or rural property, learning proper brush cutter technique from day one prevents injuries and delivers professional-looking results. This guide cuts through complex manuals to give you exactly what you need to know about how to use a brush cutter for beginners.
Most new users either become overwhelmed by safety concerns or dive in without proper preparation—both lead to frustration and potential danger. You’ll discover the right-to-left cutting pattern professionals use, the 5-minute daily maintenance routine that extends your machine’s life, and how to navigate slopes without losing control. By the end, you’ll confidently tackle thick brush and tall grass while keeping yourself and your equipment safe.
Essential Safety Setup Before First Use
Required Protective Gear Checklist
Never operate without complete protection:
– Brush shield with hearing protection – Your primary defense against flying debris that can cause serious eye injuries
– Safety glasses – Wear underneath the shield for double eye protection against wood chips and stones
– Ear plugs or muffs – Essential for preventing permanent hearing damage from prolonged engine noise
– Steel-toe boots – Protect feet from dropped equipment and hidden obstacles like rocks
– Long pants and sleeves – Shield skin from debris and toxic plants like poison ivy
Pro tip: Many beginners skip the double eye protection (glasses under shield), but this simple step prevents 95% of eye injuries when debris penetrates the shield’s mesh.
Pre-Work Environment Check
Clear your workspace completely:
1. Walk the entire cutting area, removing rocks, branches, and trash that could become dangerous projectiles
2. Mark hidden obstacles like sprinkler heads or tree stumps with spray paint
3. Establish a 50-foot safety perimeter from other people—debris can travel this far
4. Check weather conditions—avoid wet grass (increases slip risk) or high winds (reduces control)
5. Identify emergency exit routes on slopes or uneven terrain before starting
Critical mistake to avoid: Never cut toward yourself or others. Always position yourself so debris throws away from people and structures.
Starting Your Brush Cutter Safely: Step-by-Step
Fuel and First Start Sequence
Before pulling the cord:
– Refuel only with engine off and completely cool—hot engines cause fuel fires
– Move 10+ feet from fueling area before starting to avoid igniting fuel vapors
– Press primer bulb 5 times for proper fuel delivery to the carburetor
– Check all attachments are securely locked with no visible wobble
Starting sequence:
1. Set choke to “start” position (usually marked with a rabbit symbol)
2. Hold throttle trigger fully open to prevent flooding
3. Pull starter cord with smooth, firm motion—not a jerky yank
4. Once running (after 3-5 pulls), move choke to “run” position within 10 seconds
Expert note: Beginners often pull the cord too aggressively, which can damage the starter mechanism. A smooth, consistent pull using your body weight works better than arm strength alone.
Master Basic Cutting Patterns for Clean Results

Right-to-Left Cutting Direction Technique
Why direction matters: Your brush cutter spins counter-clockwise, making right-to-left cuts safer and more efficient. This throws debris away from you while creating clean, visible cutting lines on the already-cut area. Cutting left-to-right forces debris into uncut vegetation, reducing visibility and increasing re-cutting.
The two-pass technique for tough growth:
– Pass 1: Cut high (about 6 inches above ground), right-to-left, removing top vegetation
– Pass 2: Cut low (1-2 inches), left-to-right, clearing remaining growth
This prevents bogging down your engine and ensures complete removal without multiple re-cuts—saving you 30% more time on thick brush.
Large Area Strategy: The Square Method
Divide and conquer approach for yards over 500 sq ft:
1. Mentally divide the area into 10×10 foot squares
2. Start at the outer edge of your first square
3. Work clockwise around the perimeter
4. Spiral inward until the square is complete
5. Move to adjacent square and repeat
Time-saving tip: Overlap each pass by 6 inches—this prevents thin strips of missed growth that require touch-ups later. Beginners often rush this step, creating “checkerboard” patterns that look unprofessional.
Navigate Hills and Obstacles Without Danger
Slope Safety: The Strip Method
Never cut up or down hills directly. Instead:
1. Cut parallel to slope contours (like following elevation lines on a map)
2. Complete one horizontal strip at a time (about 2 feet wide)
3. Progress upward, strip by strip, maintaining stability
4. Keep three points of contact on steep terrain (two feet + one hand)
Critical warning: Cutting across steep slopes requires extra caution—beginners should start with slopes under 15 degrees until they build confidence.
Obstacle Navigation Technique
Approach trees and bushes safely:
– Use the deflector as a physical guide against tree trunks
– Clear the surrounding area before detailed trimming around multiple plants
– Approach obstacles from the downhill side when possible
– Stop the blade completely when repositioning near valuable plants
Pro tip: For tight spaces, use the “feathering” technique—gently tap the vegetation with the blade’s tip rather than making full passes.
Equipment Setup for Your Body: Bike vs. Loop Handles
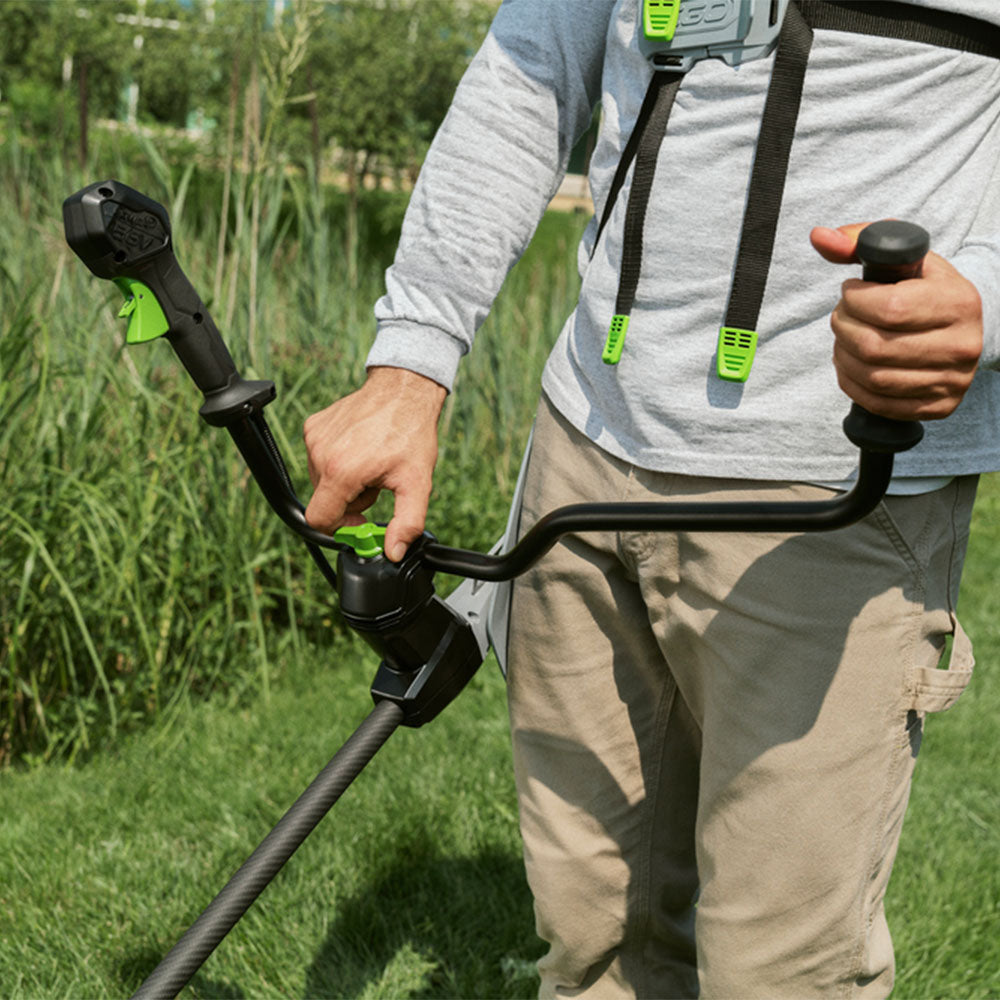
Bike-Handle Configuration
Harness positioning in 30 seconds:
– Hook the spring clip one hand-width below your right hip
– Adjust until the cutting head floats just above ground level
– Fine-tune handle positions for straight wrists and slightly bent elbows
Balance test: When properly adjusted, the machine should feel weightless in your hands with the harness bearing all load. Beginners often set the harness too high, causing shoulder strain within 15 minutes of operation.
Loop-Handle Setup
Two-hand control method for precise work:
– Attach shoulder strap to carrying ring
– Left hand grips loop handle firmly (creates stable pivot point)
– Right hand controls throttle on shaft
– Keep elbows bent and wrists straight for maximum control
Critical warning: One-handed operation causes loss of control and increases kickback risk by 70%. Always maintain two-handed grip during operation.
Avoid Beginner Mistakes That Damage Equipment

Top 5 Equipment Killers
- Cutting wet grass – Clogs air filters and dulls blades prematurely (wait until moisture evaporates)
- Forcing through thick growth – Overheats engine and snaps drive shafts (use two-pass technique)
- Ignoring blade maintenance – Dull blades work harder and cut poorly (sharpen after 5 hours)
- Skipping air filter cleaning – Reduces power by 25% and increases fuel consumption
- Improper storage – Fuel left in tank gums carburetors over winter (use stabilizer)
Technique Errors That Ruin Results
Don’t make these cuts:
– ✗ Cutting too low on first pass (causes bogging down)
– ✗ Changing direction mid-swath (creates uneven patterns)
– ✗ Rushing through dense vegetation (overheats engine)
– ✗ Ignoring blade height adjustment (damages equipment)
Do this instead:
– ✓ Start high, work progressively lower
– ✓ Complete full passes before turning
– ✓ Let the blade speed do the work (don’t force it)
– ✓ Adjust height for different growth types
Maintenance Between Uses: The 5-Minute Routine
Daily Care Routine
After each use (takes just 5 minutes):
1. Clean debris from air filter and cooling fins with soft brush
2. Check blade sharpness and security (tighten if loose)
3. Wipe down the entire unit with dry cloth
4. Store with fuel stabilizer if not using within 30 days
Weekly deep clean:
– Remove and clean spark arrestor (critical for engine performance)
– Grease gear head (if applicable)
– Inspect fuel lines for cracks
– Tighten all visible bolts and screws
Next Steps for Brush Cutter Mastery
Your first successful brush cutting session builds confidence for tackling larger projects. Start with small, manageable areas to develop muscle memory for proper technique. As you progress, experiment with different blade types for specific vegetation—grass blades for lawns, brush blades for woody growth, and saw blades for saplings under 2 inches.
Remember: professional-looking results come from consistent technique, not expensive equipment. Master these fundamentals of how to use a brush cutter for beginners, and you’ll maintain any property like a seasoned pro.
Ready to advance? Practice these techniques on different terrain types and growth densities. Each new challenge reinforces proper form and builds the expertise that separates beginners from professionals. Within just three sessions, you’ll notice significant improvement in both speed and quality of your cuts—without the frustration most beginners experience.


