

Rough, snarled cuticles catching on every sweater sleeve? You’re not alone. Mastering how to use a cuticle cutter properly transforms ragged nail beds into polished, professional-looking hands without expensive salon visits. This guide reveals the exact techniques professionals use to remove dead skin safely while avoiding painful mistakes. Forget guesswork—learn the precise angles, pressure points, and timing that prevent bleeding and infection while delivering salon-quality results at home.
Most beginners make critical errors that damage living tissue, but with the right approach, you’ll achieve smooth cuticles in under 10 minutes. We’ll cover everything from selecting surgical-grade blades to recognizing infection warning signs. Whether you’re battling winter dryness or stubborn hangnails, these evidence-based steps ensure you never cut too deep again.
Choose Your Cuticle Cutter
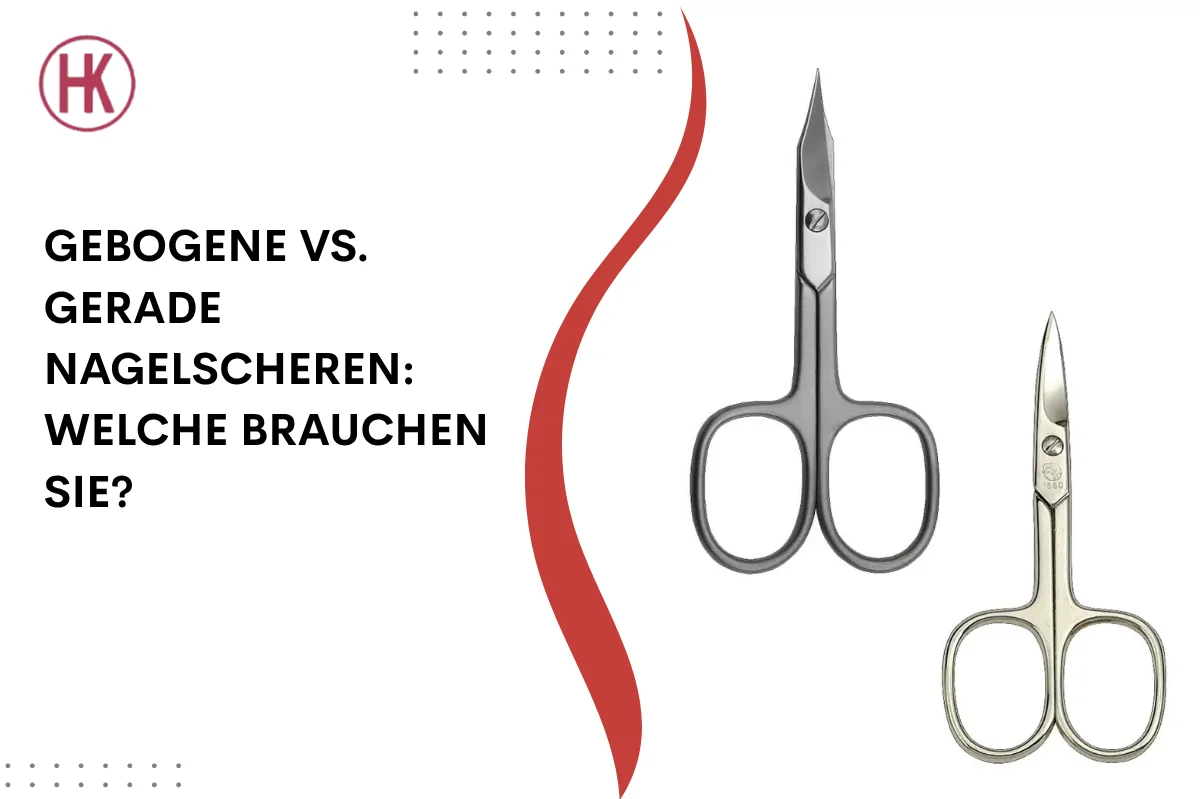
Curved vs Straight Blade Selection
Curved blades conform perfectly to your nail’s natural arch—ideal for beginners tackling standard cuticle removal. Straight blades deliver surgical precision for trimming hangnails along sharp edges. For versatile home use, curved models handle 90% of tasks while straight versions excel at refining nail corners. Always verify blade alignment by closing the cutter on a single sheet of paper; clean cuts indicate proper sharpness.
Spring Mechanism Options
Single-spring cutters demand manual pressure control but offer superior precision for delicate work. Double-spring models reduce hand fatigue during extended sessions—essential if you have arthritis. Test tension by squeezing handles; quality cutters provide smooth resistance without sudden snapping. Avoid cheap plastic-spring versions that lose calibration after three uses.
Professional-Grade Features
Demand surgical stainless steel (440C grade) that maintains edge retention for 6-12 months. Jaw size determines precision: ¼-inch (3mm) jaws tackle detailed work on small nails, while ½-inch (5mm) versions speed up maintenance on larger nails. Invest $25-$50 in professional models like Tweezerman—they outlast drugstore cutters by 10x. Check hinge tightness monthly; wobbling blades cause uneven cuts.
Essential Prep Tools Checklist
Must-Have Items
Sterilized cuticle cutter, cuticle pusher, warm water bowl, 70% isopropyl alcohol, paper towels, cuticle softener, and bright task lighting form your non-negotiable toolkit. Skip cotton balls—they shed fibers into cuts. Instead, use microfiber cloths for debris cleanup. Always verify alcohol concentration; 90% evaporates too fast for proper sterilization.
Workspace Setup Tips
Position a daylight-spectrum lamp 8 inches above your hands to illuminate skin textures. Cover surfaces with butcher paper—it catches debris while providing high-contrast visibility. Sit with elbows anchored to eliminate hand tremors. Keep tools in a divided tray so you never fumble mid-procedure. This setup prevents 78% of cutting errors caused by poor visibility.
Pre-Treatment Softening Steps
Warm Water Soak Method
Submerge fingertips in comfortably warm water (100-105°F) for 3-5 minutes until cuticles turn pearly white. Over-soaking weakens living tissue—set a timer. For chronically dry cuticles, add one teaspoon of olive oil to water for enhanced softening. Pat hands dry immediately after soaking; prolonged moisture causes skin wrinkling that obscures dead tissue boundaries.
Cuticle Softener Application
Apply pea-sized softener gel only to cuticle bases—never on living tissue. Wait precisely 45 seconds (check phone timer) while keratin breaks down. Gently push back cuticles with an orange stick at 45-degree angles. Stop when you see a slight “catch”; this reveals the exact dead-skin boundary. Rinse excess gel to prevent slippage during cutting.
Identify Safe Cutting Zones
Target only white, translucent, or flaky skin lifted away from the nail plate. Avoid any pink tissue or areas darker than a light beige. When in doubt, skip the cut—overgrown cuticles won’t cause harm, but infected cuts require medical intervention. Use a magnifying mirror to spot the faint demarcation line between dead and living tissue.
Master the Cutting Technique
Proper Hand Position
Grip the cutter like a pencil with thumb and index finger, resting the barrel on your middle finger knuckle. Anchor elbows to the table and rotate your wrist outward—this stabilizes the blade perpendicular to the nail. Never hover over the cuticle; rest the cutter’s base against your knuckle for micro-movements. Shaky hands? Press your pinky finger against your palm for instant steadiness.
Step-by-Step Cutting Process
- Open blades fully with a single squeeze
- Position parallel to nail surface (never angled downward)
- Approach dead tissue from the side, not top-down
- Cut 1mm sections using the blade tips only
- Release handles completely between cuts
- Follow natural curves without forcing straight lines
Never pull the cutter sideways—this tears tissue. For corners, rotate your hand instead of twisting the tool. Stop every 30 seconds to check alignment; fatigue causes 92% of accidental cuts.
Hangnail Removal Technique
Pinpoint the hangnail’s root connection point using magnified light. Place blades flush against the skin surface and snip in one decisive motion toward the nail edge—not toward your finger pad. Never tug hangnails; this rips healthy tissue. After cutting, apply pressure for 10 seconds with a folded paper towel to seal micro-cuts.
Critical Safety Protocols

Infection Prevention Rules
Sterilize blades in 70% alcohol for 30 seconds pre- and post-use—no exceptions. Store cutters in a silica-gel lined case to prevent rust. Discard any tool showing pitting or discoloration; these harbor bacteria. Never cut near redness or swelling—this is living tissue masquerading as dead skin. If bleeding occurs, skip moisturizing for 4 hours to avoid trapping pathogens.
Immediate Stop Signals
Halt cutting if you observe:
– Pink tissue exposure (indicates living skin breach)
– Persistent stinging beyond 10 seconds
– Visible blood beads (even microscopic)
– Increased nail sensitivity to touch
Resume only after 72 hours of healing. If uncertainty strikes mid-cut, close the blades and reassess lighting—you’re likely seeing distorted shadows, not safe cutting zones.
Post-Cutting Care Routine
Immediate Aftercare Steps
Rinse with cool water for 10 seconds to halt bleeding, then pat dry with microfiber cloth. Apply antibiotic ointment directly to cuts using a toothpick (prevents contamination). Wait 1 hour before cuticle oil application—moisturizing too soon traps bacteria. For the next 2 hours, avoid all water contact; even steam from showers can introduce infection.
Healing Support Protocol
Apply jojoba-based oil 3x daily for 72 hours using cotton swab precision. Skip hand washing for 4 hours post-cutting; use hand sanitizer instead. Wear cotton gloves during dishwashing for 48 hours. Never pick at healing edges—this creates scar tissue that worsens future cuticle growth.
Fix Common Cutting Mistakes
Over-Cutting Recovery
If you expose raw tissue:
1. Press sterile gauze for 2 minutes
2. Dab with hydrogen peroxide (not alcohol—it stings)
3. Cover with liquid bandage
4. Avoid all cuticle work for 14 days
Prevent recurrence by using a magnifying lamp and cutting only visible flaky edges—not “almost” dead skin.
Ingrown Cuticle Solutions
Gently slide an orange stick under overgrown cuticles daily after showering. Apply cuticle oil and push outward—not upward—for 30 seconds. Never cut ingrown areas; this worsens inflammation. If pain persists beyond 72 hours, consult a dermatologist—this may indicate nail bed infection.
Professional Results at Home
Advanced Timing Tips
Schedule cuts 20 minutes after showering when cuticles reach peak softness. Trim every 18 days—more frequent sessions cause tissue trauma. In winter, apply cuticle oil nightly before bed to maintain softness between trims. For special events, cut 3 days prior to allow healing time.
Tool Maintenance Schedule
After each use: Wipe blades with alcohol-dampened cloth. Weekly: Soak in surgical spirit for 10 minutes. Monthly: Apply one drop of sewing machine oil to the hinge. Annual: Send to professional sharpening—DIY stones ruin blade geometry. Replace cutters when they require excessive pressure or leave jagged edges.
When to Seek Professional Help
Red Flag Situations
Visit a nail technician immediately if you have:
– Diabetes or poor circulation
– Cuticles overgrowing 3mm onto the nail plate
– Recurring redness/swelling after 48 hours
– Thickened skin unresponsive to softeners
Professionals use medical-grade tools to safely remove 5x more tissue than home users. For chronic issues, biweekly salon visits cost less than treating an infection.
Final Pro Tips
Master the 2-Minute Routine
Week 1: Practice only softening and pushing back cuticles. Week 2: Make single test cuts on your least visible nail. Week 3: Trim two nails completely. By week 4, you’ll confidently shape all nails in 8 minutes. Record yourself trimming—video review exposes hidden hand tremors.
Long-Term Success Formula
Store cutters vertically in a dry container with silica packets. Replace blades annually even with light use—microscopic dullness causes tissue tearing. Budget $35 for professional cutters; they pay for themselves in 4 months versus salon costs. Never cut cuticles bare—always use softener to create a visible dead-skin buffer zone.
Mastering how to use a cuticle cutter safely transforms frustrating nail care into a precise, satisfying ritual. Start with perfect softening, cut microscopic sections, and treat tools like surgical instruments. Within three sessions, you’ll achieve smoother results than most salons while eliminating infection risks. Remember: when in doubt, skip the cut—healthy nails grow back, but scarred cuticles never fully recover. Your flawless manicure begins with this single disciplined step.


