
You’re racing through a pile of moving boxes when your Craftsman box cutter freezes open, blade gleaming dangerously. That exposed razor edge makes every reach for tape or scissors feel like defusing a bomb. Whether you’re a warehouse pro or unpacking your first apartment, a stuck blade turns a simple tool into a hazard. This guide delivers the exact steps to close any Craftsman box cutter model—no guesswork, no frustration. You’ll learn to identify your cutter type, execute foolproof closing techniques, and fix stubborn mechanisms in under five minutes.
Most people assume all box cutters work the same, but Craftsman’s slide-lock and folding models require completely different closing approaches. Using the wrong method risks injury or damage. I’ve seen countless users force sliders backward or mishandle folding latches, creating dangerous jams. By the end of this guide, you’ll close your cutter confidently every time, with pro tips to prevent future issues. Let’s get that blade safely stashed away.
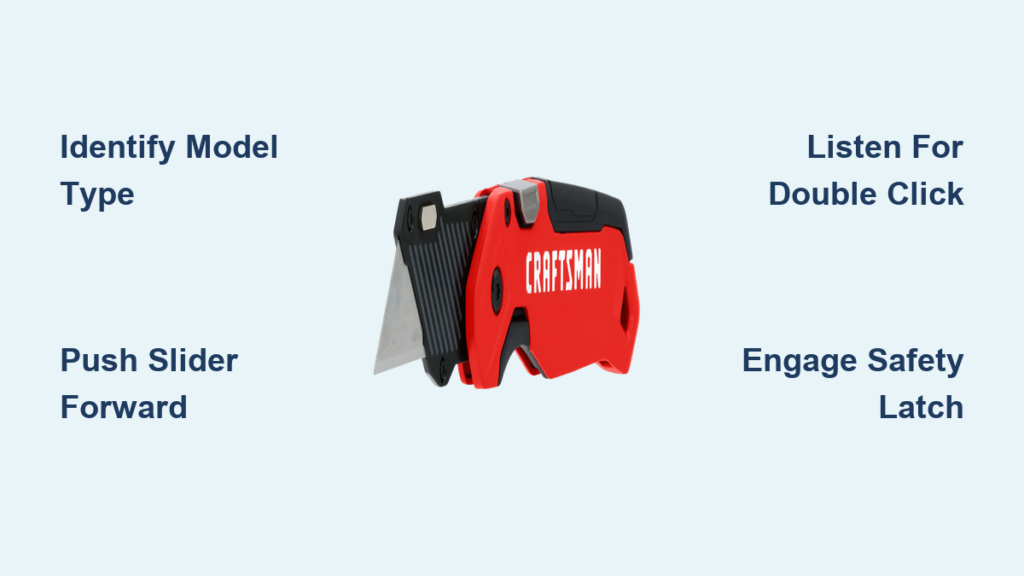
Identify Your Craftsman Box Cutter Model Instantly

Skip the manual hunt—your cutter’s closing method hides in plain sight. Slide-lock models (like CMHT10881) feature a ridged metal slider running along the top. Run your thumb over it: if it moves forward and backward smoothly, you’ve got a slide mechanism. Folding versions (CMHT10882 series) reveal a small rivet near the blade base where the metal handle bends visibly. This hinge point allows 180-degree rotation into the handle cavity.
Critical visual test: Hold the cutter horizontally. If the blade stays rigid with no visible pivot point, it’s slide-lock. If the blade wobbles slightly when nudged sideways, it’s folding. Misidentifying this wastes time and risks injury—forcing a folding blade like a slide-lock can snap the pivot rivet. Save yourself frustration by confirming your model before touching the blade.
Spot Hidden Model Numbers Quickly
Check the handle’s underside near the end cap. Craftsman often stamps model numbers like “CMHT10881” in tiny print. No luck? Slide-lock handles typically feel heavier with solid metal construction, while folding models have slightly curved grips for thumb placement during blade rotation. When in doubt, assume slide-lock—it’s the most common type in current production.
Slide-Lock Box Cutter Closing Procedure
Push the Slider Forward With Correct Pressure
Grip the handle firmly with your dominant hand, blade tip pointing away from your body. Place your thumb squarely on the slider’s ridged surface—not the blade guard. Apply steady forward pressure toward the blade tip (not backward!). You’ll feel initial resistance as internal springs engage, then smooth movement. If it sticks immediately, debris likely clogs the track—don’t force it.
Pro tip: Rest your pinky against the handle’s end cap for stability. This prevents accidental thumb slips toward the blade. Use short, firm pushes rather than one hard shove—like ratcheting a socket wrench.
Listen for the Double-Click Confirmation
Continue pushing until you hear two distinct clicks: the first as the blade clears the housing, the second signaling full retraction. The blade should vanish completely inside the handle. If you only hear one click, the blade’s partially exposed—keep pushing gently until the second click. No click at all? The mechanism’s jammed (see troubleshooting section).
Visual cue: Shine a light down the slider track. When fully closed, you’ll see no metal glint inside the handle slot. Any visible silver means the blade’s still protruding.
Test the Lock With a Shake Test
Hold the cutter vertically and shake it briskly near your ear. A properly closed blade won’t budge—you’ll hear only handle parts rattling. If the blade slides out even 1/16 inch, repeat the closing process with 20% more pressure. Never carry or store a cutter that fails this test; vibration during transport can fully extend the blade.
Folding Model Blade Closure Technique
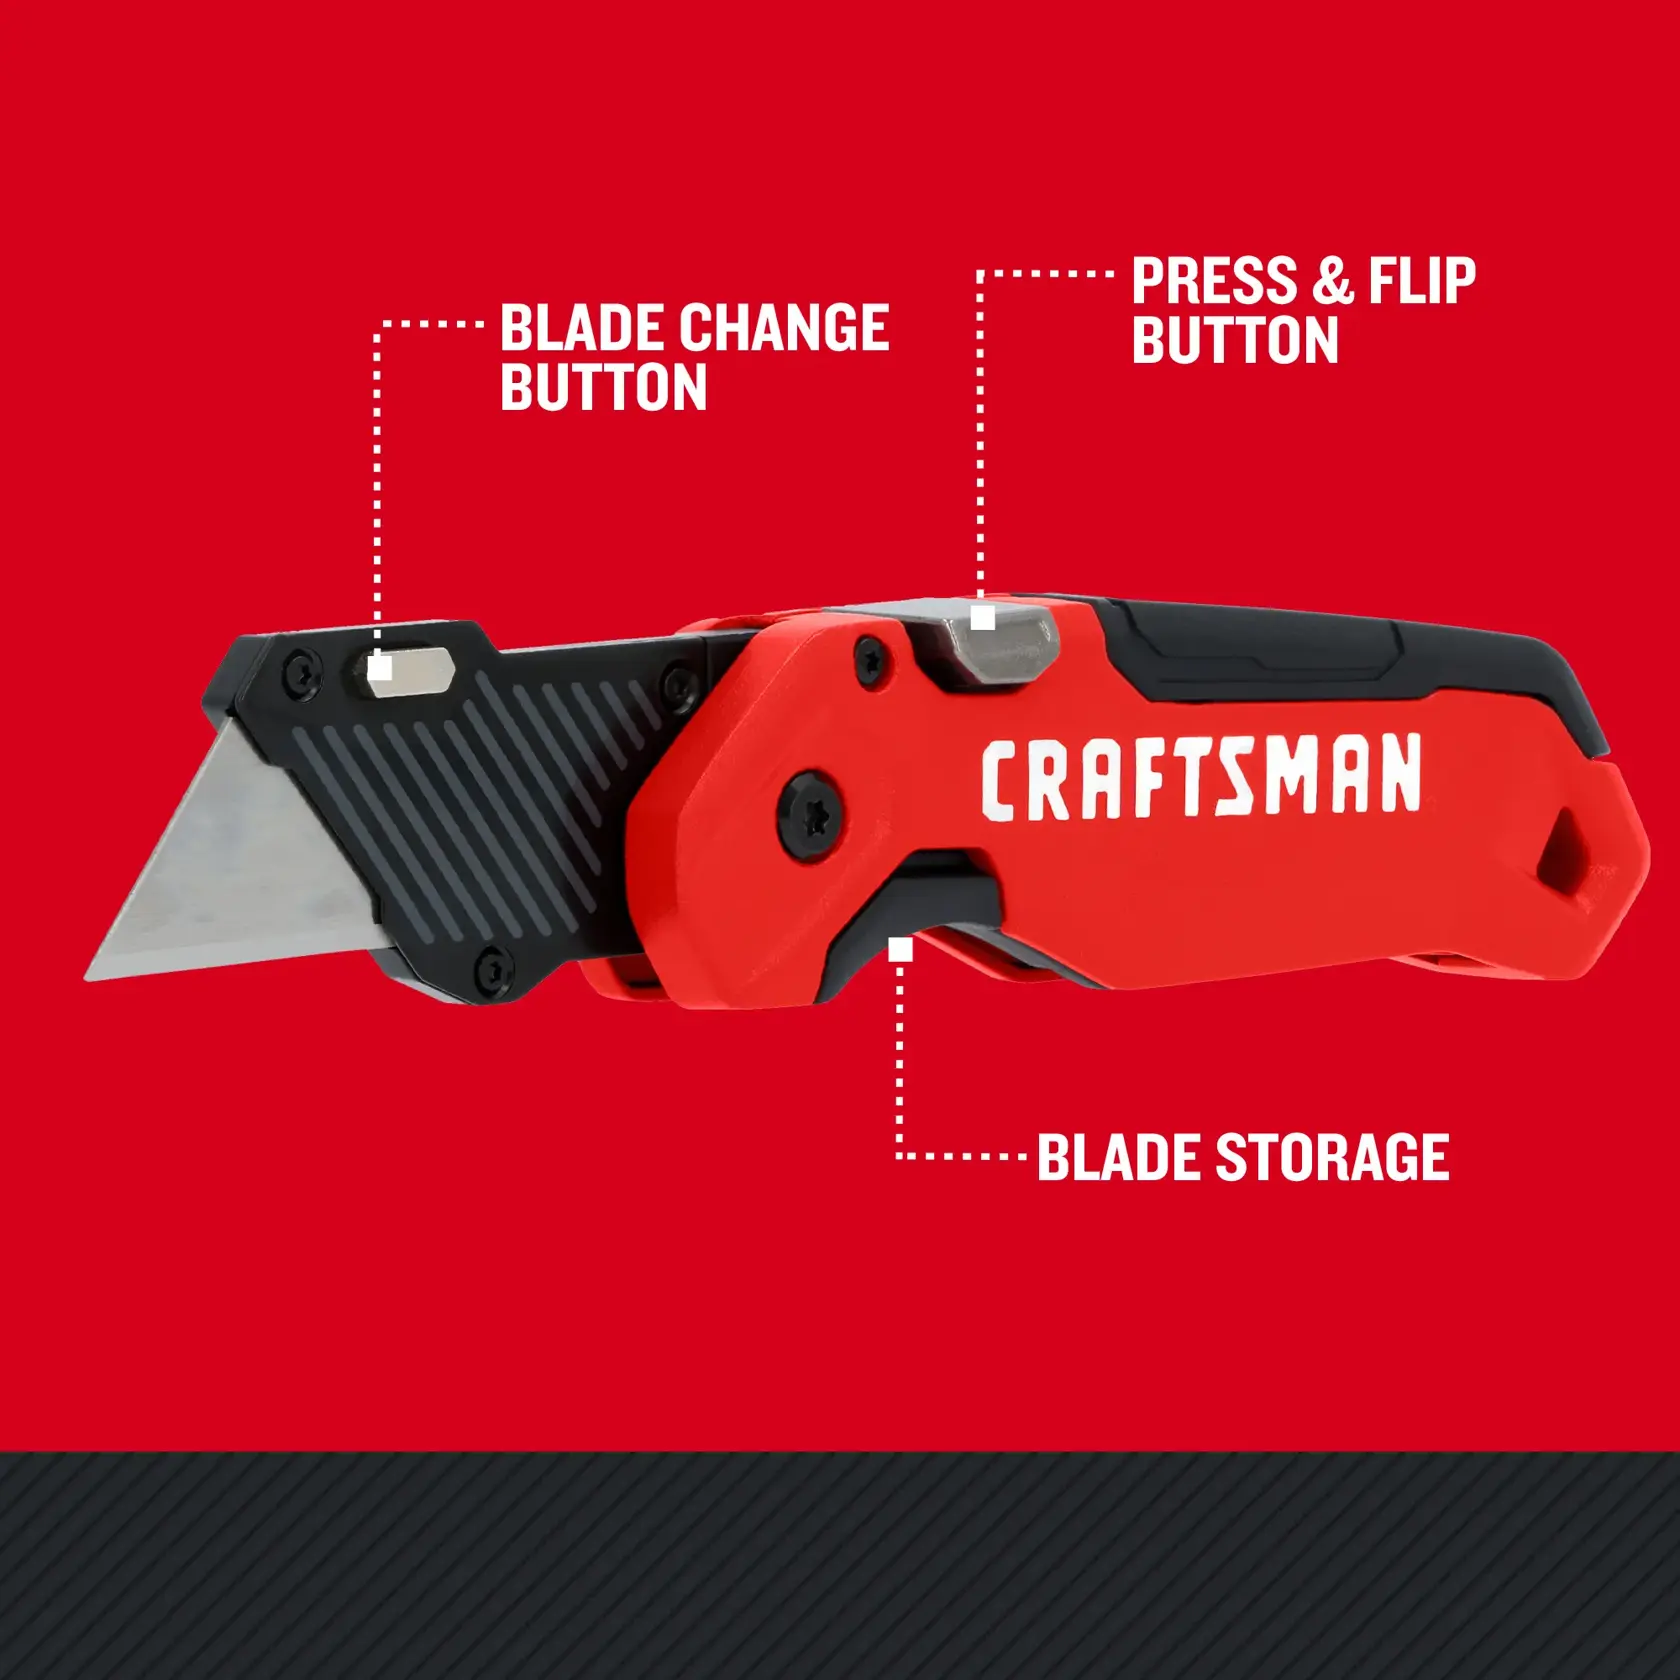
Locate the Pivot Rivet Under the Blade
Find the tiny metal dot where the blade meets the handle—this is your pivot point. It’s often slightly recessed to prevent accidental contact. Place your index finger here to stabilize the hinge while closing. Avoid touching the blade edge; use only the handle surfaces.
Warning: Never grip the blade itself during closure. Sawdust residue makes metal slick, increasing slip risk. Always use the textured handle grips.
Fold the Blade in a Single Smooth Motion
With your pivot finger anchored, rotate the blade downward using your thumb on the handle’s spine. The blade should swing inward until it nestles flush against the handle interior. If it catches halfway, slightly lift the blade tip to clear the latch—never force it downward.
Key indicator: The blade’s base should align perfectly with the handle’s seam line. Any gap means it’s not fully seated.
Engage the Safety Latch Audibly
Most Craftsman folding cutters have a spring-loaded latch that clicks over the blade tip. After folding, press the blade tip gently into the handle until you hear a metallic snick. Wiggle the blade—it shouldn’t move more than 1mm. If the latch feels loose, realign the blade and retry; a disengaged latch causes 90% of accidental openings.
Fix Stuck Blades in Under 3 Minutes
Clear Debris From Slider Tracks Immediately
Cardboard fibers and tape residue jam 80% of stuck cutters. Turn the tool upside down and tap the handle base firmly against a workbench 5-6 times. Shine a flashlight into the track—you’ll see trapped debris as white fibers. Use tweezers (never fingers!) to extract visible gunk. For stubborn buildup, blast compressed air along the track at 45-degree angles.
Time-saver: Keep a toothpick in your toolbox. Its tapered tip dislodges debris in tight slider grooves without scratching metal.
Apply Precise Lubrication to Free Mechanisms
Dab one microscopic drop of 3-in-1 oil (or WD-40 Specialist Dry Lube) on the slider track’s rear edge. Work the slider back and forth 10 times to distribute oil—any more attracts dust. Wipe excess immediately with a microfiber cloth. Never use vegetable oil or grease; they turn gummy and worsen jams.
Critical mistake: Avoid spraying lubricant directly into the mechanism. Pooling oil attracts sawdust into a concrete-like paste.
Prevent Injuries During Blade Closure
Maintain Thumb Safety Positioning Always
For slide-locks: Keep your thumb centered on the slider’s top surface, knuckles flush with the handle. Never let skin overhang the slider’s front edge—this is where blades eject during malfunctions. Folding models require your thumb on the handle’s spine, away from the blade’s swing path.
Emergency protocol: If the blade suddenly shoots out while closing, release all pressure and let the cutter drop. Do not attempt to catch it—your reflexes can’t beat a spring-loaded blade.
Inspect Blades for Damage Before Closing
Bent blades won’t retract fully. Hold the cutter toward a light and look for warps along the blade’s edge. If it curves more than 2 degrees (like a banana), replace it immediately—forcing closure cracks the housing. Check for chips near the base; these catch on internal guides. Always replace damaged blades before storage.
Avoid Costly Mistakes That Break Your Cutter
Never Force the Slider Backward
Slide-lock cutters only close when pushed forward toward the blade tip. Pulling the slider backward (a common panic move) disengages the safety lock, causing sudden blade extension. If resistance occurs, stop immediately—debris is blocking the track. Forcing it bends internal levers, requiring $25+ replacements.
Skip Thick Gloves During Closure
While gloves protect during cutting, they reduce tactile feedback critical for closure. You won’t feel the slider’s resistance points or hear subtle clicks. Perform closure bare-handed (with fingers behind the blade!), then re-glove for storage.
Long-Term Care for Reliable Closing
Clean After Every Use With a Dry Cloth
Wipe the blade and mechanism with a microfiber cloth before storage. Focus on the slider track entrance—cardboard dust enters here during use. For folding models, clean the pivot rivet with a cotton swab dipped in isopropyl alcohol. One minute of cleaning prevents 95% of jams.
Pro move: Store cutters vertically in a wall-mounted rack. Horizontal storage lets dust settle into mechanisms.
Replace Blades at First Sign of Dullness
Dull blades require 3x more cutting force, straining the closure mechanism. Change blades when cardboard edges feel fuzzy or tear instead of slicing cleanly. Craftsman blades cost $1.50 each—cheaper than replacing a $15 housing. Always close the cutter before changing blades to avoid spring ejection.
Quick-Reference Troubleshooting Guide
| Problem | Immediate Fix | Time Required |
|---|---|---|
| Slider won’t move | Tap handle base, blow debris | 90 seconds |
| Blade partially retracts | Inspect for bent blade | 45 seconds |
| Folding latch won’t engage | Reposition blade, retry fold | 30 seconds |
| No click sound during closure | Lubricate track, test lock | 2 minutes |
A properly closed Craftsman box cutter should retract silently with one smooth motion and lock without wobble. If issues persist after trying these steps, the internal spring is likely broken—a free replacement under Craftsman’s lifetime warranty. Remember: a clean, sharp blade closes effortlessly, while neglected tools become hazards. Store your cutter in a dry place with the blade secured, and it’ll serve you safely for years. Never compromise on closure safety—one moment of haste risks a trip to the ER. Keep this guide handy until closing becomes second nature.


