
That frustrating moment when your Dewalt box cutter won’t shut properly is more than just an inconvenience—it’s a serious safety hazard. When the blade won’t retract or fold correctly, you risk accidental cuts during storage or transport. Knowing exactly how to close a Dewalt box cutter properly protects your fingers and preserves your tool’s longevity. This guide delivers model-specific techniques for common Dewalt utility knives, troubleshooting solutions for stuck mechanisms, and maintenance steps that ensure smooth operation every time you finish a job.
Many users struggle with closing their Dewalt cutters because they don’t realize different models require distinct approaches. Forcing the mechanism can damage internal components or cause sudden blade movement. Whether you’re using a folding DWHT10035 or retractable DWHT10046 model, this guide eliminates guesswork with precise, safety-focused instructions. You’ll learn why proper closure matters beyond convenience—it prevents blade damage from impacts and keeps your cutter ready for immediate use on your next project.
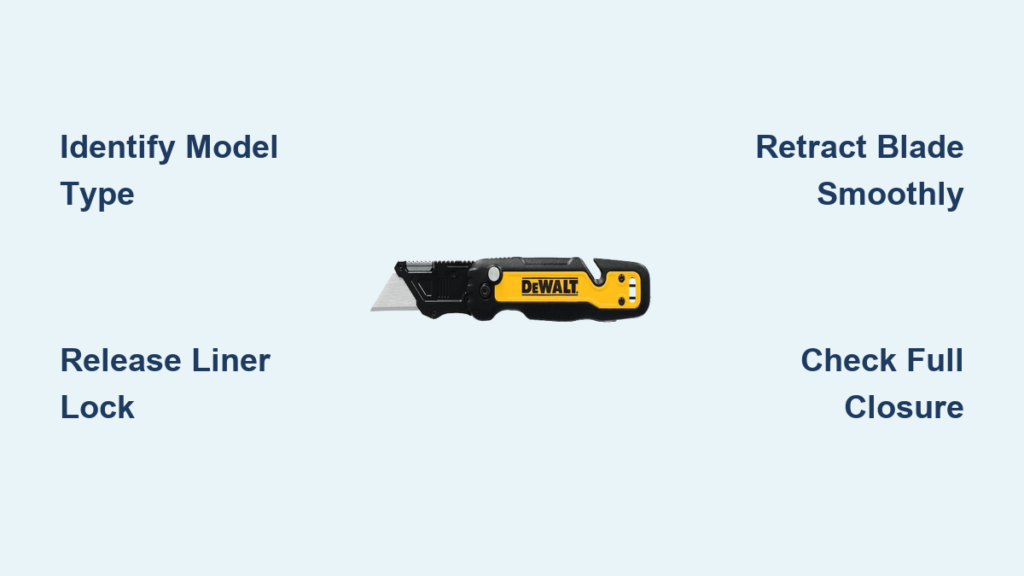
Identify Your Dewalt Model Before Closing

Using the wrong technique for your specific Dewalt model can damage the mechanism or cause injury. Always verify your cutter type before attempting closure—this simple step prevents 90% of closing problems. Most Dewalt box cutters fall into three distinct categories with unique operating mechanisms.
DWHT10035 Folding Utility Knife Operation
The DWHT10035 features a liner lock system where the blade folds into the handle. When closing this model, you’ll feel the metal lock disengage with a distinct click before the blade moves. This compact design allows safe pocket storage but requires precise pressure on the liner lock tab. Never attempt to fold the blade without first releasing this mechanism—forcing it will damage the internal spring and compromise safety.
DWHT10046 Retractable Knife Mechanism
For the DWHT10046 retractable model, blade movement happens through a slider rather than folding. Locate the textured button on the handle’s top surface—this controls the blade’s extension and retraction. Unlike folding models, you never expose the pivot point during closure. Apply steady pressure toward the handle’s rear until you feel the blade fully seat inside the housing. This model’s enclosed design protects the blade from debris but requires regular channel cleaning for smooth operation.
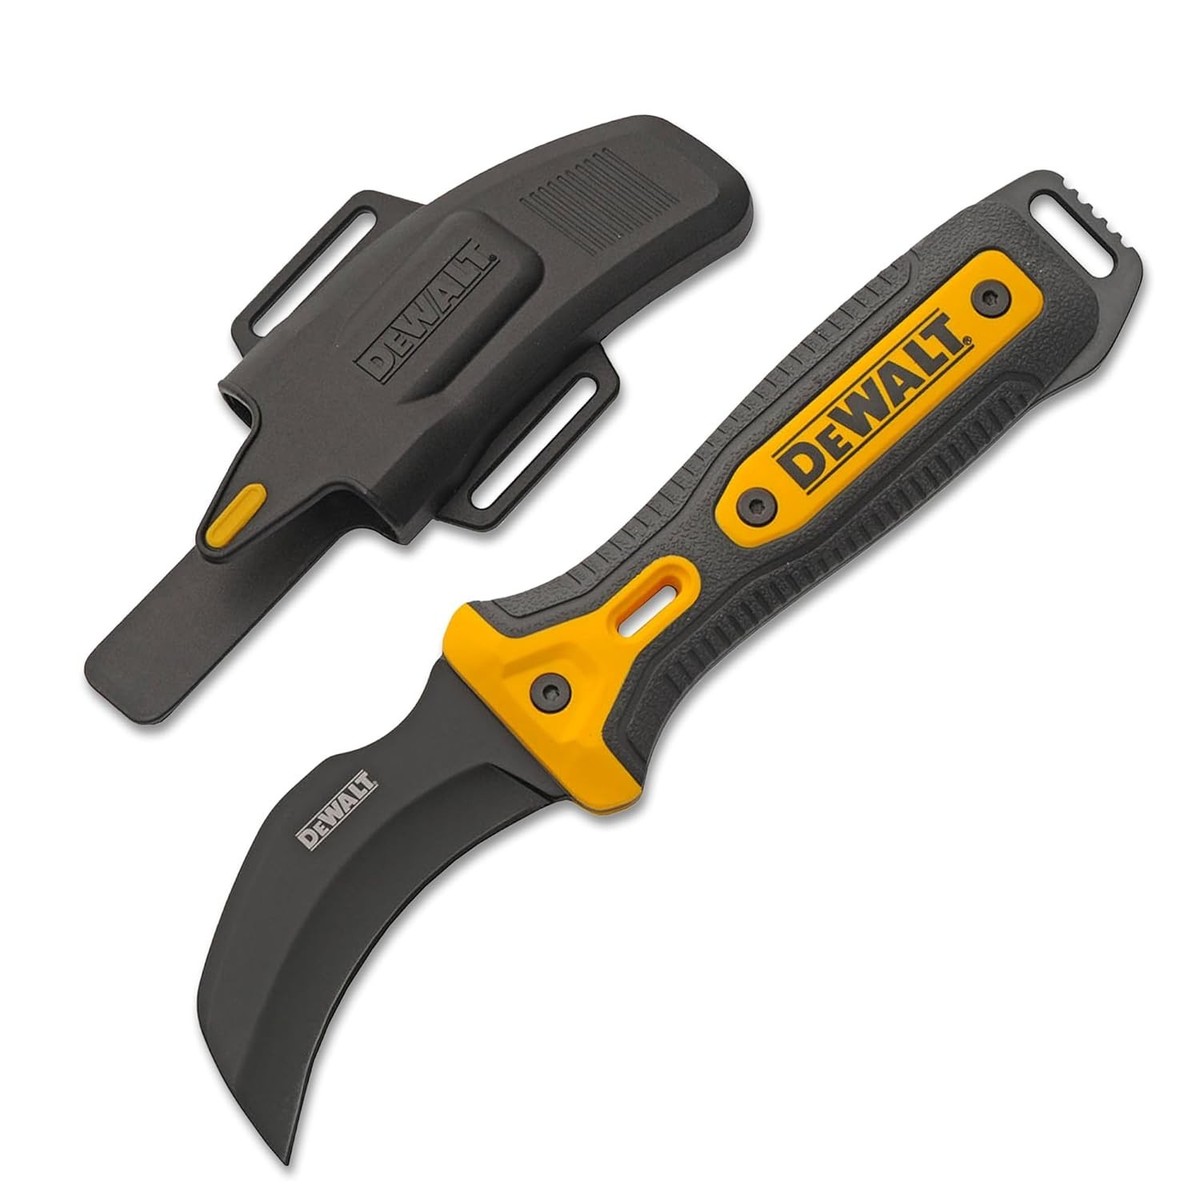
DWHT10047 Fixed-Blade Storage Protocol
The DWHT10047 operates differently as a fixed-blade model with a protective sheath. Closing involves securing the blade in its custom-fitted cover rather than retracting it. Always slide the blade straight into the sheath opening—angling causes fabric damage and exposes the cutting edge. This model requires no mechanism manipulation but demands careful sheath alignment to prevent accidental slips during storage.
Essential Safety Prep Before Closing
Skipping preparation turns a simple closure into a dangerous maneuver. These three steps take less than 15 seconds but prevent most blade-related injuries during storage. Treat every closing sequence as if the blade is actively cutting—even when partially retracted.
Clear Workspace Hazards Immediately
Remove tape scraps, cardboard fibers, and adhesive residue from your work surface before handling the cutter. Debris caught in the blade path during closure can:
– Jam retractable models mid-retraction
– Prevent folding knives from seating fully
– Cause sudden blade slippage when pressure is applied
Wipe the handle with a dry cloth to eliminate invisible contaminants that compromise your grip.
Verify Blade Extension Status
Fully extend and lock the blade before attempting closure—this provides maximum control. Partially extended blades create unstable leverage points that may snap shut unexpectedly. For folding models, ensure the blade clicks into its fully open position; for retractables, confirm the blade protrudes at least 1 inch from the housing. This position gives you optimal visibility of the blade path and locking mechanisms.
Execute Proper Hand Positioning
Grip the handle with your dominant hand using a “power position”:
1. Wrap fingers securely around the textured grip area
2. Place thumb on the release mechanism (liner lock or slider)
3. Keep index finger clear of the blade path at all times
Never place fingers near the pivot point on folding models—this is where crushing injuries occur during improper closure.
Close Folding Dewalt Models Without Damage
Folding Dewalt cutters like the DWHT10035 require deliberate, controlled movements. Rushing this process causes blade wobble that wears down the pivot mechanism over time. Always perform these steps standing at a clear work surface—not while walking or storing the tool.
Release the Liner Lock Correctly
Position your thumb on the metal liner lock tab inside the handle’s spine. Apply firm, steady pressure toward the handle scales—you’ll feel the lock disengage with a subtle “click.” Never use fingernails or tools to force the lock; this damages the tab’s edge. If resistance feels excessive, check for debris in the lock channel before proceeding.
Control Blade Folding Motion
Once unlocked, guide the blade toward the handle with deliberate pressure. Use your thumb to push the blade base while keeping fingers clear of the cutting edge. The motion should take 2-3 seconds—not a quick flick. Listen for the smooth scraping sound of the blade sliding into its channel; grinding noises indicate misalignment that requires immediate stoppage.
Confirm Full Closure Security
After folding, press the blade gently to ensure it seats completely within the handle. The liner lock must automatically re-engage with an audible click. Visually inspect both sides of the handle—no blade metal should be visible. Finally, attempt to open the blade without pressing the lock; if it moves, repeat the closure process as the lock didn’t engage properly.
Retract Sliding-Blade Dewalt Models Properly
Retractable Dewalt cutters like the DWHT10046 require different techniques than folding models. The enclosed housing protects the blade but creates unique closure challenges when debris accumulates in the channel.
Locate the Retraction Button Precisely
Find the textured slider button typically positioned on the handle’s top surface near the blade housing. On some models, it’s a side-mounted lever—never confuse this with the blade extension button. The retraction control always moves toward the handle’s rear (opposite of extension direction). Wipe the button area clean before use to ensure positive contact.
Execute Smooth Blade Retraction
Press the retraction button firmly while simultaneously sliding it toward the handle’s end. Apply steady pressure—not jerking motions—until you feel two distinct clicks:
1. First click releases the blade lock
2. Second click confirms full retraction
Stop immediately if resistance increases mid-motion; forcing it can bend the blade or damage internal springs.
Validate Complete Blade Storage
Peek into the blade slot from multiple angles to confirm zero blade exposure. Run your finger along the housing opening—no sharp edges should be detectable. For added safety, close your eyes and run the handle along your palm; any protrusion will be immediately noticeable through texture changes.
Fix Common Dewalt Closure Problems Instantly
When your Dewalt cutter resists closing, address these frequent issues before attempting closure again. Never force mechanisms—most problems resolve with simple cleaning or lubrication.
Clear Blade Channel Blockages
Blade won’t retract fully? Debris is likely jamming the channel. Use a toothpick or compressed air to remove:
– Cardboard fibers wedged in retractable models
– Dried adhesive from tape projects
– Metal shavings from cutting foil-backed insulation
Work from the blade opening toward the handle to avoid pushing debris deeper.
Free Stuck Locking Mechanisms
A liner lock that won’t disengage often needs lubrication. Apply one drop of lightweight machine oil (3-in-1 or sewing machine oil) to the pivot area. Work the blade open and closed 10 times to distribute oil—never use WD-40 as it attracts dust. If still stuck, check for bent metal tabs requiring professional repair.
Resolve Stiff Folding Action
Tight folding stems from pivot screw issues. First, clean the pivot point with a cotton swab dipped in rubbing alcohol. Then test the screw tension:
– Too tight: Loosen 1/8 turn with a precision screwdriver
– Too loose: Tighten until blade stays open but folds smoothly
Over-tightening causes binding; under-tightening creates unsafe wobble.
Maintain Your Dewalt Cutter for Flawless Closure
Preventative care takes less time than troubleshooting failures. These three habits keep your cutter closing smoothly for years.
Clean After Every Project Session
Wipe the blade and handle with a dry microfiber cloth immediately after use. Pay special attention to:
– The blade channel entrance on retractable models
– Pivot points on folding knives
– Slider button grooves
Remove adhesive residue with rubbing alcohol on a cotton swab—never submerge the cutter.
Lubricate Critical Moving Parts Monthly
Apply one drop of lightweight oil to:
– The pivot screw on folding models
– The blade channel rails on retractables
– The liner lock engagement point
Work the mechanism 5 times to spread lubricant, then wipe excess oil to avoid attracting dust.
Store Using Protective Methods
Always store your Dewalt cutter:
– In a dedicated tool pouch or drawer compartment
– Away from temperature extremes (never in direct sunlight)
– With blade fully closed and locked
Never toss loose cutters into toolboxes where impacts can damage closure mechanisms.
Replace Blades to Ensure Smooth Operation
Dull or damaged blades cause improper closure by catching in the housing. Recognize these replacement indicators immediately.
Spot Dull Blade Warning Signs
Replace blades when you notice:
– Material tearing instead of clean cutting
– Visible nicks along the cutting edge
– Increased effort required for normal tasks
Forcing dull blades through materials creates excessive vibration that misaligns closure mechanisms.
Remove Old Blades Safely
For DWHT10035 models:
1. Fully open and lock the blade
2. Press the blade release button near the pivot
3. Slide the blade straight out without twisting
For retractable models: Activate the blade removal mechanism per your manual—never force blades from housing.
Never Compromise on Safety During Closure
Even experienced users get careless during routine closure. These non-negotiable rules prevent life-altering injuries.
Never Force Mechanisms Under Pressure
If resistance exceeds normal operation:
– Stop immediately
– Inspect for obstructions
– Clean and lubricate before retrying
Forcing closure can shatter blades or cause sudden snapping that severs tendons.
Maintain Finger Clearance Relentlessly
Keep all fingers at least 1 inch from:
– The blade path during folding
– The housing opening on retractables
– Pivot points on any model
Use the “palm check” method—rotate the cutter so your palm faces the blade path before initiating closure.
Properly closing your Dewalt box cutter takes just 10 seconds but prevents countless injuries and tool failures. By identifying your specific model, following the precise closure sequence, and maintaining the mechanism, you’ll ensure reliable operation for years. Remember that smooth closure indicates a healthy cutter—grinding, resistance, or incomplete seating are early warnings of needed maintenance. Keep your workspace clean, store your cutter properly, and always prioritize safety over speed when securing that blade. A well-maintained Dewalt cutter that closes correctly isn’t just convenient—it’s the difference between a reliable tool and a potential hazard in your workshop.


