
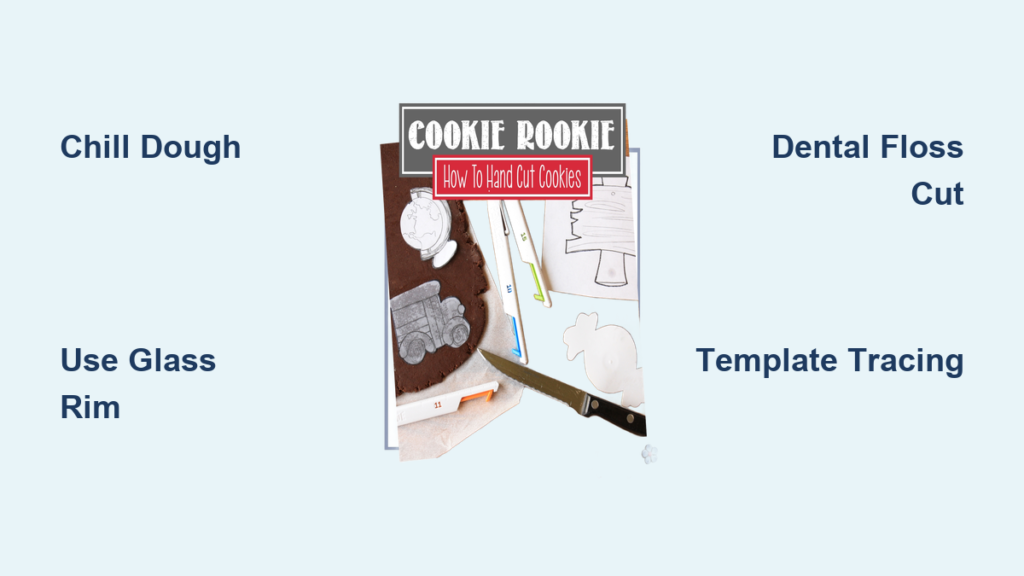
You’ve rolled out your cookie dough, preheated the oven, and reached for your trusty cutters—only to discover they’re buried in a moving box or mysteriously vanished. Don’t panic or scrap your baking plans. Your kitchen is secretly stocked with cookie-cutting heroes hiding in plain sight, ready to transform dough into professional-looking treats. This guide reveals exactly how to cut cookies without cookie cutter tools using items already in your cabinets, drawers, and pantry.
Forget last-minute store runs or settling for misshapen blobs. With these proven techniques, you’ll create bakery-quality circles, stars, and intricate designs using everyday objects—from wine glasses to dental floss. The secret? Understanding how dough responds to different cutting methods and tools. You’ll learn why chilling your drinking glass creates cleaner edges than most plastic cutters, and how fishing line slices through sticky gingerbread without distortion.
Glassware and Utensil Cutting Power
Master Circles Using Drinking Glasses
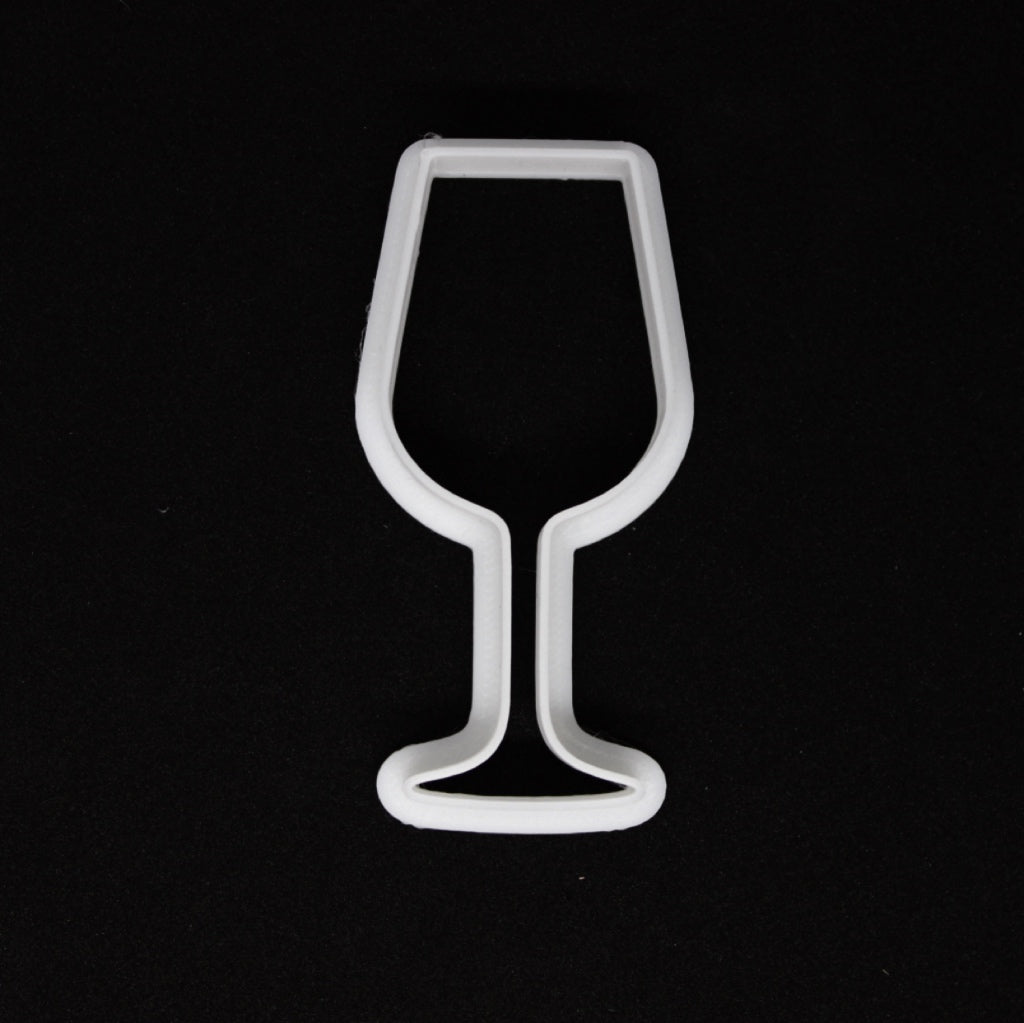
Skip the cookie cutter drawer and grab a wine glass for flawless circles. Press the thin rim edge straight down through chilled dough—never the base—with even pressure. Twist slightly while lifting to prevent ragged edges. For consistent sizing, use a 1/4-cup measuring cup (creates perfect 3-inch cookies) or shot glasses for bite-sized treats.
Pro move: Freeze glasses for 5 minutes before cutting. The chill prevents dough sticking and yields razor-sharp edges. Mason jar rings double as portion guides—place the ring on rolled dough, fill with dough, then cut around it for uniform thickness. Avoid thick-rimmed mugs; their blunt edges compress dough, causing spread during baking.
Geometric Shapes with Knives and Pizza Cutters
Unlock creative freedom with a sharp paring knife. Cut hearts by making two overlapping circles, then adding a downward-pointing triangle between them. For stars, arrange five triangles around a small circle center. Pizza cutters excel at straight lines—roll along a ruler’s edge for perfect rectangles or diamonds.
Bench scrapers are geometric game-changers. Press the straight edge into dough to create clean squares, then use the same tool to lift shapes without distortion. Even a metal spatula becomes precise: align its edge with dough markings, press firmly, and slide to separate sections. When cutting multiple identical shapes, score dough lightly first with your knife point before making deep cuts.
Upcycled Container Cutters

Transform empty containers into sturdy cutters. Remove both ends from cleaned tuna cans for durable 3-inch circles—ideal for ice cream sandwiches. Coffee can lids create jumbo cookies, while tomato paste cans yield petite 1.5-inch rounds. For safety, always file soda can edges smooth with fine-grit sandpaper after cutting with tin snips, then wrap sharp rims in aluminum foil.
Yogurt cups become instant heart cutters: cut a “V” notch at the bottom of the cup opening. Plastic bottle caps (soda, water, or detergent) offer graduated sizes—from tiny 0.75-inch caps for sprinkled centers to large 2.5-inch detergent caps for statement cookies. Store these improvised tools in a dedicated “baking hacks” container for instant access.
Precision Cutting Techniques Beyond Tools
Template Method for Intricate Designs
Create custom shapes without expensive cutters. Draw your design (letters, animals, snowflakes) on parchment paper, place it under rolled dough, and trace with a sharp knife. For multiple identical cookies, stack 3-4 parchment sheets with your template on top. Pinch through all layers at key points (like star tips) to transfer registration marks.
Time-saver: Print free online templates, cover with clear contact paper, and cut with scissors for reusable stencils. Place the stencil directly on dough, dust lightly with flour, then lift to reveal an outline for cutting. This works brilliantly for holiday themes—think pumpkins from folded paper templates or Christmas trees from stacked triangles.
Imprint Magic for Textured Cookies
Press textured objects directly into rolled dough before cutting. Fresh mint or ivy leaves create garden-inspired shapes—place leaf vein-side down, press gently, then cut around the impression. Bottle caps stamp uniform circles for thumbprint centers ready for jam. Silicone baking mats with patterns (like herringbone or lace) double as cutting guides: roll dough on the mat, then cut along the raised lines.
Pro tip: For 3D effects, press measuring spoons into dough to create shallow wells, then cut around the indentation with a knife. Fill wells with crushed candy before baking for stained-glass windows. Avoid plastic toys—heat can leach chemicals into dough.
Dental Floss and Wire for Flawless Slices
Unflavored dental floss is the secret to clean cuts through soft or layered dough. Slide it under rolled dough, cross the ends above the surface, and pull straight through—no compression marks. This shines with sticky gingerbread or laminated doughs (like linzer cookies). Fishing line works similarly for thicker doughs, while wire cheese slicers adjust for precise slab thickness.
Critical technique: Always cut in one smooth motion. Sawing motions tear dough. For curved shapes, use thin guitar strings (from broken instruments) stretched taut between chopsticks as a custom jig.
Dough Prep Secrets for Sharp Edges
Chill for Crisp Definition
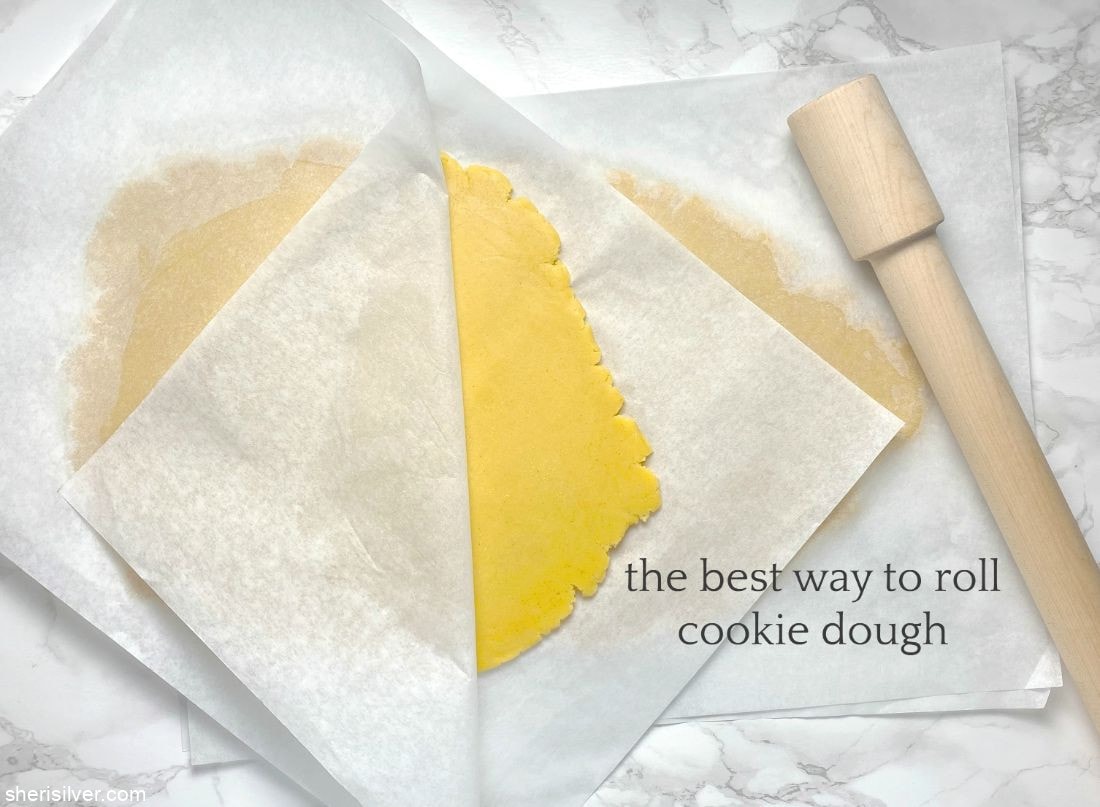
Refrigerate dough 30-60 minutes before rolling—this firms butter and prevents edge spread. If dough feels too soft, freeze for 10-15 minutes. Roll between two parchment sheets to maintain even thickness (1/4-inch for most cookies; 1/8-inch for delicate sugar cookies). Use rolling pin rings or chopsticks taped to your pin as guides.
Warning: Over-chilling makes dough brittle. If it cracks when cutting, let it warm 2-3 minutes at room temperature. For chocolate dough, dust cutters with cocoa powder instead of flour to avoid white streaks.
Stick-Proof Strategies
Dust cutting tools—not work surfaces—with flour using a pastry brush. For sticky doughs, dip knife edges in powdered sugar. When shapes cling to cutters, wipe tools with a damp cloth and return to the freezer for 5 minutes. Work on lightly floured parchment; after cutting, slide the entire sheet onto your baking tray to avoid distorting shapes during transfer.
Key tip: Re-roll scraps only once. Overworking creates tough cookies—gather pieces gently without kneading.
Shape-Specific Cutting Hacks
Circles That Don’t Spread
Press glass rims straight down without twisting. For graduated sizes, use soda caps (1-inch), water bottle caps (1.5-inch), and detergent caps (2.5-inch). To fix slight deformations, dip a finger in water and smooth edges before baking—this fuses cracks invisibly.
Perfect Squares and Rectangles
Use a pizza cutter along a ruler’s edge for straight lines. Create checkerboard patterns by cutting entire dough sheets into uniform squares, then alternating chocolate and vanilla pieces. For rustic texture, tear along lightly scored lines instead of cutting.
Hearts and Stars from Basic Cuts
Hearts: Cut two circles touching side-by-side, then slice a downward triangle connecting their bases. Stars: Arrange five triangles around a small circle, points outward. Fold paper in half to ensure symmetry—cut half the shape, then unfold for perfect balance.
Adorable Animal Shapes
Bear faces: One large circle (head) plus two smaller circles (ears). Flowers: A central circle surrounded by teardrop petals. Fish: Oval body with a triangle tail—cut the body first, then add tail and fin details with knife point cuts.
Troubleshoot Like a Pro
Fix Sticking and Ragged Edges
If dough clings to cutters, immediately rinse tools in warm water, dry, and chill. Ragged edges mean your knife is dull—sharpen it or switch to thinner-rimmed glasses. When shapes distort during transfer, slide a thin metal spatula completely under the cookie before lifting.
Prevent Spreading and Distortion
Maintain even dough thickness—thin spots burn while thick centers stay raw. Space cookies 2 inches apart on baking sheets. If shapes spread during baking, your dough was too warm—chill cut cookies 10 minutes before baking.
Creative Presentation Without Special Tools
Decorative Touches That Wow
Sprinkle colored sugar over cut cookies before baking for instant sparkle. Brush edges with egg wash for golden, bakery-style finishes. Press fork tines vertically and horizontally into cut circles to create quilted patterns. Fill negative spaces (like cookie centers) with crushed hard candy for stained-glass effects.
Themed Sets in Minutes
Build holiday scenes: Stack graduated triangles for Christmas trees, or three circles for snowmen. Spell names using bottle cap circles for “O”s and knife-cut lines for straight letters. Create trains with rectangle bodies, circle wheels, and triangle smokestacks—all from basic shapes.
Tool Care for Long-Lasting Results
Clean and Store Properly
Wash metal tools immediately after use—dried dough becomes cement. Sanitize with diluted vinegar solution, then air-dry completely to prevent rust. Store sharp items (knives, pizza cutters) wrapped in kitchen towels. Discard cardboard templates when edges fray.
Extend Cutting Life
Hone knife edges weekly with a ceramic rod. Coat metal cans in food-safe mineral oil before storage. Upgrade frequently used items (like tuna cans) to stainless steel versions—they’ll last years.
Your kitchen holds everything needed for professional cookie cutting—no specialty tools required. Start with a chilled wine glass for perfect circles, then experiment with dental floss for intricate shapes. Remember: cold dough, sharp tools, and parchment paper transfers are your trifecta for success. With these techniques, you’ll never cancel cookie plans again—turn that “I don’t have cutters” panic into proud, picture-perfect batches that impress every time.


