
Your biscuit dough is ready, buttery chunks glistening like tiny ice cubes in flour, and then you realize—the pastry cutter is nowhere to be found. Before panic sets in and you abandon your baking project, know this: how to cut dough without a cutter is a timeless kitchen skill perfected long before specialty tools existed. With the right technique and common utensils, you’ll achieve the perfect pea-sized butter pieces that create steam pockets during baking, yielding flaky pie crusts and tender biscuits. This guide reveals exactly how to transform everyday kitchen items into precision cutting tools while avoiding critical mistakes that ruin texture.
You’ll learn which methods work fastest for different batch sizes, how to spot the exact moment your mixture is ready, and why temperature control matters more than the tool you choose. Whether you’re making buttermilk biscuits or a creamy lemon meringue pie crust, these proven techniques ensure professional results without a single specialized gadget.
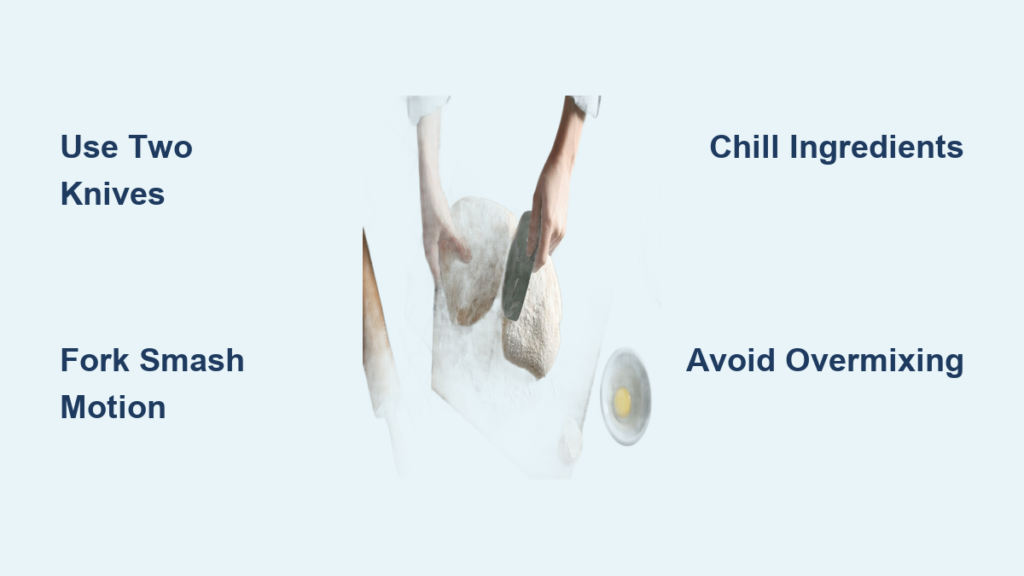
Two Butter Knives Method for Perfect Pastry Texture
This approach delivers maximum control over butter particle size—the secret to flaky layers—using tools you already own. While slower than a pastry cutter, it prevents overworking and gives you complete visibility of the process.
Position Knives Like Scissors for Clean Cuts
Hold two standard butter knives together at a 30-degree angle with blades facing inward. Use a scissor-like motion—pulling the knives toward you while maintaining parallel alignment—to slice through butter cubes. Never saw back and forth, as this smears butter against the bowl. Focus on swift downward cuts that fracture cold butter into pea-sized pieces (¼ to ½ inch) without warming it.
Maintain Consistent Parallel Motion
Keep blades parallel throughout to avoid pressing butter against bowl sides. Angled knives create uneven pressure that melts butter in spots while leaving other chunks intact. Work methodically around the bowl’s perimeter, targeting untouched butter pieces. If butter starts sticking to knives, chill them for 2 minutes before resuming.
Realistic Timing Expectations
Expect 3-4 minutes of active cutting for a standard biscuit recipe—roughly twice as long as a pastry cutter. The payoff? Uniform pea-sized butter pieces visible throughout your flour mixture. For best results:
– Cut butter into half-inch cubes before mixing
– Work in a cool kitchen (below 72°F)
– Pause every 45 seconds to redistribute mixture
Fork Technique for Small-Batch Success
Your dinner fork transforms into an efficient dough cutter for single pie crusts or biscuit batches. This method offers superior texture feedback compared to knives while preventing overhandling.
Smash and Lift Motion for Even Distribution
Press fork tines straight down onto butter cubes, then lift vertically without stirring. Rotate the bowl after each motion to expose untouched butter. Avoid circular motions—they mash butter into flour pockets, creating greasy streaks that bake into tough spots. Check progress every 20 seconds by squeezing a handful: ideal texture holds briefly before crumbling.
Critical Texture Monitoring Cues
Stop immediately when:
– Mixture resembles coarse cornmeal
– Visible butter pieces are uniformly pea-sized
– No dry flour pockets remain at the bowl bottom
Overworking shows as clumping or a lightened color—signs butter has warmed and started incorporating. If this happens, refrigerate the mixture for 15 minutes before continuing.
Why Forks Beat Knives for Small Batches
Forks cover more surface area per motion than individual knife cuts, reducing handling time. They also provide tactile feedback through vibration when hitting butter cubes—something knives lack. For single recipes, this method takes just 2-3 minutes with practice.
Food Processor Shortcut (Use With Extreme Caution)
Reserve this method for double batches or larger where hand methods become tedious. One misstep here destroys flakiness permanently.
Precise Pulse Technique to Avoid Disaster
Use 1-2 second pulses only—never continuous run. After every 3-4 pulses, scrape the bowl sides and inspect texture. Stop the second the mixture looks like coarse breadcrumbs with distinct butter pieces. Overprocessing happens in seconds: butter integrates completely, eliminating the steam pockets needed for layers.
Recognize Overprocessing Warning Signs
Abandon the batch if you see:
– Mixture clumping when squeezed
– Butter pieces disappearing into flour
– Overall color lightening significantly
These indicate butter has warmed and emulsified—no recovery is possible. Start fresh with chilled ingredients.
When This Method Actually Works
Only use the food processor for triple batches or commercial-sized recipes where hand-cutting would take >5 minutes. Single pie crusts process too quickly to monitor safely. Always chill the bowl and blade first.
Critical Temperature Rules That Make or Break Flakiness

Cold butter isn’t optional—it’s the engine of flakiness. Warm butter integrates completely, baking into dense, cracker-like results instead of shattering layers.
The Science of Cold Butter Mechanics
Butter between 35-40°F melts during baking, creating steam that forces layers apart. At 50°F+, butter smears into flour, eliminating separation. Chill your mixing bowl for 15 minutes before starting—metal bowls absorb hand heat fastest, while glass retains cold longer. If butter feels soft, refrigerate the entire mixture for 10 minutes immediately.
Equipment Temperature Hazards
Room-temperature utensils transfer heat 3x faster than chilled ones. Always:
– Cut butter into half-inch cubes while cold
– Keep flour in the fridge until mixing
– Work near air conditioning vents in warm kitchens
One minute of contact with warm tools can raise butter temperature 10°F—enough to ruin texture.
Tools That Destroy Flaky Dough (Avoid These)
Hands: The Silent Texture Killer
Finger contact raises butter temperature instantly. Even 5 seconds of handling creates greasy spots that bake into tough zones. If you must adjust dough, use only fingertips for <2 seconds per touch.
Electric Mixers: Texture Assassins
Stand or hand mixers incorporate butter completely into flour, eliminating discrete fat pockets. They create homogeneous paste instead of coarse crumbs—guaranteeing dense, non-flaky results. Never substitute mixers for cutting techniques.
Wooden Spoons: The Mashing Trap
Spoon edges press butter against bowl sides, creating uneven texture with some overworked areas and untouched chunks. This causes inconsistent rising and structural weakness in baked goods.
Step-by-Step Cutting Process Without Tools
Follow this sequence for foolproof results:
1. Prep: Measure flour into chilled bowl; cut cold butter into ½-inch cubes
2. Distribute: Scatter butter evenly through flour (no clumping)
3. Cut: Use chosen method (knives/fork) with vertical motions only
4. Check: Pause every 30 seconds for squeeze test and visual inspection
5. Stop: When mixture holds briefly when squeezed but crumbles easily
Critical checkpoint: Scrape bowl bottom to confirm no dry flour pockets remain. If large butter chunks persist (>chickpea size), target them specifically before proceeding.
Speed Comparison: Choosing Your Method
| Method | Time for Single Batch | Best For | Risk Level |
|---|---|---|---|
| Food Processor | 15-30 seconds | Triple+ batches | ⚠️⚠️⚠️ High |
| Fork | 2-3 minutes | Single recipes | ⚠️ Low |
| Two Knives | 3-4 minutes | Precision control | ⚠️⚠️ Medium |
Pro tip: Practice on a half-recipe first. Your third attempt will be 50% faster as muscle memory develops.
Next Steps After Perfect Cutting
Protect your hard work:
– Add liquid immediately—delays let butter warm and separate
– Fold gently with a rubber spatula using 4-5 strokes max; overmixing develops gluten
– Refrigerate if resting is required; never leave cut mixture at room temperature
Your finished pastry should show visible butter pockets in cross-section and separate into distinct layers when broken. If it does, you’ve mastered how to cut dough without a cutter—proving that perfect flakiness comes from technique, not tools. The next time your pastry cutter vanishes, smile and reach for your fork: you’ve got this.


