

Frustrated by commercial foam cutters priced around $600 when you only need one for your weekend project? You’re not stuck choosing between emptying your wallet or struggling with a serrated knife that tears your foam. Most DIY tutorials make this simple task unnecessarily complicated with complex builds requiring specialized tools and hours of work. The reality is you can construct a fully functional, professional-grade styrofoam cutter using common workshop materials in less than 20 minutes—without spending a dime on new parts.
This improvised hot wire cutter delivers dual-axis angle adjustment and variable temperature control, features typically reserved for expensive commercial units. While it might not win any beauty contests with its “dodgy around the edges” appearance, it produces clean, precise cuts through expanded polystyrene and standard Styrofoam. Whether you’re crafting architectural models, cosplay props, or insulation prototypes, this quick-build solution handles full-size foam sheets with professional results.
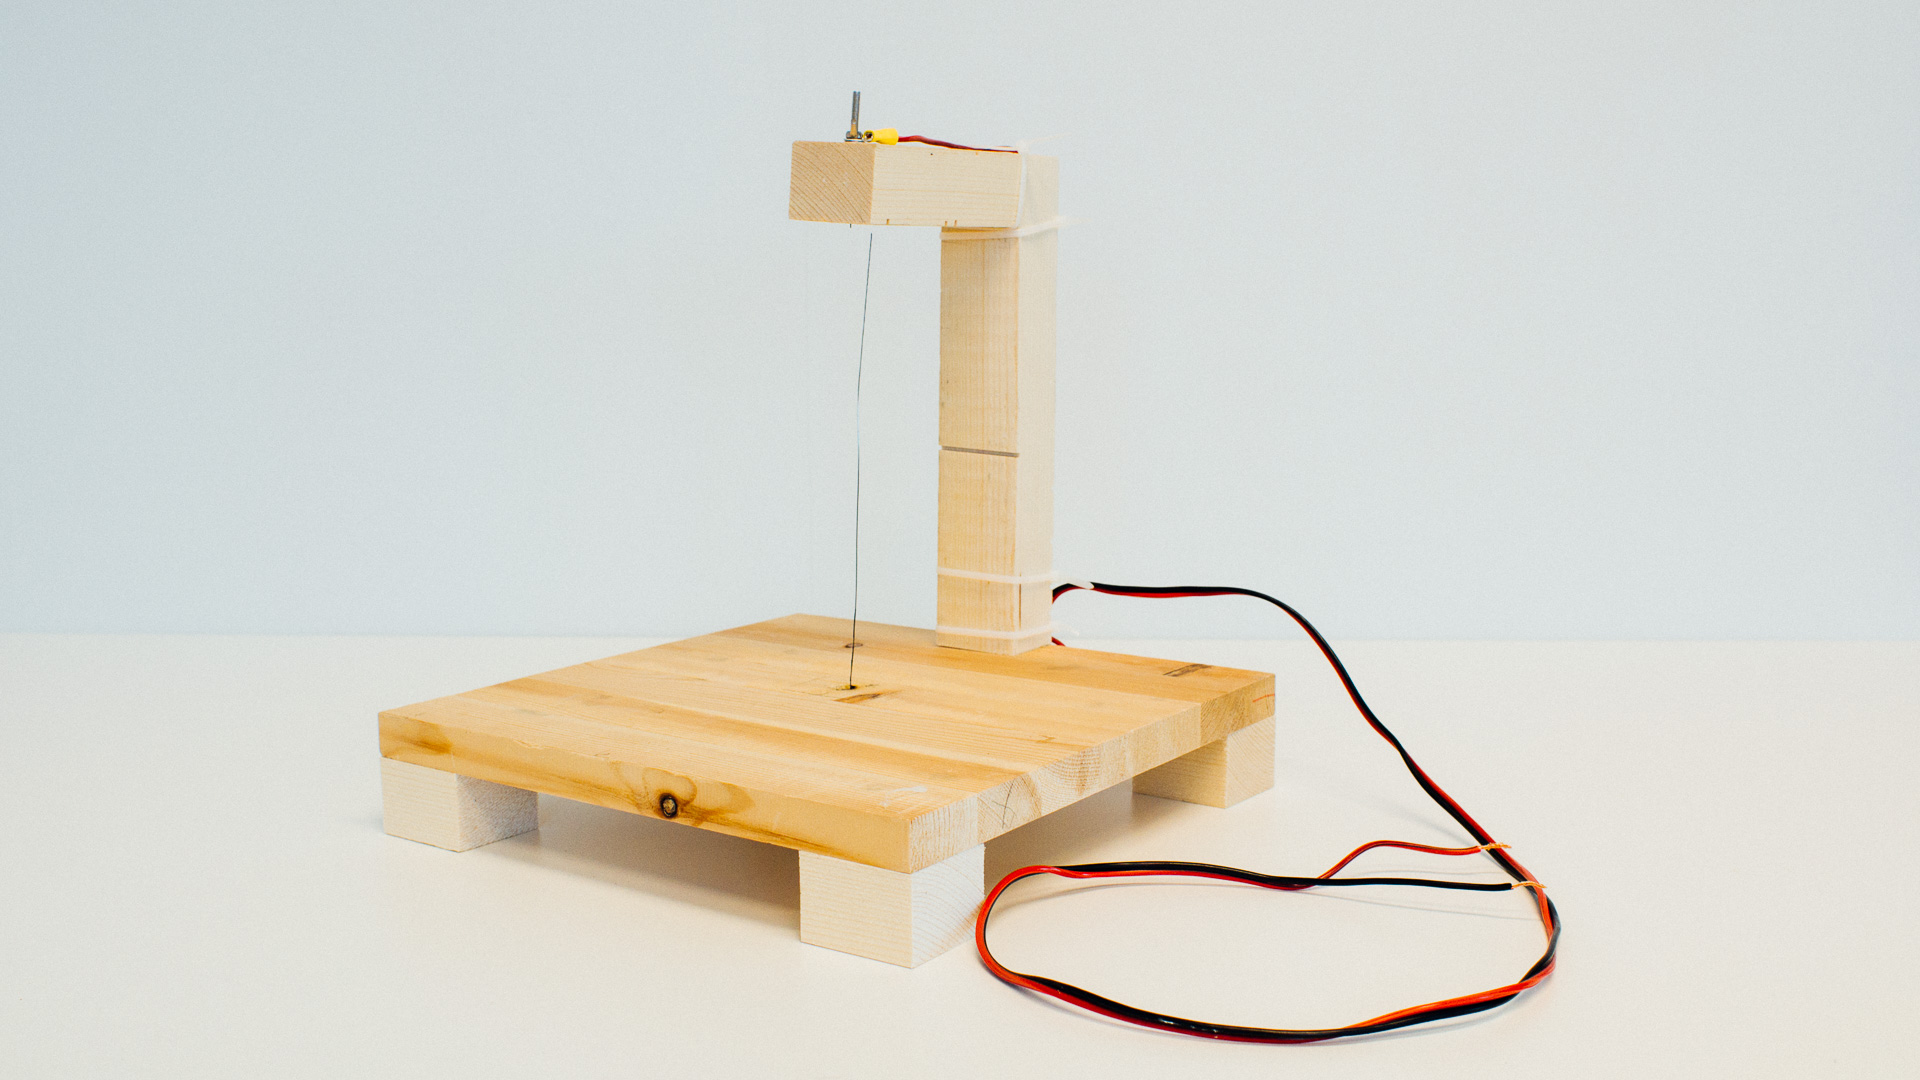
Construct Your Professional Foam Cutter Frame
Gather Workshop-Ready Materials in 60 Seconds
Skip the trip to the hardware store—your existing workshop supplies are all you need:
• Power source: Any variable DC power supply (old laptop charger, 12V battery pack, or bench supply)
• Cutting wire: Guitar string, nichrome wire, or thin steel wire (18-22 gauge works best)
• Frame construction: Scrap wood pieces, PVC pipe sections, or metal rods from your junk pile
• Essential hardware: Wing nuts, screws, electrical tape, and wire connectors
• Temperature control: Basic dimmer switch salvaged from old electronics
Build Your Cutting Table in Four Fast Steps
Step 1: Frame Assembly (5 minutes)
Construct a rectangular frame measuring approximately 24″ x 36″ using scrap wood or PVC pipes. This size accommodates standard foam sheet dimensions while remaining portable. Ensure corners are square by measuring diagonal distances—both should match within 1/8 inch for accurate cuts.
Step 2: Wire Mounting System (7 minutes)
Stretch your cutting wire tightly between two adjustable mounting points on opposite sides of the frame. Connect one end to the positive power lead and the other to negative. Use wing nuts on threaded rods to create instant tension adjustment—this prevents wire sag that causes curved cuts. Critical tip: Maintain enough tension that the wire produces a high-pitched ring when plucked.
Step 3: Dual-Axis Angle Mechanism (5 minutes)
Install L-brackets with wing nuts at both wire mounting points to create pivot points. This simple modification allows you to change the wire angle on both horizontal (X) and vertical (Y) axes simultaneously. Test the movement before final assembly—smooth pivoting ensures clean compound angle cuts.
Step 4: Temperature Control Wiring (3 minutes)
Connect your variable power supply through a dimmer switch or potentiometer for precise heat adjustment. Wrap all electrical connections with electrical tape to prevent shorts. Before cutting your project foam, test the system on scrap material to verify proper wire glow—dull red indicates optimal temperature for standard Styrofoam.
Achieve Precision Cuts with Dual-Axis Adjustment
Master Compound Angle Cutting Techniques
Your improvised cutter handles complex bevels and miters that would require multiple tools with conventional methods. The dual-axis adjustment system lets you create professional joints without repositioning your foam piece.
X-Axis Angle Control for Bevel Cuts
– Loosen wing nuts on horizontal mounting brackets
– Tilt wire to your desired bevel angle (use a protractor for precision)
– Retighten wing nuts firmly while maintaining angle
– Verify alignment by sighting down the wire before cutting
Y-Axis Angle Control for Miter Joints
– Adjust vertical pivot points at both ends simultaneously
– For perfect 45-degree miters, create a simple angle guide from scrap wood
– Lock both pivot points before starting your cut
– Maintain consistent wire temperature throughout the cut
Optimize Temperature for Different Foam Types
Adjust your dimmer switch based on foam density to prevent melting or tearing:
• Standard white beadboard Styrofoam: Medium setting (wire glows dull red)
• Dense blue or pink insulation foam: Higher temperature (bright orange glow)
• Thin craft foam sheets: Low setting (barely visible warmth)
Pro Tip: Start with lower temperatures and gradually increase until the wire cuts smoothly through the foam. Too hot creates melted edges and toxic fumes; too cold causes ragged, torn cuts.
Troubleshoot Common Foam Cutting Problems

Fix Temperature-Related Cutting Issues Immediately
Problem: Melted foam edges with visible strings
Solution: Reduce power slightly and increase cutting speed. This indicates overheating—common when using high-density foam at temperatures set for standard Styrofoam.
Problem: Torn, ragged cuts requiring multiple passes
Solution: Increase power gradually while maintaining steady cutting speed. Underheating prevents the wire from cleanly melting through the foam structure.
Correct Angle Setting Mistakes Before They Ruin Your Project
Inconsistent bevel angles: Always check both pivot points before cutting. Loose wing nuts cause the wire to shift during cutting, ruining precision angles.
Compound angle errors: Mark your foam clearly with a pencil guide line and test your setup on scrap foam first. Verify both X and Y axis angles independently before making your final cut.
Solve Frame Stability Problems That Affect Cut Quality
Wire sag during long cuts: Tighten mounting points immediately—sagging wires create curved cuts instead of straight lines. Check tension before every project by plucking the wire.
Frame flex under pressure: Add diagonal bracing using scrap wood or metal if your frame bends during cutting. A stable frame ensures consistent wire positioning throughout the cut.
Why This Improvised Design Outperforms Commercial Units

Key Advantages of the 20-Minute Foam Cutter
Unlike complex DIY tutorials requiring precision machining, this approach embraces workshop improvisation for maximum functionality with minimal effort. The rough construction actually enhances usability—adjustments happen faster without worrying about damaging an expensive tool.
Critical benefits:
– Zero material cost: Uses existing workshop scraps instead of buying new components
– Under 20 minutes: Faster build time than watching most tutorial videos
– Professional features: Dual-axis angle adjustment and variable temperature control
– Instant modifications: Adapt the design as your project requirements evolve
Performance Capabilities You Can Expect
Your DIY styrofoam cutter handles professional-level tasks with ease:
– Full-size foam sheets (24″ x 36″) without support
– Complex compound angles up to 45 degrees on both axes
– Various foam densities from craft foam to rigid insulation
– Precision cuts within 1/16″ tolerance when properly set up
The variable temperature control prevents common problems of fixed-temperature commercial units, while the dual-axis adjustment eliminates the need for multiple cutting tools.
Maintain Peak Performance with Simple Care
Essential Daily Maintenance Routine
Before each cutting session:
1. Check wire tension by plucking it (should produce a high-pitched ring)
2. Verify all electrical connections are secure and insulated
3. Test temperature on scrap foam to confirm optimal setting
4. Clean wire with a damp cloth (only when completely cool)
Weekly performance checks:
– Tighten all loose hardware connections
– Lubricate pivot points with light machine oil
– Inspect electrical components for wear or damage
– Replace cutting wire if showing signs of fatigue
Easy Upgrades for Enhanced Functionality
Precision improvements: Add printed protractor templates to your frame for exact angle measurements.
Safety enhancement: Install an emergency shutoff switch within easy reach of your cutting position.
Wire longevity: Upgrade to proper nichrome wire (available from old heating elements) for consistent performance.
Worksite cleanliness: Attach a small shop vacuum hose near your cutting area to capture foam particles during operation.
Start Cutting Professional Foam Projects Today
Your 20-minute styrofoam cutter is ready for immediate use on real projects. Begin with straight cuts to familiarize yourself with the optimal temperature and cutting speed for your specific foam type, then progress to complex compound angles as your confidence grows. The beauty of this improvised design is that you can modify and improve it incrementally as your foam cutting skills develop—no need to rebuild from scratch.
Remember that commercial units costing $600 offer no significant performance advantage over your new tool for most DIY applications. The money you saved by building your own cutter goes straight toward materials for your next foam project. Whether you’re creating architectural models, cosplay armor, or insulation prototypes, this simple hot wire foam cutter delivers professional results without the professional price tag. Grab those workshop scraps and start cutting—your next foam project awaits.


