
Your Fiskars paper cutter suddenly leaves ragged edges on every sheet, requiring excessive pressure to slice through cardstock. You’ve examined the orange casing, probed for hidden screws, and worried about damaging the mechanism. Knowing how to remove blade from Fiskars paper cutter properly is critical—force it the wrong way and you’ll crack the housing. This guide reveals the exact removal method for your specific Fiskars model, whether you own a rotary cutter or track-mounted trimmer, so you can replace that dull blade safely in under 10 minutes.
Most users waste time searching for screws that don’t exist or force components apart incorrectly. Fiskars uses three distinct blade systems requiring completely different approaches. We’ll help you identify your model instantly and apply the correct blade removal technique without damaging expensive components. You’ll learn why magnetic hubs release blades with a flip, how to slide orange casings without breaking clips, and where to find your model number when it’s worn off.
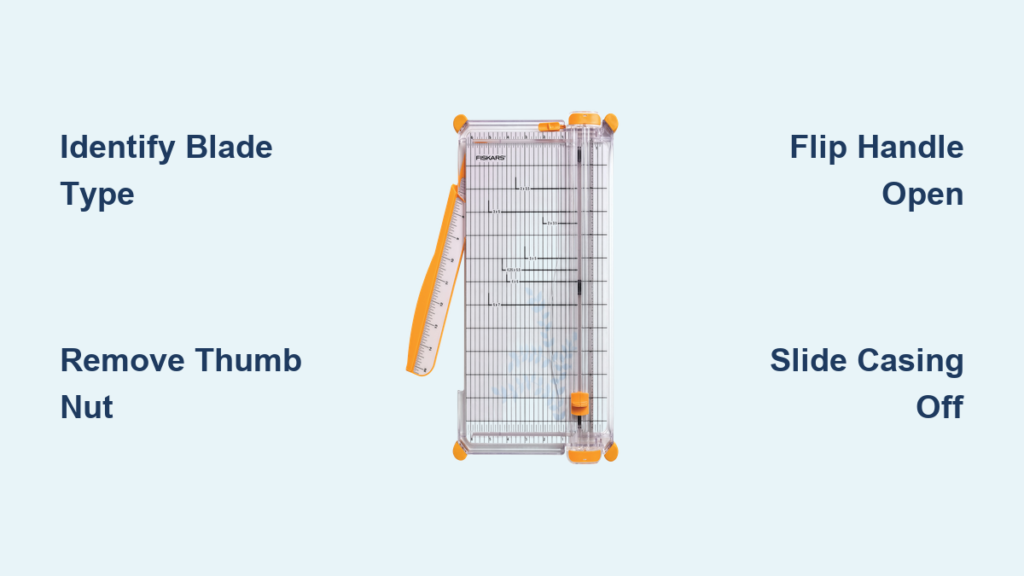
Identify Your Fiskars Blade System Before Starting
Check Blade Housing Design for Critical Clues
Examine the cutting area closely—your removal method depends entirely on this visual inspection. Rotary blade systems show circular blades with one of three mechanisms:
– Standard models feature a thumb nut directly opposite the blade hub (common on basic 28mm, 45mm, and 60mm cutters)
– EasyChange™ models have a flip-open handle near the hub (identified by magnetic blade retention)
– DuoLoop models (specifically #118730) include two flip handles allowing instant size switching between 45mm and 60mm blades
Track-mounted systems hide the blade inside an orange semicircular plastic shell that slides along a rail. These appear on older 9″ and 12″ trimmers without visible model numbers. The casing completely encloses the round blade—never attempt to remove screws here since none exist. If your cutter has a sliding carriage along a metal track, you’re dealing with this system.
Locate Model Information When Markings Fade
Flip your trimmer upside down and inspect the underside near the cutting rail. Most models stamp the number near the blade assembly or on the baseplate. If worn smooth (common on 6-8 year old trimmers), check the original packaging or recall usage patterns:
– Frequent craft paper cutting? Likely uses Style G round blades
– Heavy cardstock or photo paper? Probably a TripleTrack system with Style I blades
– Exposed circular blade? Definitely a rotary system
Pro Tip: Take a clear photo of your cutter’s blade area and email it to Fiskars customer support—they’ll identify the model instantly from visual cues alone.
Remove Standard Rotary Blades Without Damaging Components
Unscrew Thumb Nut Counterclockwise With Proper Technique
For all standard 28mm, 45mm, and 60mm rotary models, follow these exact steps:
1. Position cutter vertically with blade facing upward on a stable surface
2. Stabilize blade hub firmly with your non-dominant hand
3. Rotate thumb nut left (counterclockwise) using thumb and forefinger
4. Remove nut completely once loose—blade lifts straight off hub
Critical visual cue: Watch for the hub’s center pin. If it lifts out with the blade, it’s designed to snap back into the hub—don’t lose this tiny component. Place a small magnet nearby to catch the nut if it slips during removal.
Handle Stuck Thumb Nuts Safely
When corrosion locks the nut:
– Apply 2-3 drops of penetrating oil (like WD-40) around the nut threads
– Wait 5 minutes for lubrication to penetrate
– Use pliers wrapped in microfiber cloth for grip—never apply bare metal
– Gentle pressure only; forcing cracks the plastic hub
Warning: Replacement thumb nuts cost less than $2—if yours strips, order a new one immediately. Never continue using a damaged nut as it causes blade wobble and uneven cuts.
Execute EasyChange™ Blade Removal Correctly
Flip Handle Mechanism for Magnetic Release
For all EasyChange™ models (28mm, 45mm, 60mm):
1. Locate the flip handle beside the blade hub—it protrudes slightly
2. Lift handle upward until it clicks into open position (about 45 degrees)
3. Magnetic hub disengages automatically—no pulling required
4. Lift blade vertically; magnets prevent accidental drops
Key difference from standard models: Never touch the thumb nut—EasyChange™ systems eliminate screws entirely. The magnetic hub holds blades securely until the flip handle releases tension. If resistance occurs, double-check the handle is fully upright before lifting.
Switch Blades on DuoLoop Model #118730
This specialized system requires precise steps:
1. Flip both handles simultaneously on the dual-handle hub
2. Select size by aligning the desired blade (45mm or 60mm) with the cutting edge
3. Press down gently—magnets secure the chosen blade
4. Close both handles until they click to lock position
Troubleshooting tip: If blades don’t switch, clean magnetic contacts with isopropyl alcohol. Dust buildup reduces magnetic strength over time.
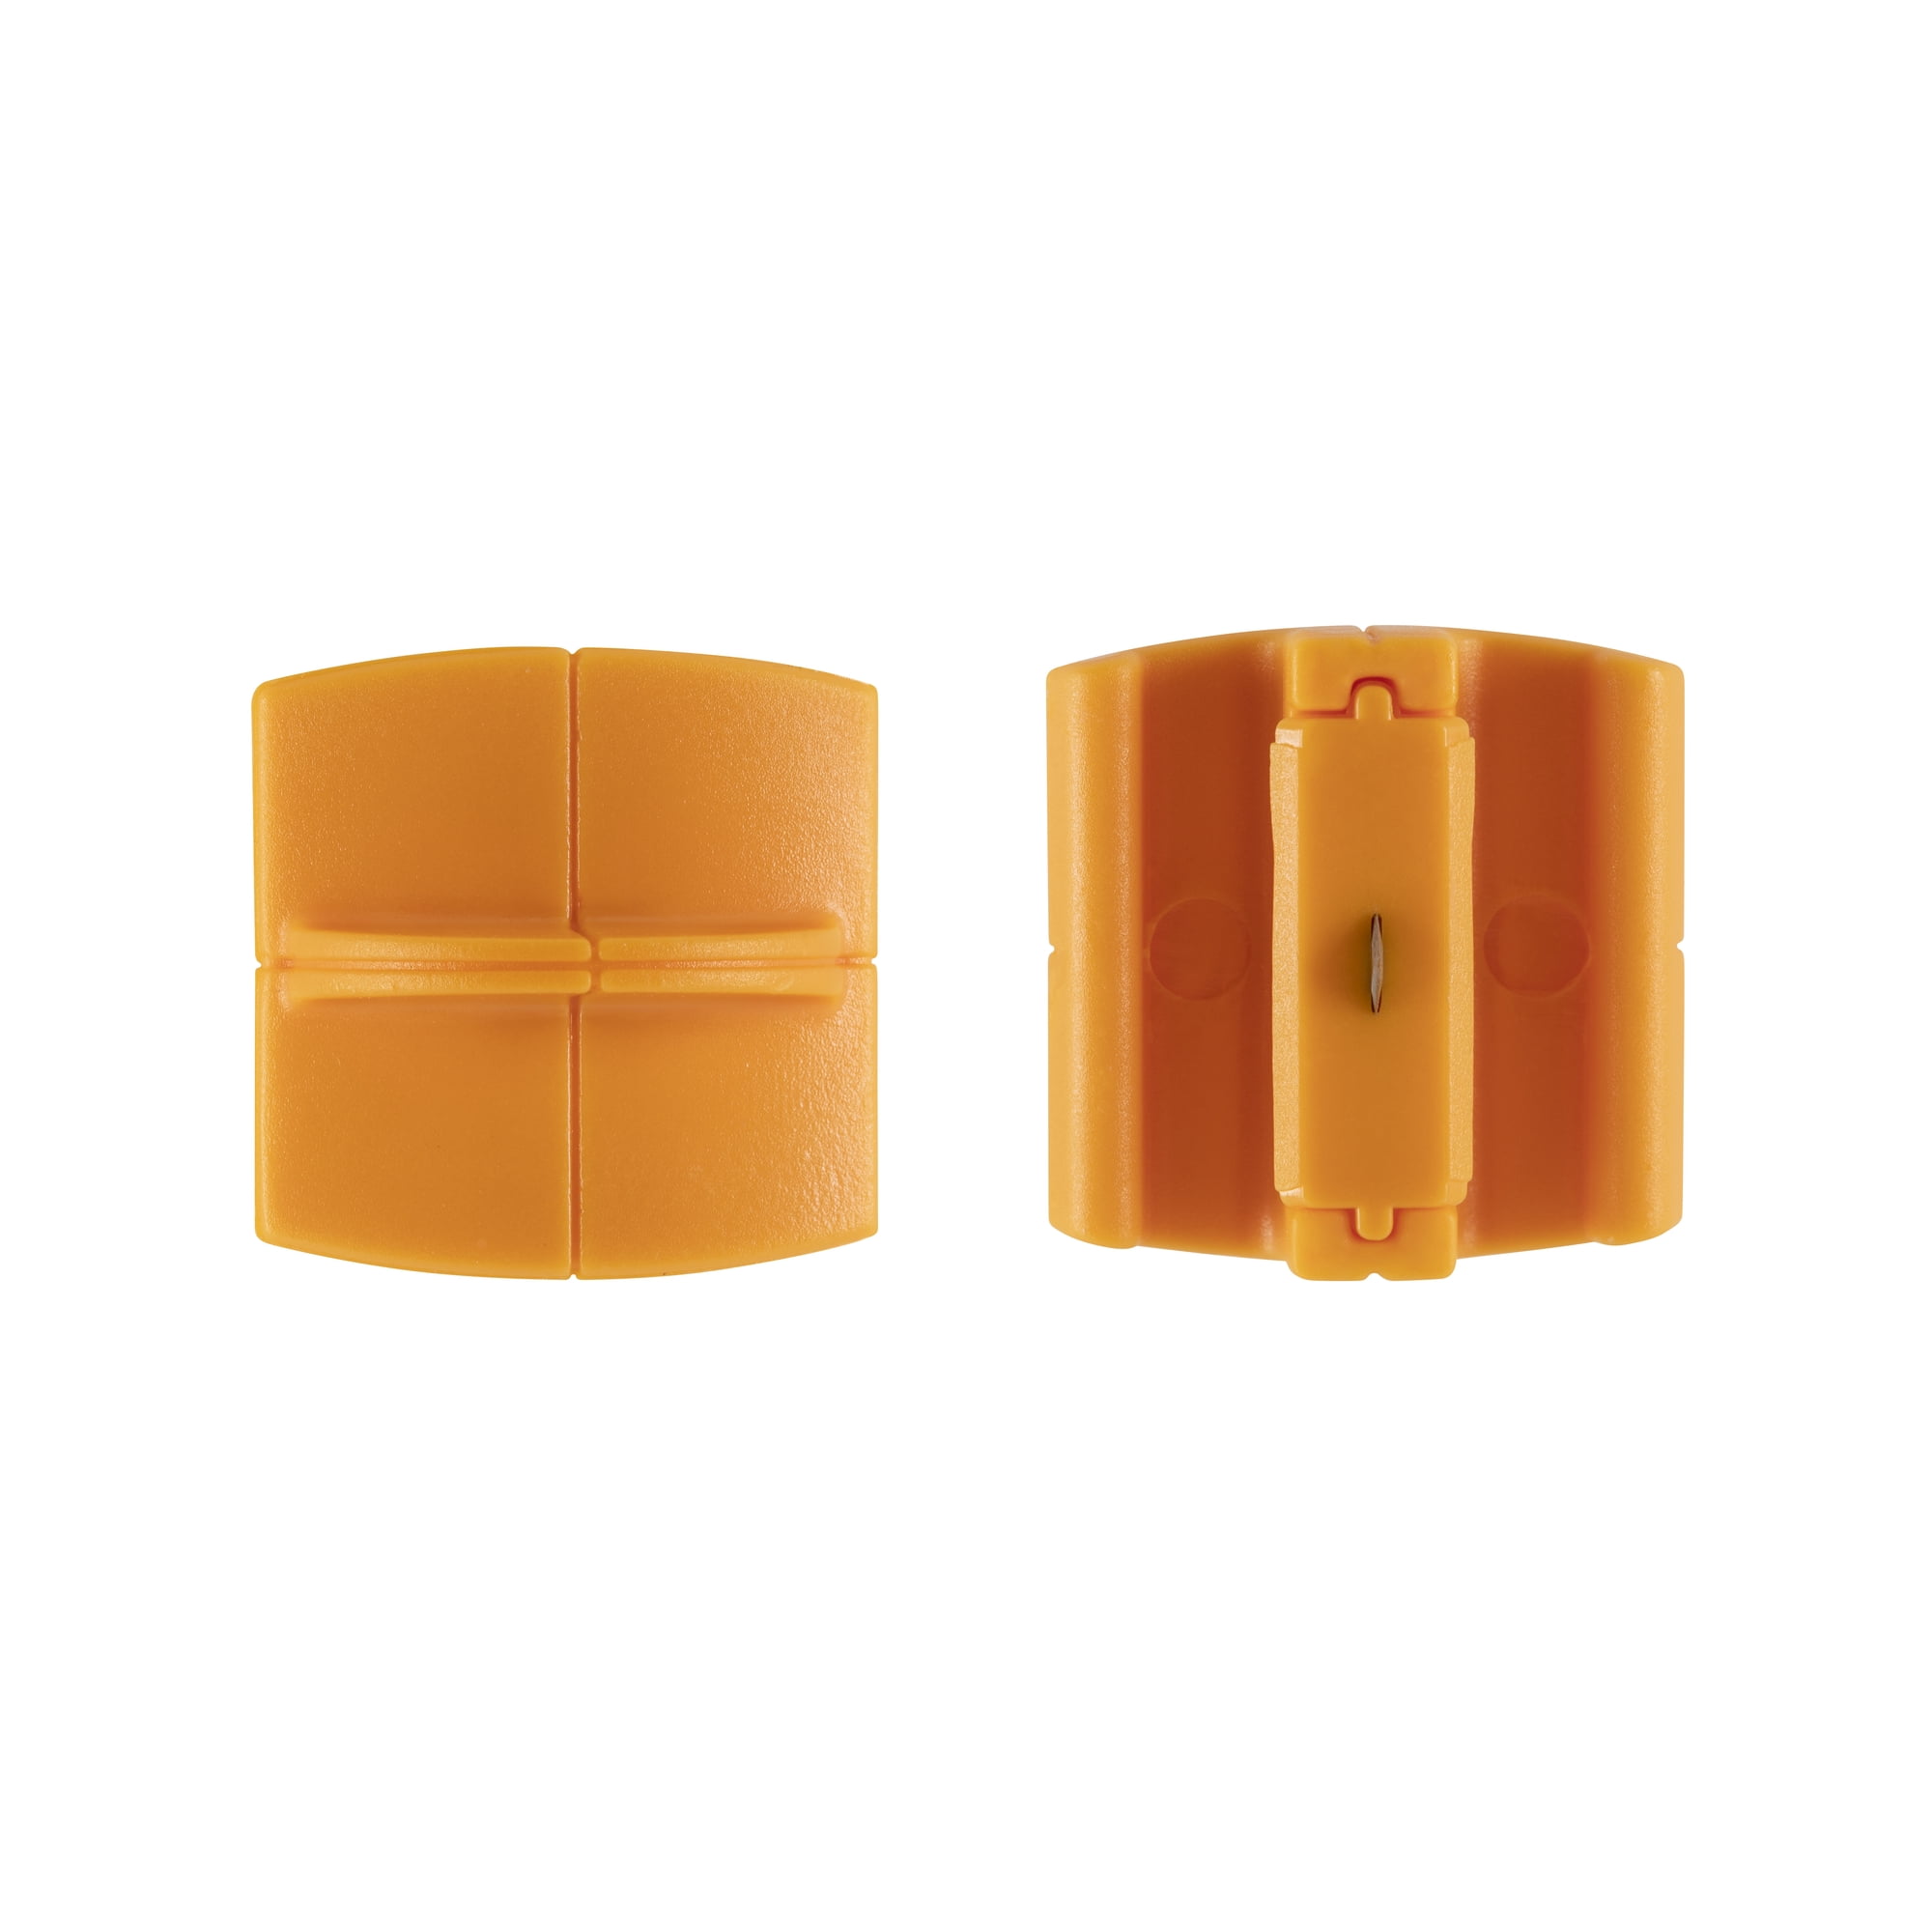
Remove Track-Mounted Round Blades Without Breaking Casings

Slide Off Orange Casing Using Proper Pressure
For older 9″ and 12″ trimmers:
1. Grip orange semicircular casing firmly at both ends
2. Slide toward trimmer’s end cap with even pressure (not upward!)
3. Continue sliding until casing disengages from track—never pry
4. Set casing aside with cutting edge facing down
Critical mistake to avoid: Forcing the casing upward cracks the plastic rails. The casing only moves along the track axis—applying vertical pressure breaks the housing clips.
Release Blade From Holder Safely
Inside the orange casing:
1. Locate retention clips—small plastic tabs hold the blade
2. Press blade toward casing center with thumb until clips release
3. Lift blade by edges only—never touch cutting surface
4. Discard immediately in blade-safe container
Visual check: If the blade resists removal, verify you’re pressing toward the center (not outward). Bent clips won’t release the blade—replace the entire casing if damaged.
Install New Round Blade Correctly
- Align new blade with slot orientation in holder
- Press straight down until audible snap confirms seating
- Test stability—blade should show zero wobble
- Slide casing onto track until end-stop click
Verification step: Before reassembly, slide the empty casing along the track. It must move smoothly without catching—if not, clean the track first.
Choose Correct Replacement Blades to Avoid Costly Mistakes

Match Style G vs Style I Blades Precisely
Style G blades fit most 9″ and 12″ trimmers with round orange casings. Style I blades work exclusively with TripleTrack systems (identified by dual cutting rails). Using the wrong style causes dangerous blade wobble and poor cuts. When in doubt:
– Style G: Single rail, one orange casing
– Style I: Dual rails, specialized housing
Verify Compatibility Before Purchasing
Always cross-reference:
– Check model number against Fiskars’ online compatibility chart
– Measure blade diameter (round blades are 2.5″ across)
– Confirm casing type—orange semicircular vs. magnetic hub
– Buy genuine Fiskars blades—counterfeits often have incorrect curvature
Pro Tip: Keep your old blade as a template when shopping. Retailers like Michaels or Joann carry both styles—but verify packaging matches your system.
Clean Track Before Reassembly for Smooth Operation
Remove Paper Dust Thoroughly
Use a soft-bristled brush (like a clean toothbrush) to dislodge:
– Paper fibers jammed in track grooves
– Adhesive residue from sticker sheets
– Dust bunnies near rail end-stops
Never use compressed air—it forces debris deeper into mechanisms. For sticky buildup, apply 1 drop of isopropyl alcohol to a cotton swab.
Test Movement Before Blade Installation
Slide the empty casing along the entire track:
– Smooth motion = ready for new blade
– Grinding or sticking = re-clean affected section
– Excessive play = check for bent rails
Warning: Installing blades on a dirty track accelerates dulling. A clean track extends blade life by 30%.
Maintain Sharp Cutting Performance Proactively
Replace Blades at First Signs of Dullness
Don’t wait for complete failure—replace when:
– Paper requires pressing down to cut (instead of gliding)
– Edges show slight feathering or tearing
– Cutting speed noticeably decreases
Time-saving insight: Rotating blades 90 degrees temporarily extends life when cutting directional materials like textured cardstock.
Follow Track Maintenance Schedule
- After every 10-15 uses: Quick dust removal with soft brush
- After adhesive materials: Deep clean with alcohol swab
- Monthly: Inspect rails for nicks or bends
A clean track reduces blade stress, making replacements less frequent.
Dispose of Old Blades Safely and Verify Installation
Use Proper Disposal Containers
Never toss blades loose in trash:
– Blade bank: Sealable metal container (like Altoids tin)
– Cardboard sleeve: Fold blade inside thick cardboard, tape shut
– Original packaging: Return to plastic case if available
Critical safety: Label disposal containers clearly—”SHARP BLADES” in bold letters.
Double-Check Installation Before First Use
- Confirm blade seats fully—no visible gaps in housing
- Test cut scrap paper—should slice effortlessly
- Check track movement—no resistance along full length
- Inspect for wobble—blade must remain rigid during cuts
Final verification: Hold cutter at eye level—blade edge should align perfectly with track markings. Misalignment causes angled cuts and premature wear.
You’ve now mastered how to remove blade from Fiskars paper cutter regardless of model—whether wrestling free a track-mounted round blade or flipping open an EasyChange™ hub. Keep your model number visible on the trimmer base with a permanent marker; future replacements will take under 3 minutes. For immediate troubleshooting, bookmark Fiskars’ live chat support—they’ll walk you through blade identification in real-time. Your crisp, professional cuts start with correctly installed blades, so maintain this simple routine: clean tracks monthly, swap blades at first resistance signs, and always verify compatibility. That next project’s clean edges begin with today’s precise blade replacement.


