
That frustrating snag when your rotary cutter drags through fabric instead of slicing cleanly? Ragged edges with loose threads instead of precise cuts? You’ve just discovered the silent productivity killer every sewer and quilter battles: dull rotary cutter blades. Before you toss that $8 blade or waste precious crafting time replacing it, discover proven methods to sharpen fabric rotary cutter blades at home. This guide reveals exactly when—and how—to revive your cutting wheels, saving money without sacrificing precision. Learn emergency foil techniques that work in 5 minutes, professional sharpening systems that restore 90% of blade performance, and critical safety warnings most tutorials omit.
Emergency Foil Sharpening: 5-Minute Blade Revival (For Disposal-Bound Blades Only)
NEVER attempt this method on blades you intend to keep long-term. This emergency technique works exclusively on blades already scheduled for disposal due to its temporary nature. When replacement blades are unavailable mid-project, aluminum foil creates microscopic abrasion that briefly restores cutting ability—think of it as CPR for your dying blade.
Cut 20 Strips Through Folded Foil for Instant Results
Gather these materials first:
– Heavy-duty aluminum foil (standard thickness works)
– Self-healing cutting mat (essential for surface protection)
– Quilting ruler (for straight cutting guidance)
– Fabric scraps (for sharpness testing)
Execute these steps precisely:
1. Tear off a 12″x12″ foil sheet and fold it 4-6 times into a dense 6-layer stack
2. Place folded foil on cutting mat, aligning with ruler edge
3. Make 20 short, controlled cuts (2-3 inches long) through the foil stack
4. Critical technique: Apply steady pressure like cutting thick denim—never force the blade
5. Test on cotton scrap fabric; repeat foil cutting if edges still fray
Why this works: Aluminum’s crystalline structure creates micro-abrasions on the blade edge, similar to a very fine sharpening stone. The folded layers provide consistent resistance that re-aligns microscopic teeth without removing significant metal.
Foil Method Reality Check: What to Expect
| Factor | Result | Critical Limitation |
|---|---|---|
| Sharpness restored | 60-70% of new blade | Never matches factory edge |
| Usable lifespan | 1-3 small projects | Degrades rapidly with use |
| Best for | Emergency fabric cutting | Not for precision quilting |
| Safety risk | Low (if blade undamaged) | NEVER use on nicked blades |
Pro tip: Mark foil-sharpened blades with red tape immediately. This prevents accidental use on critical projects where ragged cuts would ruin expensive fabric. Remember—this is a temporary bridge to replacement, not a permanent solution.
Professional Sharpening Systems That Actually Work
When you need reliable cutting performance for multiple projects, commercial sharpeners outperform foil by restoring 80-90% of original sharpness. These devices solve the fundamental limitation of DIY methods: inconsistent blade contact angle.
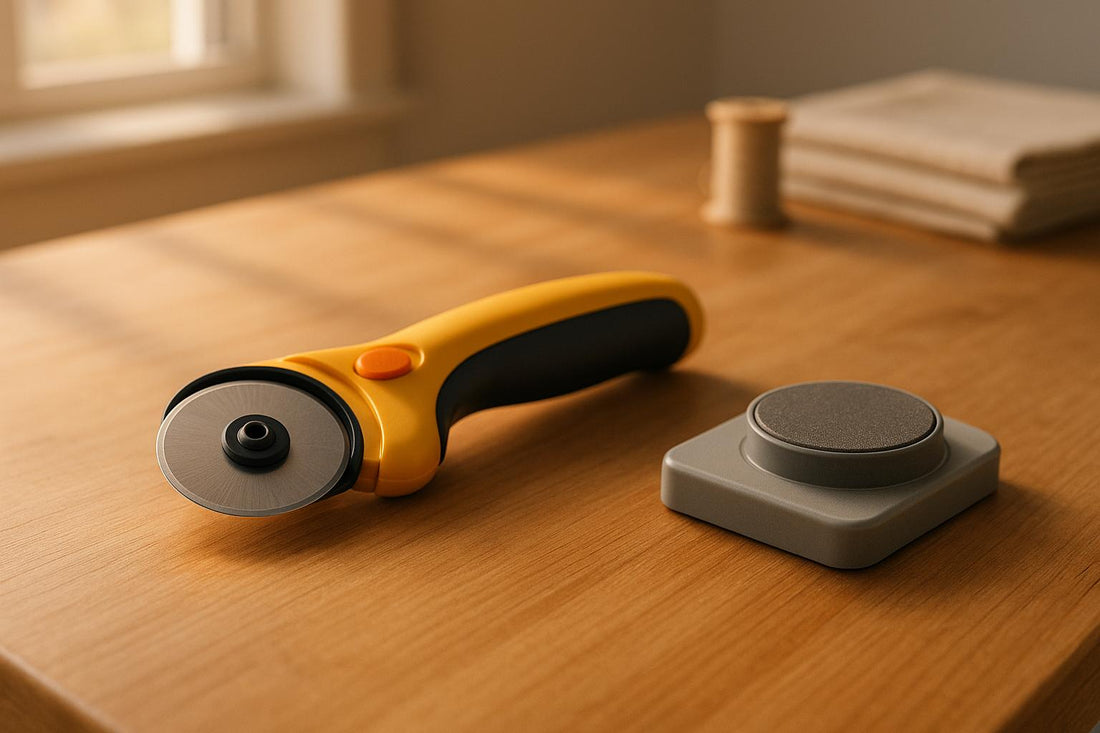
Tri-Sharp Dual Sharpener: The Quilter’s Secret Weapon
Why this $15 device belongs in your toolkit:
– Sharpens both 28mm and 45mm blades in one unit (fits Olfa, Fiskars, Cricut)
– Replaceable abrasive circles last 50+ sharpenings ($4 replacement cost)
– Achieves factory-precise 30° blade angle through guided rotation
– Completes sharpening in 7 minutes with zero skill required
Step-by-step usage:
1. Insert blade into correct-sized slot (45mm for standard cutters)
2. Rotate blade clockwise 15 times with light downward pressure
3. Flip blade and repeat on opposite side
4. Wipe metal shavings with microfiber cloth
5. Test on muslin scrap before project use
Unlike foil methods, this system removes minimal metal while realigning the cutting edge. Users report restored blades cutting through 4+ layers of quilting cotton cleanly—performance impossible with emergency techniques.
DIY Sandpaper Sharpener: Budget Alternative
Create effective sharpening with:
– 6″x6″ sheet of 400-grit wet/dry sandpaper
– Glass cutting surface (or marble tile)
– Double-sided tape
Technique that avoids blade damage:
1. Secure sandpaper grit-side-up to glass using tape
2. Hold blade vertically at 30° angle (mimic factory bevel)
3. Rotate blade in small circles while applying light pressure
4. Complete 10 rotations per quadrant (total 40 rotations)
5. Clean blade with isopropyl alcohol to remove residue
Critical warning: Sandpaper grit must match blade hardness. 600-grit works for standard carbon steel blades but ruins ceramic-coated blades. When in doubt, use the Tri-Sharp system.
When to Stop Sharpening and Replace Immediately

Sharpening isn’t magic—certain conditions make blades permanently unusable. Recognizing these saves ruined projects and potential injury from blade shattering.
4 Non-Negotiable Replacement Triggers
- Visible nicks under magnification: Even hairline chips create ragged cuts
- Metal ruler contact: Hitting metal instantly creates micro-fractures
- Pin penetration: Sewing through pins destroys blade geometry
- After 3 sharpenings: Metal fatigue makes blades prone to snapping
Proven replacement strategy from master quilters: Track blade usage in your cutting log. Replace blades after:
– 50+ yards of cotton
– 30+ yards of denim
– 15+ yards of upholstery fabric
– ANY contact with metal or pins
Urgent warning: Severely worn blades can shatter during use. If you hear metallic “pinging” sounds while cutting, stop immediately and replace the blade.
Blade Longevity System: Prevent Dullness Before It Starts

The smartest sewers spend less time sharpening because they prevent dullness through strategic habits. Implement these professional techniques to double blade lifespan.
Your Fabric-Cutting Damage Control Protocol
- Cutting surface rule: Only use self-healing mats (replace every 18 months)
- Pin prohibition: Never cut within 1″ of straight pins—use clips instead
- Fiber management: Wipe blades with alcohol pad after every 15 minutes of cutting
- Storage mandate: Always retract blades fully when not actively cutting
Pro tip: Designate specific blades for specific fabrics. Keep one blade exclusively for:
– Delicates (silk, chiffon)
– Mid-weight (quilting cotton)
– Heavy-duty (denim, canvas)
This prevents cross-contamination where heavy fabrics prematurely dull blades meant for fine materials.
Smart Blade Stocking Strategy
- Sales monitoring: Stock 10-20 blades during Black Friday (50%+ discounts)
- Batch testing: Test new blades on scrap fabric before project use
- Rotation system: Use oldest blades first with clear labeling
- Emergency kit: Keep 2 foil-sharpened blades in project bag for travel
Experienced quilters confirm stocking blades during sales saves 70% versus emergency replacements. A $20 investment in 10 blades lasts most hobbyists 2+ years.
Cross-Tool Sharpening: Extend This Technique
The foil method adapts to multiple cutting tools—use these precise modifications:
- Fabric scissors: Cut 15 foil strips folded 4x (test on thread—should slice cleanly)
- Paper punches: Punch through 6-layer foil stack 10x (stops paper tearing)
- Exacto knives: Slice foil diagonally 8x per edge (restores precision cutting)
- Pinking shears: Cut foil strips slowly (maintains tooth geometry)
Critical adaptation: For all tools, stop immediately if resistance increases. Over-sharpening removes too much metal and ruins the cutting edge.
Sharpen vs. Replace Decision Flowchart
Follow this sequence when blades dull:
1. Inspect under bright light: Visible nicks? → REPLACE NOW
2. Check cutting history: Hit pins/metal? → REPLACE NOW
3. Assess project urgency: Time-critical project? → REPLACE
4. Evaluate blade age: >3 sharpenings? → REPLACE
5. No damage + non-urgent: → SHARPEN WITH TRI-SHARP
Time/cost comparison:
– Foil method: $0.50 + 5 minutes (emergency only)
– Commercial sharpener: $0.08/blade + 7 minutes
– New blade: $7.99 + 1 minute (optimal for quality work)
Final Blade Performance Protocol
Sharpen fabric rotary cutter blades strategically—not reactively. Use foil sharpening exclusively as a 5-minute emergency bridge when replacement blades are unavailable. Invest in a Tri-Sharp sharpener for blades you value, but replace immediately after any metal contact or visible damage. Implement the fabric-specific blade rotation system to maximize tool lifespan, and stock replacement blades during major sales to avoid costly emergency purchases.
Critical maintenance rule: Track every sharpening in your cutting log. After 3 sharpenings, recycle the blade regardless of apparent sharpness—metal fatigue makes failure unpredictable. Your fabric deserves clean cuts, and your fingers deserve protection from shattering blades. When you hear that satisfying shink through multiple fabric layers, you’ll know your sharpening strategy succeeded. For consistent results that won’t fray expensive silks or ruin precision quilting, prioritize blade replacement over repeated sharpening—your projects will reflect the difference in every perfect cut.


