
Nothing ruins a plumbing project faster than a crooked cut or damaged pipe. Whether you’re replacing a water line or installing new gas pipes, a chain pipe cutter delivers the precision you need without sparks, heat, or messy grinding. This specialized tool wraps around pipes like a metal snake, scoring through steel, copper, or PVC with surgical accuracy. Mastering how to use a chain pipe cutter transforms frustrating pipe cutting into smooth, professional results. You’ll learn exactly how to set up, operate, and maintain your tool for clean cuts that fit perfectly every time—saving you rework and costly mistakes.
Essential Chain Cutter Components
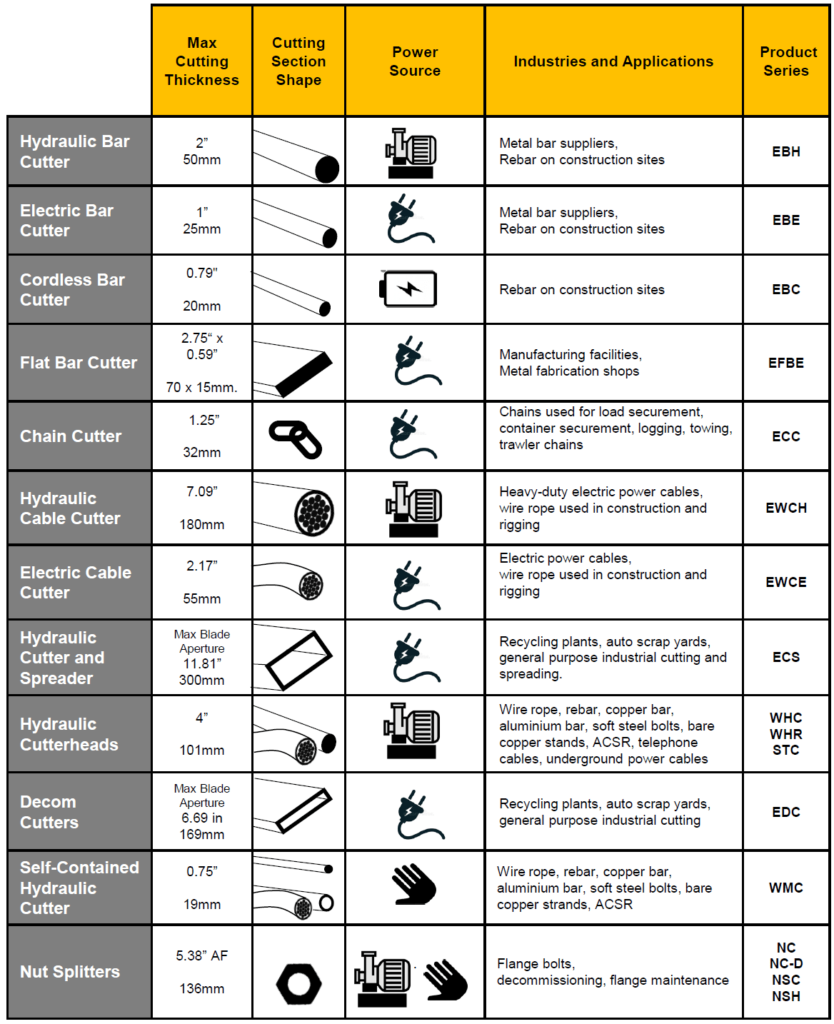
Your cutter’s performance depends on five precision-engineered parts working together. The cutting chain forms the backbone—heavy-duty links embedded with hardened steel or carbide wheels spaced at exact intervals. These wheels do the actual scoring, so inspect them for chips or flat spots before every use. The tightening mechanism controls pressure application; most models use a ratcheting handle that clicks with each adjustment, while pro versions feature smooth-turning screw mechanisms. Your adjustment knob is the heart of precision—turn it too aggressively and you’ll damage both pipe and tool. The frame must be cast iron or forged steel; anything lighter flexes under pressure and creates angled cuts. Finally, the ergonomic handle enables two-handed control during rotation. Always verify your cutter matches the pipe diameter—standard models handle ½” to 6″ pipes, while mini cutters tackle tight spaces on ⅛” to 2″ lines.
Wheel Material Matters for Pipe Types
Hardened steel wheels work perfectly for copper and PVC but wear quickly on steel. Upgrade to carbide-tipped wheels for steel pipes—they cost 40% more but last 3-5 times longer. For stainless steel or schedule 80 pipes, carbide is non-negotiable. Inspect wheels before starting: replace any showing wear beyond 0.5mm, as worn wheels require excessive pressure that distorts pipes. Never mix wheel types on the same chain—consistent material contact ensures even scoring.
Safety Setup Before Cutting
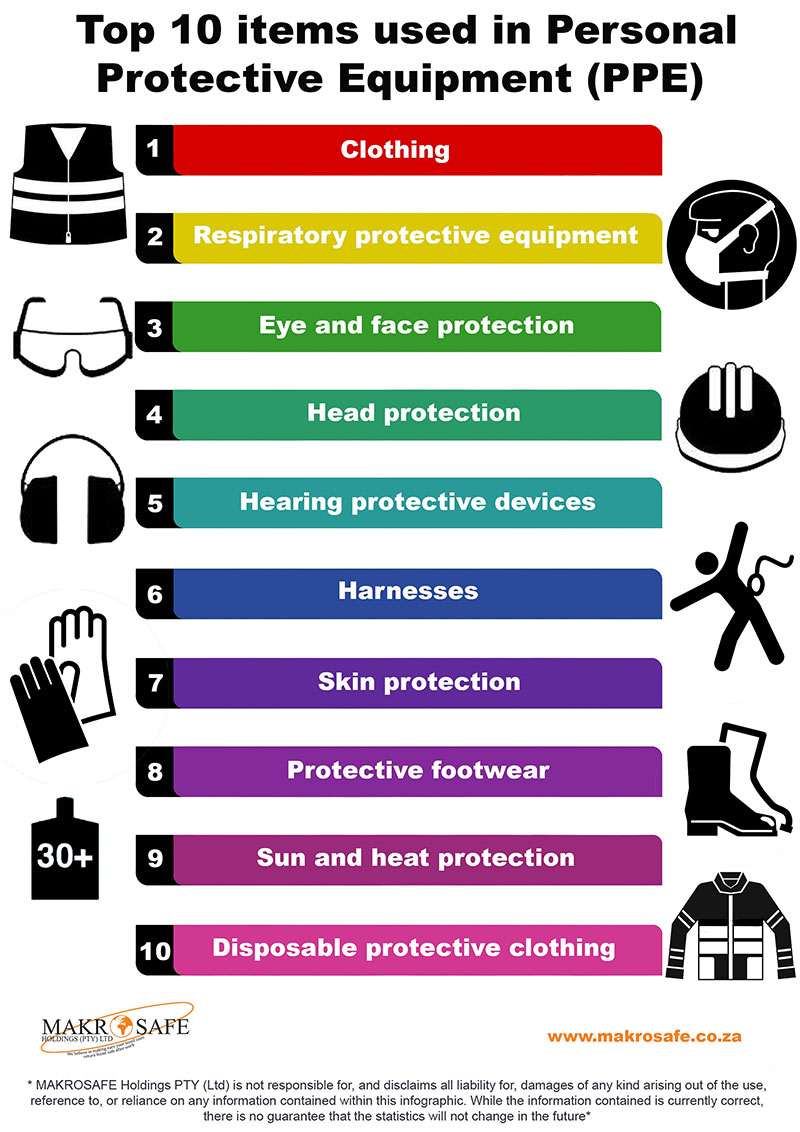
Your eyes come first. Safety glasses with side shields aren’t optional when metal shards ricochet at bullet speeds. Cut-resistant gloves (Level 3 or higher) protect hands from sharp edges and prevent the wrenching motion from tearing skin. Steel-toed boots shield feet if a pipe slips, and long sleeves block flying debris. Skip any of these, and you risk serious injury from a single slip.
Clear a 3-foot workspace—this isn’t the time for cramped quarters. Position pipe supports at least 6 inches from your cut line; any closer causes vibration that creates uneven scores. For overhead work, set up 500+ lux lighting so you see your mark clearly. Always have a fire extinguisher nearby when cutting metal pipes. Verify your pipe vise is rated for the diameter—you’ll prevent the nightmare scenario of a spinning pipe mid-cut. Thin-wall pipes need extra care: fill them with dry sand or use expandable mandrels to prevent collapse under pressure.
Quick Pipe Preparation Steps
Clean pipes cut cleaner. Run a wire brush over the entire cutting zone, removing rust flakes, dirt, and manufacturing residue. Mark your cut line with a permanent marker and measuring tape—pencil marks vanish under cutting oil, and scratches confuse your starting point. Measure twice: a single millimeter error compounds during cutting.
Support heavy pipes properly using adjustable stands that keep them level. For horizontal runs, ensure stands are identical height to prevent rolling. Wrap measuring tape around the pipe to confirm diameter matches your cutter’s capacity—forcing a 3″ pipe into a 2½” cutter cracks frames. Check for hidden obstructions like wall studs or adjacent pipes that could stop your rotation mid-cut. For gas lines, purge the section first—never cut pressurized pipes.
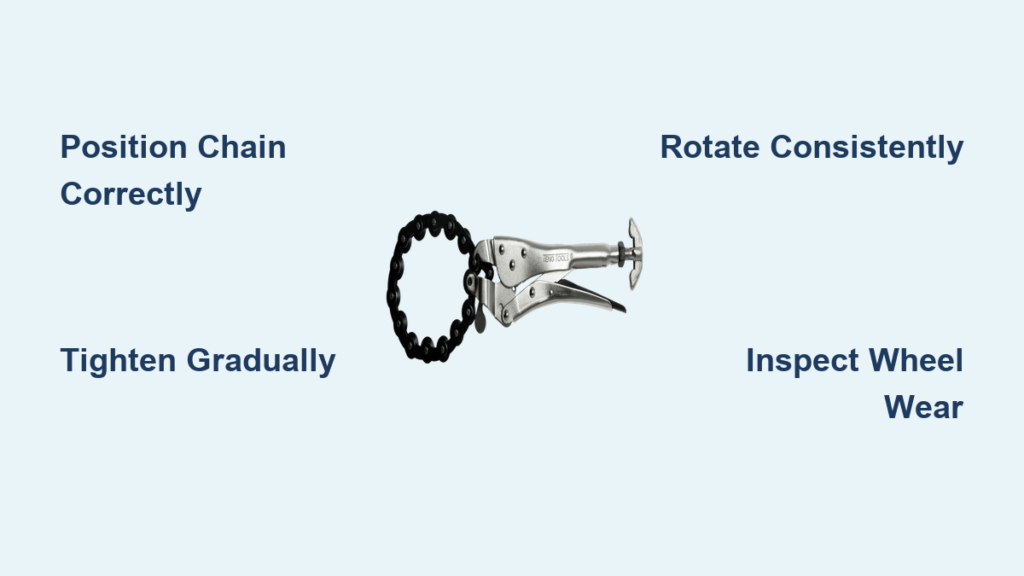
Master the Cutting Sequence
Chain placement determines everything. Wrap the chain around your pipe with cutting wheels sitting directly on your mark. All wheels must contact the surface—if even one floats above, you’ll get an angled cut. Start tightening clockwise until wheels just kiss the metal. This initial contact point is critical: too loose and wheels slip; too tight and you crush the pipe.
Your first rotation sets the groove. Spin the cutter 360 degrees while maintaining feather-light pressure. This initial scoring prevents wheel slippage and establishes your cutting path. After this first pass, tighten your adjustment knob exactly 1/8 turn—no more. Rush this process and you’ll dull wheels prematurely. Continue the sequence: rotate, tighten 1/8 turn, rotate. Each full rotation penetrates 1-2 millimeters. For a 2-inch steel pipe, expect 15-20 rotations over 3-5 minutes. When the cut nears completion (you’ll hear a change in sound), reduce pressure to prevent wheel damage as the pipe separates.
Avoiding Common Rotation Mistakes
Never rotate faster on the “easy” side of the pipe—uneven speed creates oval cuts. Maintain consistent clockwise rotation; reversing direction jams wheels. If resistance suddenly increases, back off 1/16 turn and restart—forcing it cracks wheels. For pipes over 3″, pause every 5 rotations to clear metal shavings from the chain.
Material-Specific Cutting Techniques
Steel demands respect. Use thread-cutting oil continuously—dry cutting destroys wheels in minutes. Carbide-tipped wheels bite efficiently, but rotation speed must stay slow and steady; fast spinning overheats both pipe and tool. Schedule 80 steel cuts 40% slower than Schedule 40 due to thicker walls. Expect 3-5 minutes for a 2-inch pipe with proper lubrication.
Copper cuts like butter but stretches if pushed too hard. Apply light machine oil to reduce friction without staining. Steel wheels work perfectly here—save expensive carbide for tougher jobs. A 1-inch copper pipe separates cleanly in 90 seconds with consistent rotation speed. Watch for “chatter” marks—they indicate loose pipe supports.
PVC plastic cuts fastest but requires finesse. No lubrication needed, and standard steel wheels zip through effortlessly. Rotate faster than metal pipes, but watch for melting—if smoke appears, you’re cutting too aggressively. Most 3-inch PVC sections separate in under a minute. Reduce pressure by half in the final rotations to prevent cracking.
Fix Common Cutting Problems
Angled cuts scream amateur work. Check pipe support first—wobbly stands create disaster. Next, verify equal pressure on all sides; many operators unconsciously favor their dominant hand. Replace wheels showing flat spots immediately; worn wheels track unpredictably. If the cut drifts mid-process, stop, back off tension, and restart your scoring.
Wheel slippage wastes time and temper. Increase tension gradually—never crank the knob aggressively. Verify wheel material matches your pipe type; steel wheels on stainless steel guarantees slippage. For stubborn pipes, back off tension completely, clean the chain contact area, and restart with fresh cutting oil.
Premature wheel dulling drains your wallet. Reduce tightening increments to 1/16 turn for hard materials. Ensure continuous lubrication during steel cutting. Store your cutter with the chain relaxed—tight storage stretches chains permanently, causing uneven pressure.
Maintain Peak Performance
Daily maintenance takes 3 minutes but saves hours of frustration. Brush away metal chips immediately—they embed in moving parts and create grinding paste. Check chain tension by lifting the middle link; it should rise ¼ inch from straight. Apply light machine oil to pivot points and the ratcheting mechanism.
Weekly inspection prevents mid-job failures. Replace wheels showing wear beyond 0.5mm—worn wheels require excessive pressure that damages pipes. Tighten loose handle attachments; a spinning handle mid-cut creates dangerous situations. Check your frame for hairline cracks, especially near high-stress areas like the adjustment knob housing.
Pro Tips for Challenging Cuts
Tight spaces demand creativity. Use offset handle attachments that angle away from walls. When full rotation proves impossible, work in 180-degree increments, repositioning the cutter between passes. Keep a small inspection mirror handy to monitor cut progress in confined areas—watch for uneven scoring that indicates chain slippage.
Bevel cutting opens new possibilities. Set your protractor to 37.5 degrees for standard pipe welding preparation. Adjust chain tension progressively tighter on the longer side to maintain your angle throughout the cut. Verify your work every 2-3 rotations with a bevel gauge—a drifting angle ruins expensive pipe.
Batch processing saves serious time. Cut multiple pipes of identical diameter by creating a simple wooden jig. Stack pipes and process them sequentially—your setup time drops by 75%. Mark all pipes before starting; stopping mid-cut to measure wastes momentum and risks misalignment.
Quality Standards That Matter
Professional results demand measurement. Your cut should deviate no more than 1.5 degrees from perpendicular—that’s roughly 1/16 inch over a 2-inch diameter. The cut face should display smooth, continuous score marks without chatter patterns. Use a square gauge to verify perpendicularity immediately after cutting.
Burr control separates pros from amateurs. Maximum burr height shouldn’t exceed 0.8mm on steel—any higher and you’ll struggle with fittings. Deburr internally and externally using a pipe reamer. Check ovality after cutting; diameter deviation beyond 0.5% indicates excessive pressure or inadequate support. For gas lines, this measurement is non-negotiable.
Master these techniques and your chain pipe cutter becomes an extension of your expertise. Clean cuts, consistent results, and professional finish become your standard—not your goal. Remember: proper chain pipe cutter use prevents leaks, saves material, and builds client trust through precision work. Keep your wheels sharp, your supports steady, and your rotations consistent for plumbing that flows as smoothly as your cuts.


