
Nothing ruins a beautiful woodworking project faster than visible screw heads marring the surface. Whether you’re building a cherry coffee table or installing oak trim, knowing how to use a plug cutter transforms amateur-looking screw holes into invisible, professional-grade joints. This specialized drill bit creates perfect wooden plugs from matching wood, allowing you to hide fasteners completely while maintaining your project’s aesthetic integrity.
Mastering plug cutting opens up endless possibilities for flawless furniture construction, trim work, and cabinetry. You’ll learn to create seamless repairs, restore antique pieces, and achieve that coveted furniture-maker finish that makes screws virtually disappear into the wood grain. When you properly execute how to use a plug cutter, your woodworking projects will showcase the craftsmanship that separates hobbyists from professionals.
Essential Plug Cutting Tools
Required Equipment Checklist
- Plug cutter bits sized for your screw heads (1/4″, 3/8″, or 1/2″)
- Power drill with 3/8″ chuck minimum (drill press preferred)
- Matching scrap wood from your project material
- Wood glue for permanent installation
- Flush-cut saw or sharp chisel for trimming
- 120-220 grit sandpaper for final finishing
Before you attempt how to use a plug cutter effectively, verify all tools are in working order. Dull cutters create ragged plugs that won’t seat properly, while mismatched scrap wood makes plugs stand out. Many beginners waste valuable project material by skipping this verification step—always test your cutter on scrap first.
Safety Gear Must-Haves
- Impact-resistant safety glasses (wood chips fly fast)
- Hearing protection (plug cutters are loud)
- Dust mask (especially with exotic hardwoods)
- Push blocks when using drill press
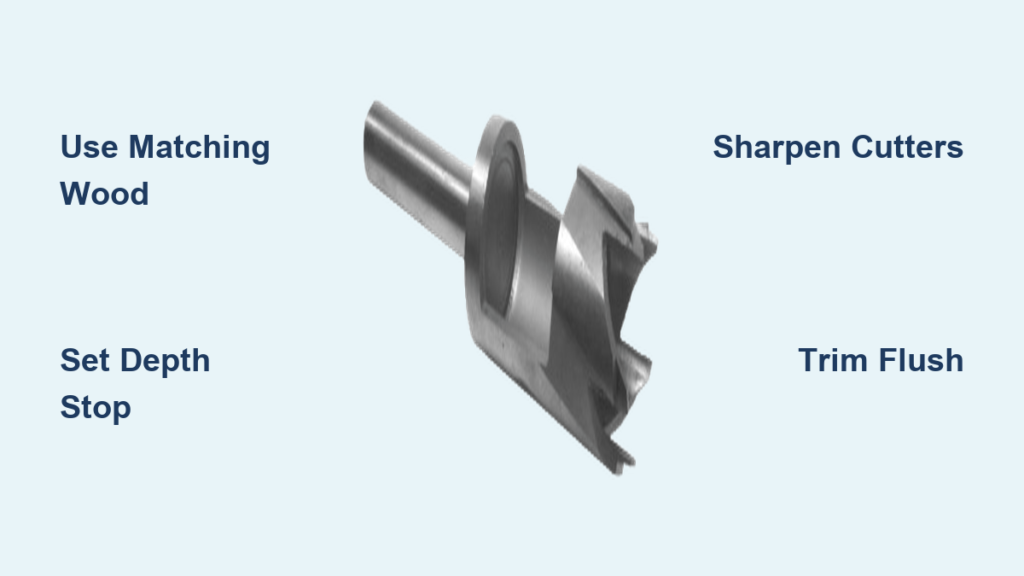
Pro tip: Always cut plugs from the same wood species and ideally from offcuts of your actual project. This ensures perfect color and grain matching that makes plugs truly invisible. When learning how to use a plug cutter, don’t compromise on wood matching—your finished project will reveal any shortcuts.
Choose Your Plug Cutter Type
Tapered vs Straight Cutters
Tapered plug cutters create slightly cone-shaped plugs that wedge tightly into countersunk holes. These work best for standard woodworking screws and provide excellent holding power without glue. They’re ideal for beginners learning how to use a plug cutter because they’re more forgiving during installation.
Straight plug cutters produce perfectly cylindrical plugs requiring glue for installation. Choose these when you need exact sizing or plan to sand plugs flush after installation. While slightly more challenging to master, they offer superior results for precision furniture work.
Multi-Size Options
Adjustable plug cutters handle multiple diameters with a single tool. While convenient, they typically don’t cut as cleanly as dedicated single-size cutters. For professional results when you learn how to use a plug cutter, invest in individual cutters for your most common screw sizes—your finished projects will show the difference.
Perfect Plug Cutting Setup
:max_bytes(150000):strip_icc()/5_53_SteadyPlugCutter-bd3a709748ea40ae828557c2d5f34242.jpg)
Drill Press Configuration
Set your drill press to 500-1000 RPM for hardwoods like oak or maple. Increase to 1000-1500 RPM for softer woods like pine or poplar. Install the plug cutter with at least 1/2 inch of shank in the chuck for stability. The right setup is critical when you want to know how to use a plug cutter properly—improper installation causes wobbling that ruins plug edges.
Critical setting: Adjust the depth stop to cut plugs 1/8 inch longer than needed. This extra length allows for flush trimming and prevents short plugs that won’t seat properly. Many woodworkers skip this step when first learning how to use a plug cutter, resulting in plugs that sit below the surface after trimming.
Hand Drill Alternative
While possible with a hand drill, achieving perpendicular cuts becomes challenging. Clamp your scrap wood securely and use a drill guide block to maintain 90-degree alignment throughout the cut. When you’re still mastering how to use a plug cutter, the drill press’s consistency will save you from countless frustrating mistakes.
Master the Cutting Process
Scrap Wood Preparation
Select flat, knot-free scrap at least 1/2 inch thicker than your desired plug length. Mark cutting locations clearly—confusing plug locations with project pieces leads to costly mistakes. When you’re learning how to use a plug cutter, proper scrap preparation prevents wasted time and materials.
Cutting Technique Breakdown
- Start slow: Begin drilling at reduced speed to establish the cut
- Increase gradually: Raise to full speed while maintaining steady pressure
- Maintain pressure: Keep consistent downward force until depth stop engages
- Rock and lift: Gently rock the cutter while pulling upward to extract plugs
Expert note: Dull cutters cause plug breakage. Replace or sharpen when plugs tear instead of cutting cleanly. This is one of the most common frustrations when woodworkers first attempt how to use a plug cutter—they don’t realize their cutter needs sharpening.
Extraction Methods
Most plugs remain inside the cutter after drilling. Stop the drill completely before extraction. For stubborn plugs, push from the bottom using a small screwdriver through a pre-drilled guide hole. Never pry with metal tools—you’ll damage the plug edges. When you’re still learning how to use a plug cutter, gentle extraction techniques prevent costly plug damage.
Install Plugs Like a Pro
Hole Preparation Essentials
Drill your screw hole first, then countersink to match your plug type. Clean the hole thoroughly—any remaining chips prevent proper plug seating. Test-fit plugs before applying glue to ensure correct sizing. Proper hole preparation is often overlooked when woodworkers first learn how to use a plug cutter, resulting in visible gaps.
Glue Application Technique
Apply thin, even coat of wood glue to both plug sides and hole interior. Too much glue creates squeeze-out that stains surrounding wood. For tapered plugs, the grain direction matters less. Straight plugs should match surrounding grain flow for invisible repairs. When you master how to use a plug cutter, glue application precision makes the difference between noticeable and invisible repairs.
Seating and Trimming
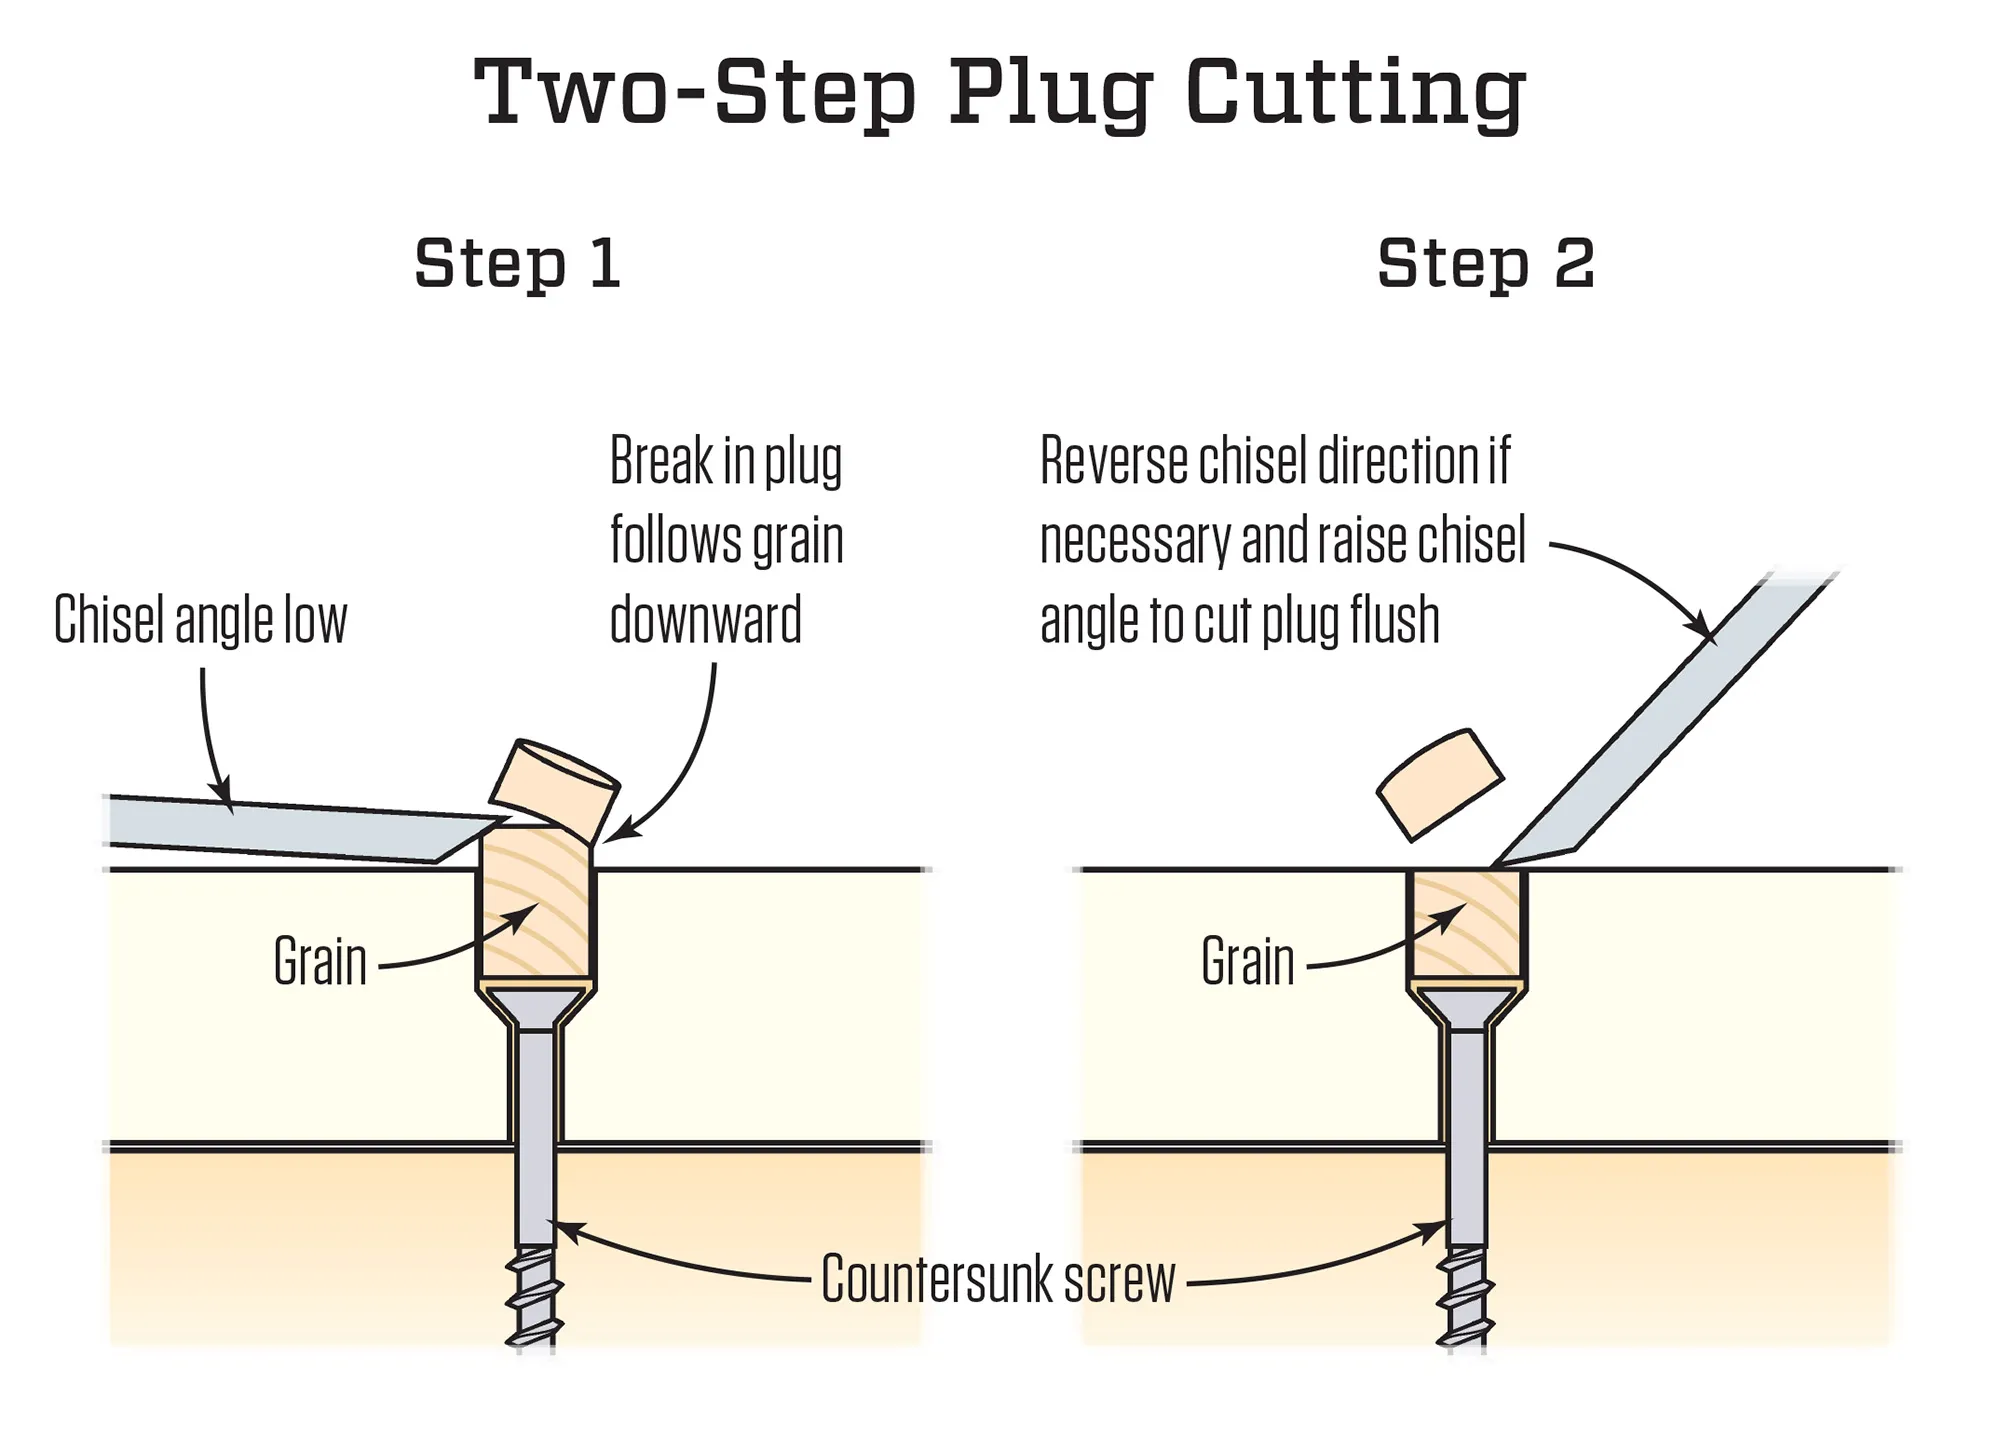
Tap tapered plugs flush with a wooden mallet. For straight plugs, ensure full seating without gaps. After glue cures (4-6 hours), trim plugs nearly flush with a flush-cut saw. Complete the process with careful sanding through progressively finer grits. This final step is where many beginners rush when learning how to use a plug cutter—patience here creates professional results.
Solve Common Plug Problems
Fix Plug Breakage Issues
Symptoms: Plugs snap during extraction or have ragged edges
Solutions:
– Sharpen or replace dull cutters immediately
– Use thicker scrap wood for adequate plug length
– Reduce cutting speed slightly
Repair Oversized Holes
Symptoms: Plugs fit loosely or spin during installation
Fixes:
– Switch to larger cutter size if possible
– Create glue/sawdust mixture to fill gaps
– Redrill hole with correct bit size
Pro tip: When you’re still getting comfortable with how to use a plug cutter, keep a small container of sawdust from your project wood. This makes perfect filler for minor gaps during installation.
Eliminate Burn Marks
Symptoms: Dark discoloration on plug surfaces
Prevention:
– Reduce drill speed for dense hardwoods
– Increase feed rate slightly
– Sharpen cutters when performance degrades
Maintain Your Plug Cutters
Cleaning Protocol
Brush cutters thoroughly after each use with a stiff bristle brush. Compressed air works for stubborn debris. Apply light machine oil to prevent rust, especially in humid environments. Proper maintenance extends the life of your tools when you regularly use a plug cutter.
Sharpening Guidelines
HSS cutters sharpen easily with standard drill bit sharpeners. Carbide-tipped versions require diamond files or professional service. Replace when cutting produces more tear-out than clean cuts, even after sharpening. Learning when to sharpen is essential when you consistently use a plug cutter.
Storage Best Practices
Store cutters in individual protective tubes or wrapped in oiled cloth. Keep them organized by size—nothing wastes time like hunting for the right cutter mid-project. Label storage containers clearly for quick identification. Good storage habits pay off when you frequently use a plug cutter.
Mastering how to use a plug cutter elevates your woodworking from amateur to professional grade. Start with straight plugs on scrap pine to build confidence, then progress to grain-matched repairs in expensive hardwoods. Remember: sharp cutters, matching wood, and patient technique create invisible repairs that showcase true craftsmanship. Practice on scrap first—your future projects will thank you with flawless, screw-free surfaces that impress even the most discerning eyes. As you gain experience with how to use a plug cutter, you’ll discover it’s one of the most valuable skills for achieving furniture-quality results in any woodworking project.


