
That moment when tape stubbornly refuses to tear cleanly—leaving you wrestling with sticky strands while trying to seal a box—plagues everyone from shipping clerks to DIY enthusiasts. Mastering how to use a tape cutter transforms this simple tool into your most efficient ally, turning frustrating packaging sessions into smooth operations. Whether you’re handling daily shipments or weekend craft projects, this guide delivers actionable techniques from proper loading to professional-grade cuts. You’ll learn to avoid common pitfalls, maintain your tool for peak performance, and even master specialized techniques for different tape types—all while saving significant time.
Stop wasting minutes hunting for scissors or wrestling with tape ends. By the end of this guide, you’ll consistently achieve clean, precise cuts on the first try, reduce material waste by up to 30%, and handle high-volume tasks with assembly-line efficiency. These proven methods work across all standard tape cutters, so let’s dive straight into practical solutions.
Select Your Ideal Tape Cutter Model
Handheld vs. Stationary Dispensers Explained
Handheld tape cutters dominate home workshops with their palm-sized portability, accommodating rolls up to 3 inches wide. Squeeze the handle to cut while holding boxes steady with your other hand—a game-changer for on-the-go tasks. For high-volume operations like e-commerce shipping, tabletop dispensers anchor securely to work surfaces, freeing both hands to pull tape smoothly. Their weighted bases prevent tipping during vigorous use. Pistol-grip models offer the best of both worlds: portable like handheld units but with ergonomic triggers that multiply cutting force, reducing hand fatigue during marathon sealing sessions.
Critical Safety Mechanisms to Verify
Never skip testing your cutter’s safety systems. Every reliable unit combines three non-negotiable features: a serrated blade for clean separation, a spring-loaded safety guard that automatically covers the blade when released, and tension brakes preventing tape runaway. Before loading tape, press the blade against scrap cardboard—release immediately to confirm the guard snaps back into place. A sticking guard risks accidental cuts, while weak tension brakes cause frustrating tape tangles. If either fails, replace the cutter; makeshift fixes compromise safety.
Load Tape Rolls in Under 60 Seconds
Correct Threading Path Setup
Start by fully removing the spindle—most twist counterclockwise. Slide your tape roll onto the core adapter with the adhesive side facing the direction indicated by arrows inside the cutter. Pull 2-3 inches through the guide rollers, then test tension by tugging gently. Properly tensioned tape advances smoothly without sagging or resisting. If tape slips off track, realign the roll so its core sits flush against both adapter ends. Wobbling rolls cause uneven feeding and crooked cuts.
First-Cut Calibration Shortcut
Make your initial cut on scrap material to gauge pressure needs. If edges fray or separate incompletely, increase downward force slightly on your next attempt. For recurring projects, mark your tape roll’s starting point with a permanent dot—this eliminates the maddening search for loose ends later. Pro users keep a 6-inch reference strip taped to their workstation; align new cuts against it for instant length consistency.
Execute Flawless Basic Cuts Every Time

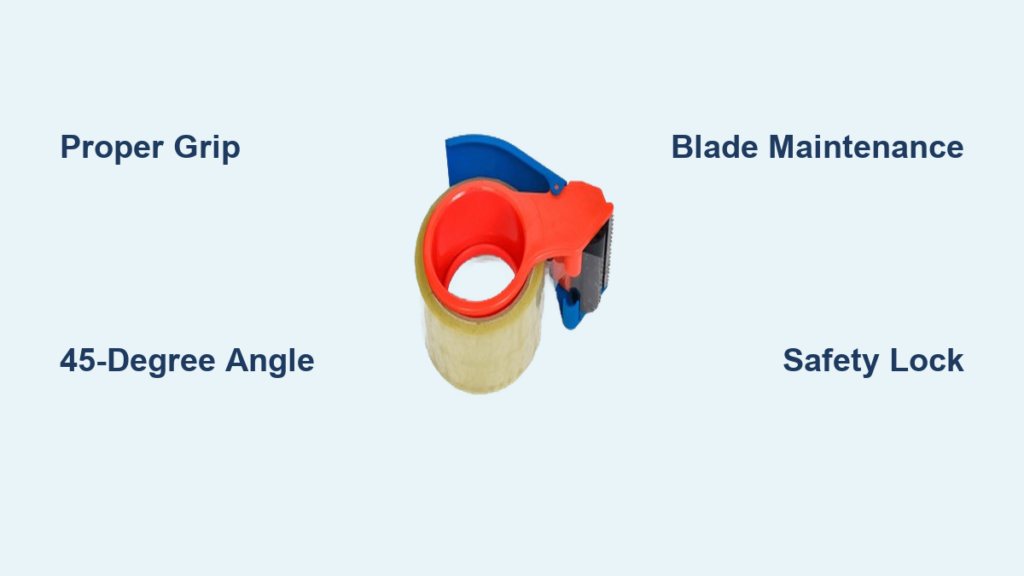
Optimal Grip and Cutting Angle
Hold the cutter in your dominant hand with thumb resting on top and fingers wrapped firmly around the handle. Position the blade at a precise 45-degree angle to your work surface—this geometry ensures maximum blade contact for clean separation. Pull tape taut with your non-dominant hand while applying steady downward pressure. Crucially, never saw back and forth; this dulls blades prematurely and creates jagged edges. One smooth, decisive motion is all it takes.
Balancing Speed and Precision
For single cuts like sealing envelopes, prioritize control over speed. When cutting multiple identical lengths (like 12-inch strips for box seams), develop a rhythmic “pull-cut-advance” sequence. Experienced users achieve one-handed operation by bracing the cutter against their hip while pulling tape with their free hand—ideal when your other hand is holding fragile items. Start slow: time yourself cutting ten 6-inch pieces. Most reach consistent 3-second cuts within a week of practice.
Create Professional Cutting Patterns
Precision Length Techniques
Eliminate measuring errors by taping a ruler directly to your work surface. For repetitive tasks, mark your desired length (e.g., 10 inches) with a permanent line on the cutter’s base. When cutting curves for decorative projects, wrap flexible cardboard templates around your object, guide the tape along the contour, then cut. This prevents the tape from springing away mid-cut.
Box Corner Sealing Method
Achieve seamless box corners with 45-degree miter cuts. Position the cutter at the box edge, angle the blade diagonally toward the corner, and cut in one fluid motion. This creates interlocking seams that resist peeling far better than straight cuts. For heavy packages, overlap the next tape piece by 1-2 inches over the mitered corner—this reinforcement prevents seam separation during shipping.
Implement Non-Negotiable Safety Protocols
Blade Handling Discipline
Always keep eyes on the blade during operation—distractions cause 70% of tape cutter injuries. Maintain minimum 2-inch clearance between fingers and the cutting path, even during rushed jobs. After each cut, immediately engage the safety lock before setting the cutter down. Store tools at waist height in wall-mounted holders; loose cutters on tables become tripping hazards with exposed blades.
Essential Protective Gear
Cut-resistant gloves with high dexterity (like Kevlar-lined models) prevent 90% of hand injuries while maintaining tactile control. In commercial settings, add ANSI-approved safety glasses—dull blades can fragment during use, sending microscopic debris toward your eyes. Never operate barehanded during high-volume sessions; fatigue increases slip risks exponentially.
Resolve Common Cutting Failures
Fixing Jagged or Incomplete Cuts
Dull blades cause 80% of cutting issues—replace them monthly in busy workplaces or immediately if cuts require excessive force. Weekly cleaning prevents false “dullness”: soak blades in rubbing alcohol for 5 minutes to dissolve adhesive buildup, then air-dry. Warning: Never use metal picks; they scratch blade surfaces, accelerating future wear.
Correcting Crooked Tape Feeding
If tape veers sideways through the cutter, disassemble and clean guide rollers with alcohol-dipped cotton swabs. Debris in these channels forces tape off-track. Also verify your roll sits perfectly flush against the core adapter—any wobble causes inconsistent feeding. Tighten spindle locks firmly but avoid over-tightening, which warps components.
Maintain Peak Tool Performance
Daily Pre-Use Checks
Before your first cut each day, test blade retraction by pressing the trigger against scrap material. Wipe the blade with an alcohol pad to remove overnight adhesive residue. Check tension by pulling tape—if it unravels too freely, tighten the brake screw 1/4 turn clockwise. A properly tensioned roll offers slight resistance, preventing wasteful tape overrun.
Monthly Deep Maintenance
Disassemble completely every 30 days. Replace blades using manufacturer specifications (most snap in/out without tools). Apply one drop of light machine oil to pivot points and springs—this prevents corrosion and ensures smooth operation. Inspect handles for cracks; hairline fractures become hand injury hazards under pressure. Store spare blades in the hidden compartment many cutters feature inside the handle.
Optimize for Specific Tape Materials
Packaging Tape Efficiency
For standard 2-3 inch wide packaging tape, use tabletop dispensers with weighted bases. Pistol-grip models provide necessary leverage for thick tapes. Pre-cut 6-inch strips for standard box seams and 12-inch pieces for heavy-duty reinforcement—this eliminates measuring during sealing marathons. Always pull tape perpendicular to the box surface; angled pulls stretch adhesive, weakening the seal.
Delicate Masking Tape Handling
Reduce cutting pressure by half for thin masking tape to prevent paper backing tears. When cutting curves for paint lines, use a sawing motion against textured surfaces like brick. For clean removal later, lightly score the tape edge with your fingernail before peeling—this prevents surface damage on delicate finishes.
Heavy-Duty Duct Tape Strategies
Duct tape’s fabric backing demands sharp, new blades and increased cutting force. Pre-score the tape with light pressure to create a clean separation line, then make the final cut in one firm motion. This prevents the fabric layer from pulling away from the adhesive mid-cut. Carry spare blades; duct tape dulls edges twice as fast as standard packaging tape.
Accelerate High-Volume Tasks
Batch Processing Workflow
Cut all required pieces before starting your project. Measure one piece meticulously, then use it as a template for ten identical cuts. Stack finished strips against a clean table edge with adhesive sides inward—this creates instant grab-and-go application. For shipping stations, pre-cut 20 strips of varying lengths (6″, 12″, 18″) stored in labeled containers.
Muscle Memory Development
Practice daily with scrap tape using timed drills: cut ten 6-inch pieces, recording your time. Focus on smooth “pull-cut-advance” rhythm without pauses. Most users drop from 8-second to 3-second cuts within five practice sessions. Consistent technique beats raw speed—rushed cuts waste more tape through errors than careful precision.
Mastering how to use a tape cutter transforms a mundane task into a showcase of efficiency. Clean cuts, consistent lengths, and injury prevention all stem from proper technique—not brute force. Remember to prioritize blade maintenance and safety protocols above speed; a well-maintained cutter pays dividends through reduced material waste and workplace injuries. Implement just one technique from this guide today, and you’ll immediately feel the difference in your workflow. For heavy users, monthly blade replacements and daily tension checks are non-negotiable investments in productivity. Your next perfectly sealed box starts with the right cut.


