
Your vinyl cutter sits ready to transform blank rolls into eye-catching decals, signs, and custom graphics—but only if you know how to use a vinyl cutter properly. Many beginners waste expensive materials on misaligned cuts, incomplete weeding, or bubbles during application because they skip critical setup steps. This guide delivers the exact workflow professionals follow to produce crisp vinyl applications every time, whether you’re creating business signage or personalizing your laptop. You’ll discover how to select compatible artwork, calibrate blade settings for perfect cuts, and apply graphics without air bubbles.
Prepare Vector Artwork That Cuts Perfectly
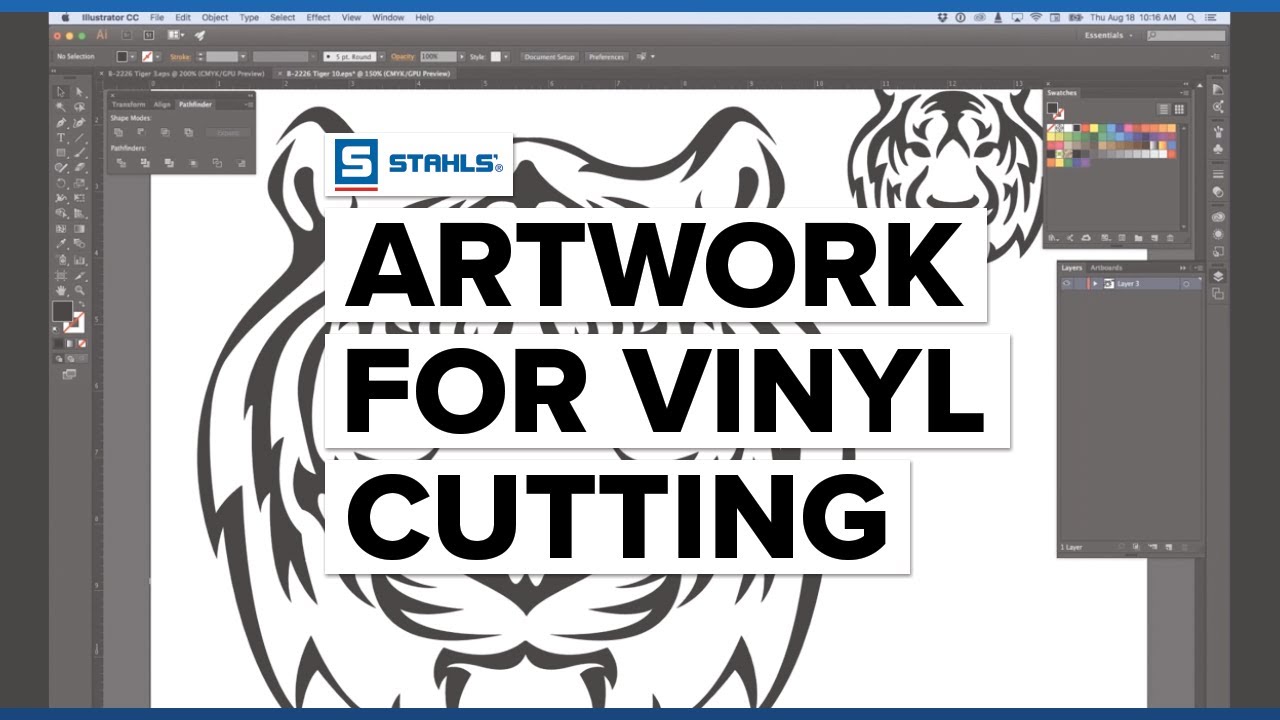
Your vinyl cutter only interprets vector paths, making proper artwork preparation the foundation of successful cutting. Unlike raster images that pixelate when enlarged, vector files contain mathematical equations defining shapes that scale infinitely without quality loss.
Use these reliable vector sources:
– System fonts: Windows and Mac fonts work immediately without additional processing
– Purchased fonts: Expand your typography options for unique lettering
– Pre-made collections: Mega Vector Art Collection provides thousands of ready-to-cut designs
– Custom creations: Design original artwork in Illustrator, Corel Draw, or Inkscape
– Converted images: Transform photos using Vector Magic for clean vector output
When working with complex designs requiring detailed vectorization, professional services often deliver better results than automated tools. Simple text-based projects, however, typically work perfectly with standard system fonts.
Choose the Right Cutting Software for Your System
Selecting compatible cutting software prevents frustrating compatibility issues that derail your projects. The vinyl cutting industry primarily operates on PC platforms, creating challenges for Mac users.
Flexi Starter 10 dominates as the industry standard, available in numerous private-label versions from cutter manufacturers. This powerful software handles layout organization, weeding line generation, and batch processing for multiple copies. Its matrix layout feature lets you arrange designs in precise rows and columns while maintaining proportional scaling.
SignCut provides the best Mac compatibility for Apple users, though the vinyl industry remains predominantly PC-based. Both programs perform essential functions: positioning artwork on vinyl rolls, generating weeding frames for easier material removal, and translating designs into precise cutting commands.
Establish Reliable Hardware Connections
USB connectivity issues cause more failed cuts than any other technical problem. Most modern vinyl cutters connect via USB, but driver conflicts frequently disrupt communication between your computer and machine.
Follow this connection checklist:
– Install manufacturer drivers from included disc or website download
– Select the correct COM port in your cutting software settings
– Choose your specific cutter model from software options
– Verify your cutter displays “online” status before attempting cuts
– Perform a simple test cut to confirm communication
If your cutter fails to respond, check Windows Device Manager for driver conflicts or try different USB ports. Driver conflicts commonly cause connection failures, especially after system updates.
Load Vinyl Material Without Skewing
Improperly loaded vinyl creates crooked cuts that waste materials and compromise project quality. Your cutter’s roll-feed system requires precise positioning to maintain alignment throughout the cutting process.
Hang vinyl rolls from the rear roller bar, allowing material to feed smoothly under the pinch rollers. Release the rollers using the lever mechanism, then position vinyl under both pinch rollers ensuring equal pressure distribution. Tighten rollers until vinyl feels secure but can still advance smoothly when prompted by the machine.
Critical alignment indicators:
– Vinyl edges run parallel to cutter guides
– Material feeds straight without side-to-side wobble
– Slight tension exists without stretching the vinyl
– At least 2-3 inches of excess vinyl precedes the cutting area
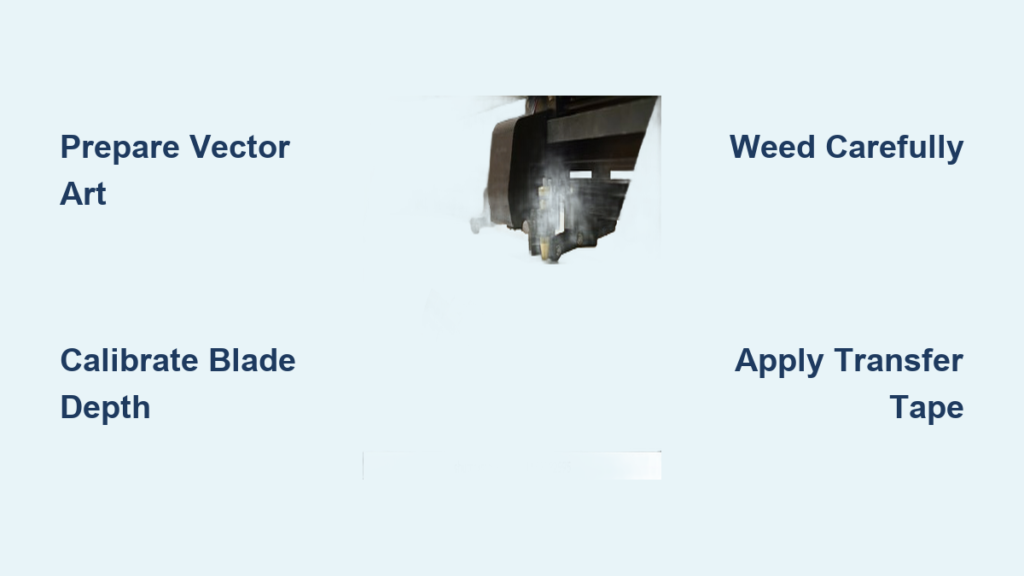
Optimize Blade Depth for Clean Cuts
Your first cutting failure likely stems from improper blade calibration rather than machine defects. Finding the perfect blade depth and pressure combination prevents cutting through backing paper or leaving uncut vinyl edges.
Follow this calibration sequence:
1. Set blade depth to barely visible beyond the holder
2. Start with low pressure (50-80 grams force for most standard vinyl)
3. Cut a 1-inch test text sample or simple geometric shapes
4. Gradually increase pressure in 5-10 gram increments
5. Weed test cuts to identify clean cuts without backing damage
6. Record optimal settings for future reference with that vinyl type
Signs of perfect calibration:
– Vinyl face stock cuts completely through
– Backing paper remains completely intact
– Weeding removes excess material without lifting adjacent areas
– Small details retain sharp, defined edges
Different vinyl types require recalibration—cast vinyl typically needs less pressure than calendared, and metallic finishes often require slightly higher settings.
Execute Flawless Cutting Operations
With proper calibration complete, send your design to the cutter through your chosen software. Cutting duration varies dramatically based on design complexity—simple text decals take minutes while intricate artwork may require hours.
Prevent cutting failures with these best practices:
– Mirror text when cutting for inside-glass applications
– Add strategic weeding lines for complex designs
– Utilize matrix layout for efficient multiple-copy production
– Monitor the first few cuts to verify quality before leaving unattended
– Save successful settings as presets for future similar projects
Advance completed vinyl using the cutter’s control panel or release rollers for manual advancement. Use rolling scissors to create clean separation from remaining roll stock without damaging cut edges.
Remove Excess Vinyl Like a Professional
Weeding transforms your cut vinyl into a usable design by removing unwanted material. This delicate process separates professional results from amateur attempts, especially with intricate designs.
Essential weeding toolkit:
– Sharp weeding pick for precise lifting of small elements
– Fine-point tweezers for handling tiny details
– Bright task lighting to clearly see cut lines
– Strategically placed weeding lines for easier removal
Begin weeding from the design’s outer edges, working inward toward the center. Remove large background areas first, then tackle smaller interior pieces. Weeding lines create natural breaking points that prevent accidental lifting of desired elements during removal.
Watch for these weeding difficulty indicators:
– Text smaller than ¼ inch becomes extremely challenging
– Thin connecting lines (less than 1/16 inch) break easily
– Dense patterns with minimal negative space increase time
– Similar vinyl and backing colors make cut lines hard to see
Apply Transfer Tape for Bubble-Free Installation

Transfer tape serves as the critical intermediary between your weeded design and final application surface. This semi-transparent material temporarily holds design elements in perfect alignment during installation.
Select transfer tape based on these factors:
– Choose width matching or exceeding your design dimensions
– Standard tack works for most flat surface applications
– High tack versions grip textured vinyl better
– Overlap strips by ¼ inch when covering wide designs
Use a felt-covered squeegee to burnish transfer tape onto vinyl with firm, even pressure. Start from the center and work outward in overlapping strokes to prevent air bubbles from becoming trapped between layers.
Prepare Surfaces for Lasting Adhesion
Surface preparation determines whether your vinyl graphic lasts for years or peels within weeks. Even microscopic contaminants cause bubbling or premature failure.
Follow this professional cleaning protocol:
1. Wash surface with mild soap and water solution
2. Dry completely with lint-free microfiber cloth
3. Degrease with 70% isopropyl alcohol or glass cleaner
4. Allow solvent to evaporate completely (2-3 minutes)
5. Avoid touching cleaned areas with bare hands
Application aids for challenging surfaces:
– Application fluid allows repositioning on smooth surfaces
– Heat gun helps vinyl conform to curved surfaces
– Masking tape creates hinge for precise positioning
Install Graphics Without Air Bubbles
The final application step makes or breaks your project’s professional appearance. Proper squeegee technique eliminates air bubbles and ensures lasting adhesion across the entire design.
Follow this professional installation sequence:
1. Position decal using masking tape as a hinge
2. Lift transfer tape with vinyl design attached
3. Peel backing paper away at a sharp 45-degree angle
4. Lower vinyl onto surface using the hinge for alignment
5. Squeegee from center outward in overlapping strokes
6. Remove transfer tape at 180-degree angle for clean release
7. Burnish edges thoroughly for complete adhesion
For large graphics, use the wet application method. Spray a light mist of application fluid on the surface, allowing repositioning before final squeegee passes eliminate all moisture and air pockets.
Final Pro Tips: Start with simple text designs on flat surfaces before attempting complex graphics or curved applications. Keep your blade clean and replace it after every 10-15 rolls to maintain cutting precision. Properly stored vinyl lasts 2-3 years, but humidity and temperature extremes degrade quality faster. When learning how to use a vinyl cutter effectively, remember that patience during weeding and application produces dramatically better results than rushing through these critical steps.


