
Nothing ruins a homemade meat pie faster than leaking filling or uneven seals that leave you with soggy bottoms and messy baking sheets. When you master how to use a meat pie cutter correctly, you’ll transform from struggling with crimped edges that won’t hold to creating professional-looking hand pies with tight, decorative seals that lock in flavor. The difference between bakery-quality results and disappointing kitchen disasters often comes down to just five critical techniques most home bakers overlook.
You’ll discover exactly how to position your cutter for clean cuts, apply the perfect amount of filling without blowouts, and create airtight seals that survive baking. This guide reveals the precise pressure, moisture control, and dough handling methods used by professional pie makers—no guesswork required. By the end, you’ll consistently produce golden, leak-proof pies that impress family and guests alike.
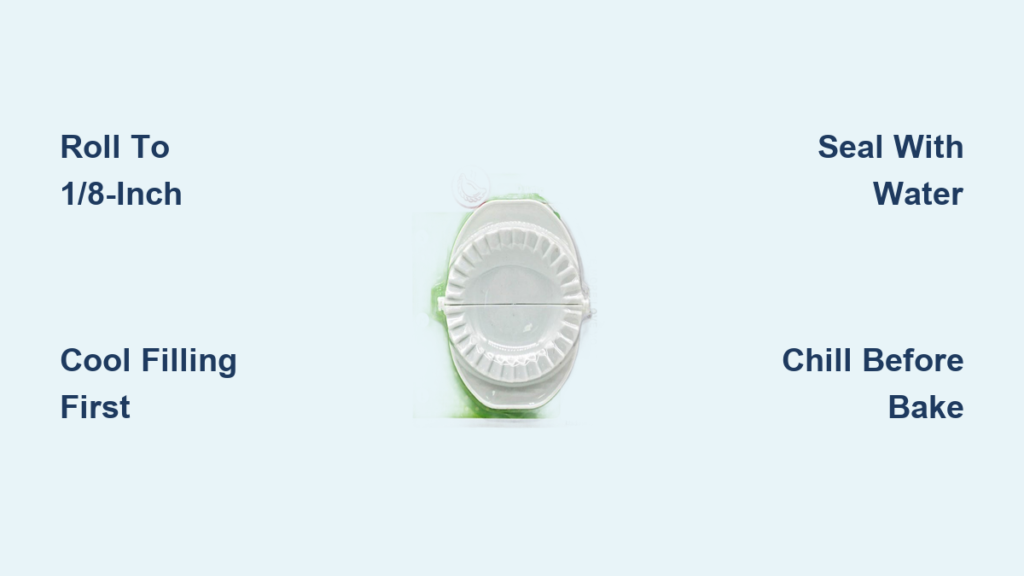
Roll Dough to Precise 1/8-Inch Thickness

Start with chilled dough that’s rested for at least 30 minutes—this prevents shrinkage and tearing during cutting. On a lightly floured surface, roll your dough to a uniform 1/8-inch thickness using even pressure from heel to tip of your rolling pin. Thicker dough creates bulky edges that won’t seal properly, while thinner sections tear under cutter pressure.
Critical visual cue: Hold the rolled sheet up to light; it should be opaque but not see-through. Measure thickness with a dough scraper edge if unsure. Your rolled dough must extend at least 1/2 inch beyond all sides of your cutter to provide enough material for sealing. Never stretch the dough to fit—the cutter requires relaxed, evenly tensioned dough for clean cuts.
Why Room-Temperature Filling Causes Soggy Bottoms
Hot or warm filling melts the butter in your dough instantly, creating steam pockets that separate layers during baking. Always cool meat fillings completely and drain excess liquid through a fine-mesh sieve for 10 minutes. Test readiness by pressing filling against the sieve—if liquid seeps out, it needs more draining. Fillings with visible broth or grease guarantee soggy pie bases and failed seals.
Position Cutter on Stable Surface Before Adding Dough
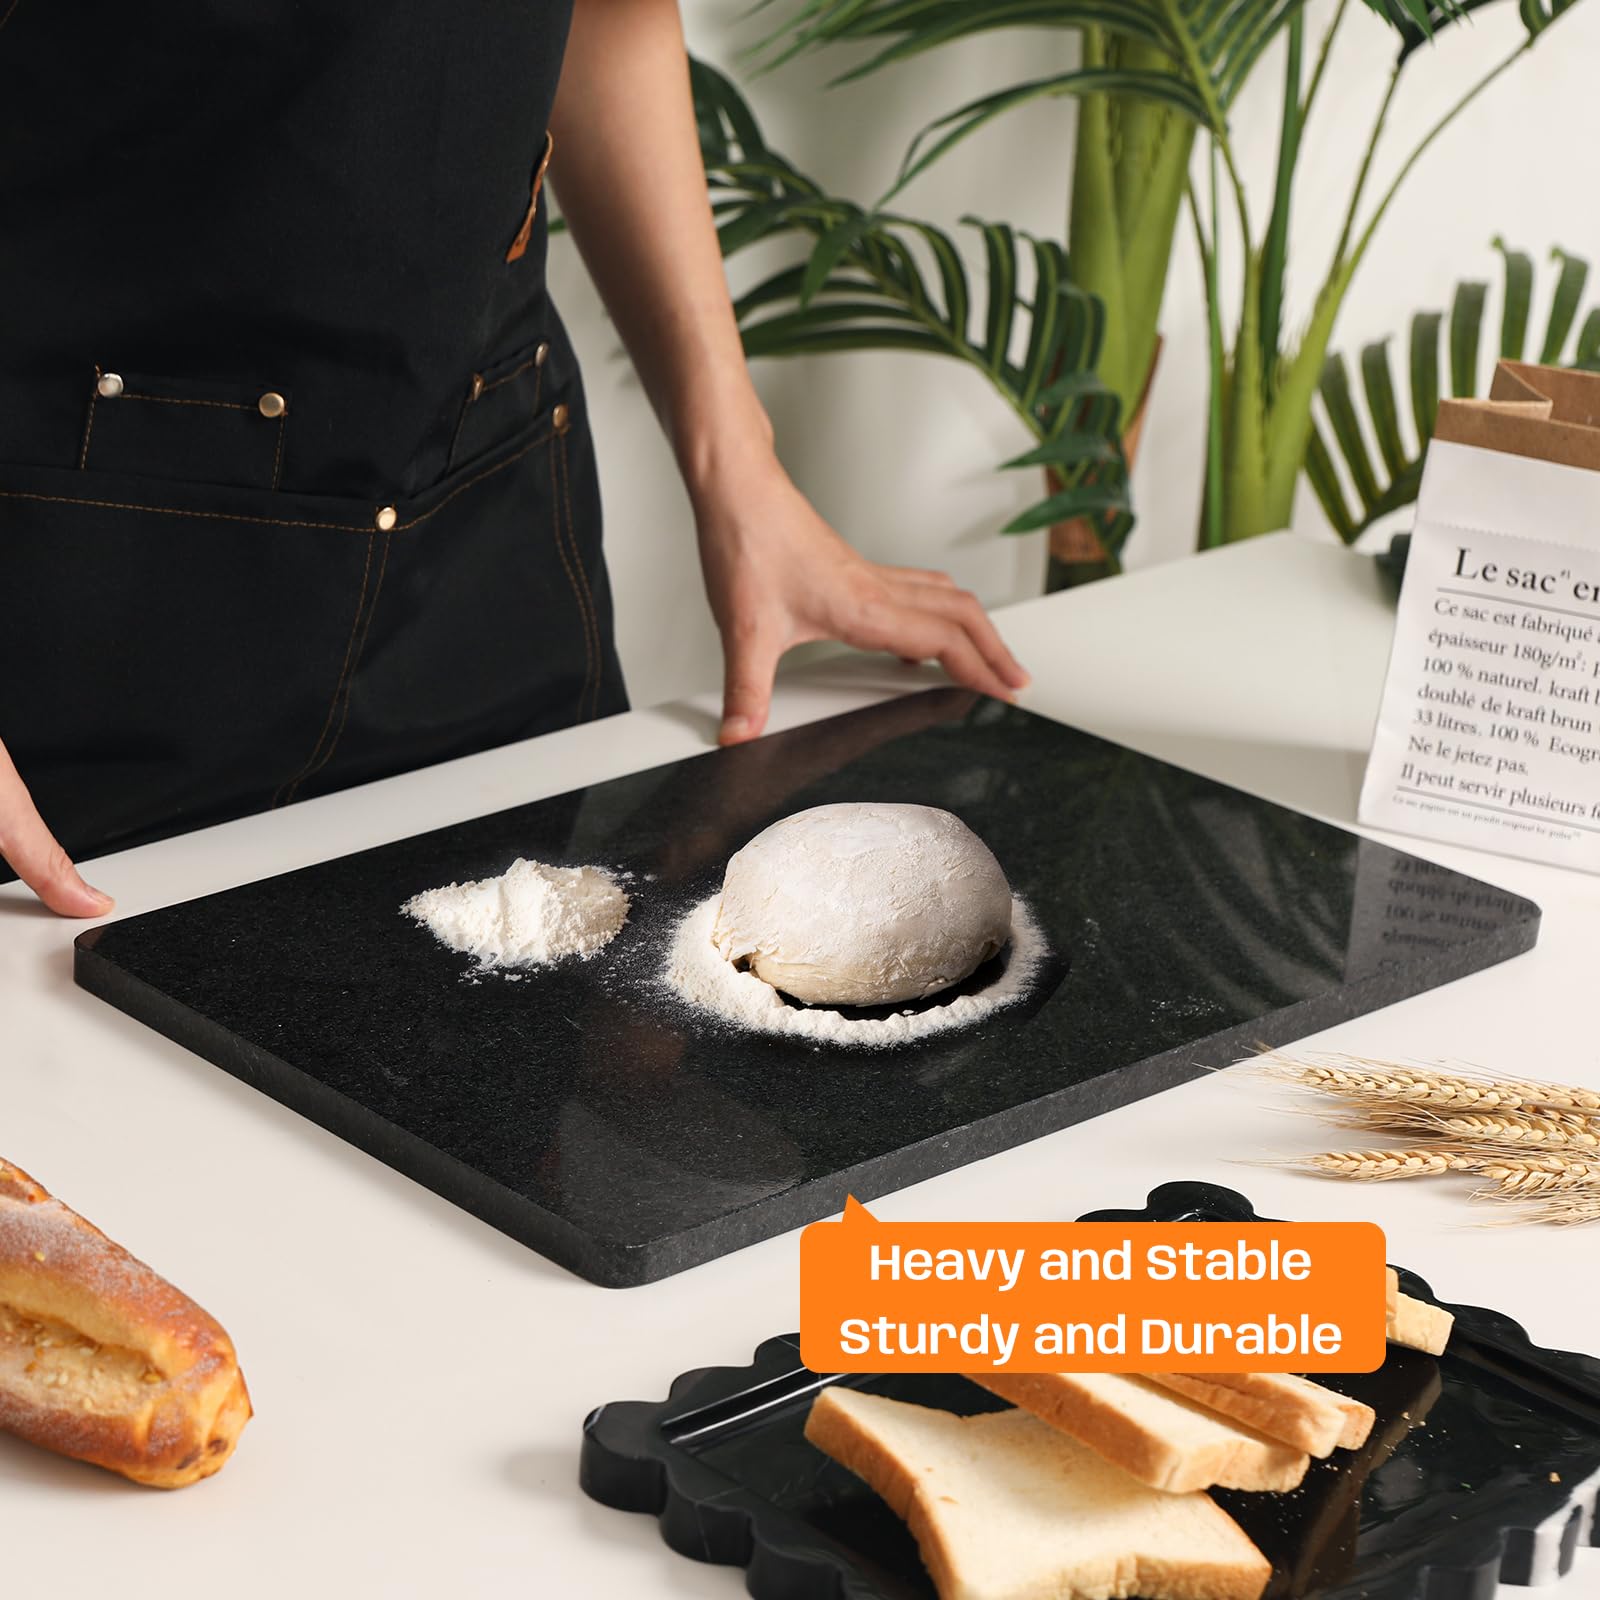
Place your meat pie cutter directly on a rigid, non-slip surface like a marble slab or silicone mat—never on a flimsy cutting board that flexes. The cutter base must sit perfectly flat with zero rocking; tilt creates uneven cuts that compromise seals. For hinge-style cutters, test the mechanism by opening and closing it 3 times to ensure smooth operation.
Pro tip: Dust the cutter’s cutting edge lightly with flour only if you’ve had sticking issues before. Immediately tap out excess flour with your palm—residue interferes with the crimping action and leaves white streaks on finished pies. The cutter should feel cool to the touch; warm metal from handling can soften dough on contact.
How to Align Dough Without Stretching
Lay your rolled dough over the cutter, letting it drape naturally without pulling. Gently nudge the dough until it extends 3/4 inch beyond the cutter edge on all sides—this overhang is crucial for sealing. Never drag dough across the cutter; lift and reposition instead. If dough tears at the edges, gather scraps immediately and re-roll (only once!) to avoid toughening the gluten.
Measure Filling with Level Scoops for Consistent Results
Use a 1.5-tablespoon cookie scoop (or measuring spoon) to portion filling for standard 4-inch cutters. For larger 5-inch pies, increase to 2 tablespoons. Overfilling by even one teaspoon creates pressure that bursts seals during baking—underfilling leaves flat, hollow pies.
Essential technique: Place filling in the exact center of the dough circle, leaving a clean 1/2-inch border ring around the entire perimeter. This border must remain completely filling-free for proper sealing. If using chunky fillings like stew meat, chop pieces smaller than pea-size to prevent lumps that disrupt edge alignment.
Avoid These 3 Filling Mistakes That Cause Blowouts
- Mistake 1: Adding filling directly from the pot (always cool first)
- Mistake 2: Using wet fillings without draining (creates steam explosions)
- Mistake 3: Pressing filling toward edges (breaks the sealing border)
Seal Edges with Controlled Water Application
Dip a pastry brush in water and trace a 1/8-inch line along the inner edge of the dough border—this is your adhesive zone. Apply just enough moisture to make the dough glisten; over-wetting creates soggy, weak seals that tear. Skip this step entirely for jam or fruit pies where water would thin the filling.
Place the top dough layer gently over the filling, then press outward from the center with your fingertips to eliminate air pockets. Air trapped inside turns to steam and bursts seals—listen for a soft “shushing” sound as you press. Now apply firm, even pressure straight down on the cutter handle in one continuous motion. You’ll feel the blades cut through both layers while the crimping teeth simultaneously seal the edges.
Why Uneven Pressure Creates Weak Spots
Lifting or rocking the cutter mid-press causes partial seals that leak during baking. If your cutter has a hinge, close it with steady downward pressure—never slam it. The ideal seal shows a uniform crimp pattern with no gaps between teeth impressions. Test seal strength by gently tugging opposite edges; they should resist separation without tearing.
Extract Pies Without Damaging Fresh Seals
After cutting, wait 10 seconds before removing the pie—this lets the seal set. Slide a thin offset spatula under the cutter base, then lift straight up to release the pie. Never twist or shake the cutter, as this distorts the crimp. Immediately inspect edges: run your fingertip along the seal feeling for gaps, and wipe away any stray filling with a damp paper towel.
Critical quality check: Hold the pie up to eye level and rotate slowly. The crimp should form a continuous, unbroken wave around the entire perimeter. Any thin spots or misaligned sections must be pinched closed now—baking won’t fix them. Place inspected pies on parchment-lined sheets with at least 1 inch between them to prevent fusion during baking.
Refrigerate Before Baking to Lock in Structure
Chill formed pies for 15 minutes in the refrigerator before baking—this re-solidifies butter in the dough for flakier results. Cover loosely with plastic wrap to prevent drying, but never stack pies. For frozen storage, place pies on a baking sheet in the freezer for 1 hour until solid, then transfer to labeled freezer bags.
Baking pro tip: Brush chilled pies with beaten egg wash (1 egg + 1 tbsp water) for deep golden color. Cut 2 small steam vents in the top crust only if using very moist fillings. Bake at 375°F (190°C) for 25-30 minutes until edges are crisp and filling bubbles at vents.
Fix Leaking Edges Before They Ruin Your Pie
If seals fail during extraction, immediately reseal by dabbing water on the gap and pinching edges together with fork tines. For persistent leaks, check your cutter’s blades—dull edges tear dough instead of cutting cleanly. Sharpen with a honing rod or replace the cutter if teeth are chipped.
Emergency fix for overfilled pies: Carefully slice open the top crust with a paring knife, spoon out excess filling, reseal with water, and refrigerate 10 minutes before baking. Never try to “squeeze out” extra filling—that stretches the dough and guarantees leaks.
Maximize Dough Yield with Smart Trimming
Gather trimmings within 5 minutes of cutting while dough is still cold. Press scraps together gently by hand—never knead—and re-roll only once to avoid toughening. Use excess dough to create:
– Decorative cutouts (leaves, hearts) for top crusts
– Mini pies using the same cutter for appetizers
– Lattice strips by rolling dough into ropes
Time-saving hack: Freeze re-rolled dough scraps in portions for future use—thaw overnight in the refrigerator before rolling. Discard dough after second re-roll; gluten development makes it unworkable.
Store Cut Pies Properly for Best Results
Refrigerate unbaked pies up to 24 hours covered with plastic wrap touching the surface. For freezing, bake first for 15 minutes to set the crust, then freeze cooled pies. Never freeze raw pies with wet fillings—they develop ice crystals that destroy seals.
Baking from frozen: Add 8-10 minutes to baking time but do not thaw—cold pies hold their shape better. Check for doneness by inserting a thermometer into the filling; it should read 165°F (74°C). Label freezer bags with filling type and date using masking tape.
Mastering how to use a meat pie cutter eliminates the frustration of failed seals and wasted ingredients. Focus on three non-negotiables: perfectly chilled dough, precisely measured filling, and controlled water application for sealing. When you nail these fundamentals, you’ll produce hand pies with bakery-worthy crimps that stay intact from oven to plate. Remember to inspect every seal before baking—this 10-second check prevents 90% of leaks. Now grab your cutter and transform your next batch of meat pies from homemade to professional-grade with confidence.


