
That piercing hiss of gas, the blinding blue-white flame, and the molten metal cascading through steel—it’s no wonder why learning how to use oxy cutter equipment remains essential for metalworkers despite newer technologies. Yet statistics show nearly 40% of oxy-fuel accidents stem from skipped safety steps or improper setup. Whether you’re fabricating custom gates or salvaging scrap metal, mastering this high-risk tool demands precise knowledge of gas dynamics and safety protocols. This guide delivers exactly what you need: actionable steps for safe, clean cuts every time, verified against industry standards and equipment manuals. You’ll discover not just the sequence of operations, but why each detail prevents catastrophic failures while maximizing cut quality.
Critical Safety Setup for Oxy Cutting Operations
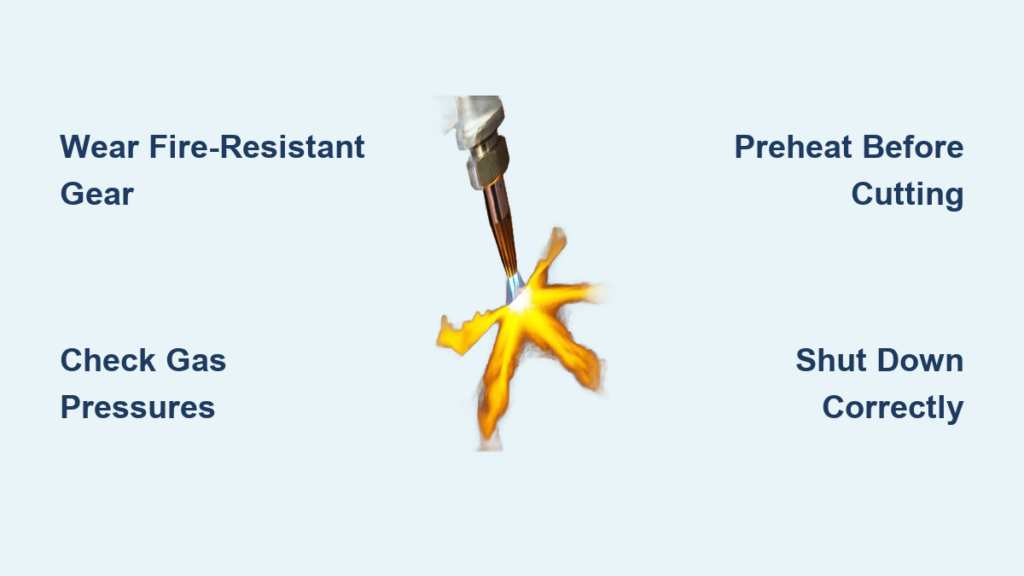
Fire-resistant clothing isn’t optional—it’s your last line of defense against molten metal splatter. Wear close-fitting cotton as an absolute minimum, but fire-retardant gear is strongly recommended for regular use. Immediately discard any clothing with synthetic fibers like nylon or polyester; these melt onto skin at torch temperatures, causing severe burns. Leather work boots with rubber soles prevent electrical hazards while protecting feet from falling slag, and heavy-duty leather gloves provide essential hand protection without sacrificing torch control.
Fire Watch and Extinguisher Protocol
Position two fire extinguishers within arm’s reach before lighting your torch: a standard ABC extinguisher for general use plus a water-based unit when cutting near oils or plastics. Crucially, test both extinguishers’ pressure gauges and pull pins before starting—this 30-second check could prevent a total shop loss. Always maintain a dedicated fire watch person whose sole responsibility is monitoring for hidden sparks up to 30 feet away; their vigilance catches smoldering materials long before flames erupt. Never skip this step even for “quick cuts”—over half of workshop fires start minutes after torch shutdown.
Workspace Clearance and Surface Requirements
Clear a 15-foot radius of ALL combustibles—including seemingly harmless items like sawdust piles or cardboard boxes that ignite from radiant heat. Work exclusively on bare earth or cured concrete surfaces; fresh concrete contains moisture that explodes violently when superheated. Use steel supports at waist height for stable work positioning, and never cut on wooden surfaces—conducted heat ignites wood from beneath the cut zone. Verify your marking tools: soapstone provides superior visibility under torch flame compared to markers that vanish ahead of the cutting path.
Connecting Your Oxy Cutting Torch System Correctly

Gas Hose and Tank Identification
Memorize the color-coding system: green means oxygen, red means acetylene. Oxygen tanks and hoses use standard right-hand threads, while acetylene components feature left-hand threads and male fittings—a physical safeguard against dangerous cross-connections. Before attaching hoses, inspect both for cracks or kinks; damaged hoses cause inconsistent gas flow leading to unstable flames. Use properly sized wrenches on brass fittings, tightening only until snug plus a quarter-turn—overtightening cracks fittings and creates leak points.
Acetylene Tank Pressure Setup
Back out the acetylene regulator completely before opening the tank valve. Open the valve with exactly one full turn of the wrist—this enables instant emergency shutoff while maintaining precise flow control. Never exceed 15 psi on the working gauge; acetylene becomes unstable and can spontaneously detonate above this pressure. Target 5-8 psi for most cutting jobs, then purge the line by briefly opening the torch valve to clear atmospheric air. Check all connections with leak-detection solution; bubbles indicate dangerous gas escapes requiring immediate correction.
Oxygen System Regulation
Open oxygen tank valves fully—they use double-seated valves that leak if partially open. Set working pressure between 25-40 psi depending on material thickness, then purge the line by opening the forward oxygen valve for 3-5 seconds (for standard 25-foot hoses). This critical step removes atmospheric moisture that causes inconsistent preheating. Verify both gauges show stable pressure before proceeding; fluctuating readings indicate regulator issues that compromise cut quality and safety.
Igniting and Adjusting the Perfect Cutting Flame
Pre-Ignition Safety Verification
Don all safety gear before pressurizing the system—goggles, gloves, and fire-resistant clothing must be secured. Recheck workspace clearance and extinguisher accessibility. Confirm both gas pressures match your target settings on the gauges. This final verification prevents ignition attempts with unsafe conditions, a common cause of flashback incidents.
Flame Creation Sequence
Open the acetylene valve until a 10-inch yellow flame emerges from the tip—ensure the flame originates at the torch head, not “jumping” from the nozzle (indicating excessive flow). Slowly introduce oxygen via the forward valve until the flame turns light blue with a bright white inner cone. Continue adjusting until the inner cone length slightly exceeds your steel thickness; for 3/8-inch plate, aim for a 1/2-inch inner flame. A properly adjusted flame produces a sharp, quiet hiss with a defined cone shape—any roaring or feathery appearance means excess oxygen.
Executing a Clean Oxy Cutter Cut: Step-by-Step

Preheating Steel to Ignition Temperature
Hold the torch tip precisely 3/8 inch from the metal surface—closer risks tip damage, further reduces heating efficiency. Maintain this position until a molten, luminous pool forms across the entire cut width. For room-temperature 1/4-inch steel, this typically takes 45 seconds; thicker or colder materials require proportionally longer heating. Watch for uniform cherry-red coloration—inconsistent heating causes uneven cuts and excessive slag.
Initiating the Cutting Jet
Slowly depress the cutting oxygen lever while maintaining preheat position. Successful ignition shows immediate violent reaction—molten metal erupts downward as the oxygen jet oxidizes the iron. Gradually increase lever pressure to sustain the cut. No reaction means insufficient preheat—release the lever immediately and continue heating. Never force ignition with excessive oxygen pressure; this wastes gas and creates hazardous slag bursts.
Maintaining Optimal Cutting Motion
Begin moving only after complete penetration—rushing creates incomplete cuts that jam the torch. Maintain a steady travel speed where sparks flow smoothly from the cut’s bottom edge. If sparks back up, slow your pace or pause for additional heating. Better too slow than too fast—excessive speed causes rough edges and incomplete cuts, while moderate speed corrections preserve cut quality. For straight lines, use a steel ruler clamped along your soapstone mark as a guide.
Troubleshooting Common Oxy Cutting Failures
Flame Won’t Ignite or Stays Yellow
Check acetylene pressure first—below 3 psi won’t sustain ignition. Verify your spark lighter contacts the gas stream 1/4 inch from the tip. Inspect the cutting tip for blockages—clogged orifices prevent proper gas mixing. Clean tips using proper tip cleaners (never wire brushes), and replace damaged tips immediately. Persistent issues often trace to regulator malfunctions requiring professional service.
Rough Cuts with Excessive Slag
Reduce oxygen pressure by 5 psi increments—excessive pressure creates turbulent cutting action that traps slag. Increase preheat time by 25% for cold or thick materials; insufficient preheat forces excessive oxygen use. Thoroughly clean the metal surface—rust, paint, or mill scale interferes with the oxidation reaction. For problematic alloys, consult material specifications before cutting.
Proper Shutdown and Post-Cutting Procedures
Critical Shutdown Sequence
Reverse startup order precisely: close the cutting oxygen valve first, then the acetylene valve, followed by cylinder valves. Back out regulator screws completely to prevent diaphragm damage. Double-check both gauges read zero before disconnecting hoses—residual pressure causes dangerous gas releases. Never skip this sequence; improper shutdown is the leading cause of regulator failures.
Safe Workpiece Cooling Methods
Flood thick sections with water but stand clear of violent steam clouds from superheated steel. Never water-quench tool steels or hardened alloys—rapid cooling causes cracking and warping. Test surface temperature with a gloved hand before handling; heated metal retains dangerous temperatures long after cutting stops. Always assume cut edges remain hot enough to burn skin for at least 30 minutes.
Daily Maintenance for Reliable Oxy Cutting Performance
Pre-Use Equipment Checks
Inspect hoses for cracks or abrasions daily—replace at first sign of damage. Check regulator gauges for consistent pressure readings; fluctuations indicate internal issues. Clean cutting tips with proper reamers after each use to prevent carbon buildup. Store equipment in a dry, ventilated area away from direct sunlight to prevent hose degradation.
Monthly Safety System Verification
Test fire extinguishers per manufacturer guidelines—shake ABC units monthly and recharge water types annually. Review emergency procedures with all shop personnel, including gas shutoff locations and first aid for burns. Document equipment issues immediately—delayed repairs turn minor problems into major hazards. Remember: every oxy cutter operation combines explosive gases, extreme heat, and molten metal. Respect these fundamentals, follow this step-by-step guide, and you’ll achieve professional-quality cuts while protecting yourself and your workspace. For complex projects, always consult your equipment manual’s specific requirements before starting.


