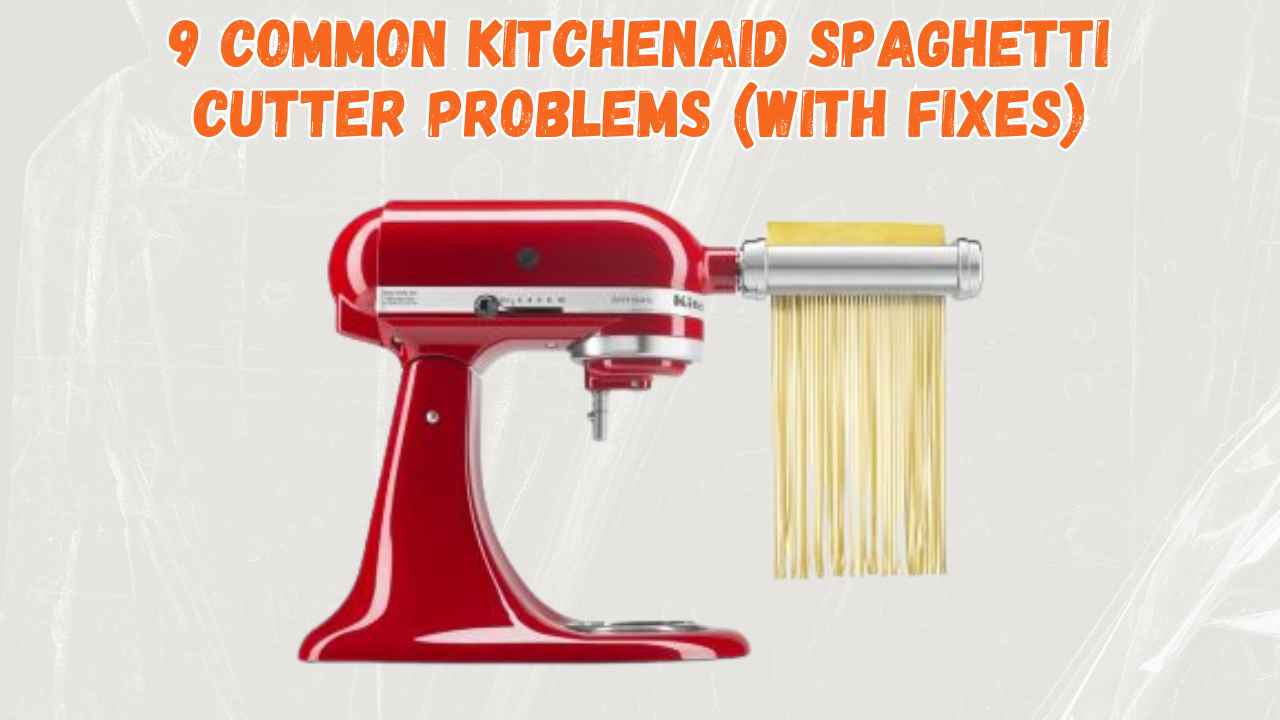
Your KitchenAid spaghetti cutter suddenly stops spinning mid-pasta batch, leaving you with uneven strands and a frustrating mess. Before you consider replacing the entire $200 attachment, understand this critical fact: KitchenAid spaghetti cutter repair is not only possible but surprisingly simple. Most failures occur at designed weak points that protect your expensive mixer motor, and these components can be replaced for under $30 without specialized tools.
When your pasta cutter attachment either spins freely without cutting or completely seizes up, you’re likely facing a broken shear shaft or stripped drive gears—both intentional failure points in KitchenAid’s safety design. The good news is that this engineered weakness means your stand mixer is protected, and the spaghetti cutter repair process takes less than 15 minutes with basic household tools. This guide reveals the exact repair method that restores full functionality while saving you hundreds compared to KitchenAid’s official “replace the entire attachment” recommendation.
Why Your KitchenAid Spaghetti Cutter Suddenly Failed
KitchenAid pasta attachments contain a built-in safety system that fails predictably under excessive load to protect your stand mixer’s expensive motor and transmission. This intentional design feature includes two critical components that sacrifice themselves during overload situations: the brass shear shaft and plastic drive gears. When dough becomes too thick, foreign objects enter the cutter, or you accidentally overload the attachment, these components break instead of destroying your $300+ mixer.
Shear Shaft Snap Pattern Explained
The hex-shaped brass shear shaft is engineered to break cleanly when overloaded while maintaining integrity during normal operation. This precise failure point prevents damage to both the attachment housing and your mixer’s internal components. When you notice the cutter spinning freely but not actually cutting pasta, check for a visibly snapped shear shaft—this is KitchenAid spaghetti cutter repair’s most common fix.
Drive Gear Stripping Mechanism
The plastic drive gears transfer power from your mixer to the cutting mechanism while serving as the secondary safety feature. When resistance exceeds safe levels, these gears strip their teeth rather than allowing stress to reach the mixer motor. You’ll typically hear a grinding or clicking sound before complete failure occurs. Unlike the shear shaft, stripped drive gears often require replacement of both components in the gear assembly.
Confirm Your Spaghetti Cutter Model Compatibility
KitchenAid Models That Need This Repair:
– KPEX series spaghetti cutters (KPEXTA, KPEXSA)
– KPRA series pasta attachments (KPRASSA)
Check your attachment’s metal housing for the model number stamped near the connection point. The repair kit works exclusively with KitchenAid pasta cutter attachments—not rollers or other accessories. If you see “Pasta Cutter” embossed on the housing with either KPEX or KPRA in the model number, you’ve got the right attachment for this KitchenAid spaghetti cutter repair.
Gather These Essential Repair Tools
You likely already have everything needed for this KitchenAid spaghetti cutter repair in your toolbox:
- PH1 Phillips screwdriver (standard size for housing screws)
- Flat head screwdriver (for gentle prying if needed)
- Needle-nose pliers (extracting broken shear shaft pieces)
- 2 oz hobby hammer (light tapping during reassembly)
Pro Tip: Place a magnetic parts tray underneath your work area—this prevents losing the tiny screws during disassembly. No special tools or technical expertise required makes this one of the easiest appliance repairs you’ll ever attempt.
What’s Inside the Third-Party Repair Kit

The KPREI201412002 repair kit contains everything needed for a complete KitchenAid spaghetti cutter repair:
Critical Replacement Components:
– CNC-machined brass hex shear shaft (replaces the broken sacrificial component)
– Two precision-molded drive gears (replaces stripped transmission parts)
– Illustrated step-by-step installation guide
Quality Assurance Features:
– Made in USA with strict quality control
– Factory-tested components before shipping
– Brass construction maintains the original safety characteristics
– Exact tolerances matching KitchenAid’s specifications
Priced at $29.99, this kit costs approximately 85% less than KitchenAid’s official replacement recommendation of buying a whole new attachment. The brass shear shaft is specifically engineered to fail predictably under overload conditions while performing flawlessly during normal pasta-making operations.
Complete Spaghetti Cutter Repair Walkthrough
Open the Cutter Housing Safely
Remove all six Phillips screws securing the plastic cover (three on each side). Lift the housing straight up—don’t twist or pry—to avoid damaging the internal components. The broken shear shaft will be immediately visible in the center, often with jagged ends indicating where it snapped during overload protection.
Remove Failed Components Completely
Use needle-nose pliers to extract all broken shear shaft fragments from both sides of the housing. Remove the stripped drive gears by lifting straight up—no force required as they sit in place without fasteners. Blow out the gear housing with compressed air or a soft brush to eliminate plastic debris that could cause premature failure after repair.
Install New Components Correctly
Press the replacement drive gears onto their shafts until fully seated (you’ll feel a slight resistance then a “click” when properly positioned). Insert the new brass shear shaft through both sides, ensuring the hex pattern aligns with the mixer drive mechanism. The shaft should slide in smoothly with minimal force—if you’re forcing it, double-check the alignment.
Reassemble and Verify Operation
Replace the cover and tighten screws in a criss-cross pattern to prevent warping the housing. Test operation with a small dough piece at speed 2 on your stand mixer. Your KitchenAid spaghetti cutter should now operate smoothly without unusual noises or slippage. If issues persist, check whether you’ve fully seated all components before assuming further problems.
Avoid These Common Repair Mistakes
Critical errors that cause repeat failures:
– Over-tightening housing screws (strips plastic threads permanently)
– Installing drive gears backwards (creates binding and immediate failure)
– Forcing components during assembly (indicates misalignment)
– Skipping debris removal (causes premature wear on new parts)
Expert Note: Take smartphone photos at each disassembly step—this visual reference ensures perfect reassembly and prevents orientation mistakes with the drive gears.
Prevent Future Spaghetti Cutter Failures
Operational Best Practices:
– Always run mixer at speed 2 for pasta cutting tasks
– Feed dough in small, consistent pieces (no larger than 1-inch thick)
– Avoid overworked dough (properly rested dough cuts more easily)
Preventive Maintenance Schedule:
– Clean gears monthly during heavy pasta-making periods
– Inspect shear shaft quarterly for stress cracks before failure
– Apply food-grade grease to gears annually (prevents drying and brittleness)
When Replacement Beats Repair
Consider buying a new attachment only if:
– Housing shows cracks or warping from impact damage
– Multiple components show excessive wear beyond the shear shaft
– The repair cost exceeds 50% of a new attachment’s price
For isolated shear shaft or gear failure—which accounts for 95% of KitchenAid spaghetti cutter issues—the repair kit delivers identical performance to a new attachment at a fraction of the cost.
Troubleshooting Post-Repair Operation
If your cutter still won’t function after repair:
– Verify mixer power and speed settings (pasta requires speed 2)
– Confirm proper attachment to mixer hub (fully engaged with locking lever)
– Test mixer with different attachment (isolates problem to cutter)
– Allow 30-minute motor cool-down if previously overloaded
These steps address operational issues unrelated to mechanical failure that often mimic cutter problems.
Cost Analysis: Repair vs Replace Your Spaghetti Cutter

Real Financial Comparison:
– Official KitchenAid replacement: $199-$249
– Third-party repair kit: $29.99
– Your time investment: 10-15 minutes
– Tools required: Basic household items you already own
This KitchenAid spaghetti cutter repair extends your attachment’s life indefinitely while maintaining the original safety features. The brass shear shaft will continue to fail predictably under overload conditions, protecting your mixer investment while remaining easily replaceable when needed again. For most home pasta makers, this single $30 repair kit could last through dozens of future failures—making it one of the smartest investments for your KitchenAid ecosystem.