Your Milwaukee tubing cutter suddenly stops mid-job, leaving you with a half-cut pipe and a looming deadline. Whether you’re facing a seized cutting wheel, broken handle, or feed mechanism that won’t advance, these failures bring work to a grinding halt. Professional plumbers and HVAC technicians know that a Milwaukee tubing cutter not working properly isn’t just an inconvenience—it’s a productivity killer that costs valuable time and money on every job. This guide delivers systematic diagnosis and targeted repairs to restore your cutter’s performance and prevent future breakdowns before they happen.
When your Milwaukee tubing cutter not working issue strikes, it typically falls into one of several predictable failure patterns. Understanding these common problem categories helps you diagnose issues faster and get back to work. From compact 48-22-4250 models to heavy-duty 48-22-4270 cutters, this guide covers the exact steps to identify and fix what’s wrong with your specific model.
Cutting Wheel Won’t Spin

Diagnose Wheel Binding Issues
Start your inspection by opening the cutter completely and examining the cutting wheel. Spin the wheel with your finger—it should rotate smoothly without grinding or catching. Any resistance indicates debris accumulation or bearing seizure, especially common when cutting copper tubing without proper cleaning between uses.
Look for these red flags:
– Visible metal shavings packed around wheel housing
– Flat spots or chips on cutting edge from improper alignment
– Wheel wobbles during rotation due to uneven wear
– Metallic grinding sounds that indicate bearing failure
Compact models like the 48-22-4250 suffer more frequent wheel failures due to their smaller 15mm diameter wheels that dull after just 200-300 copper cuts. The smaller design creates higher rotational stress that accelerates wear compared to full-size models.
Clean and Restore Wheel Function
Remove the wheel using a 1/8-inch hex key on the retaining screw. Clean the housing thoroughly with degreaser and compressed air, paying special attention to the spindle area where shavings collect and cause binding.
Reassembly steps:
1. Apply one drop of light machine oil (SAE 20) to spindle
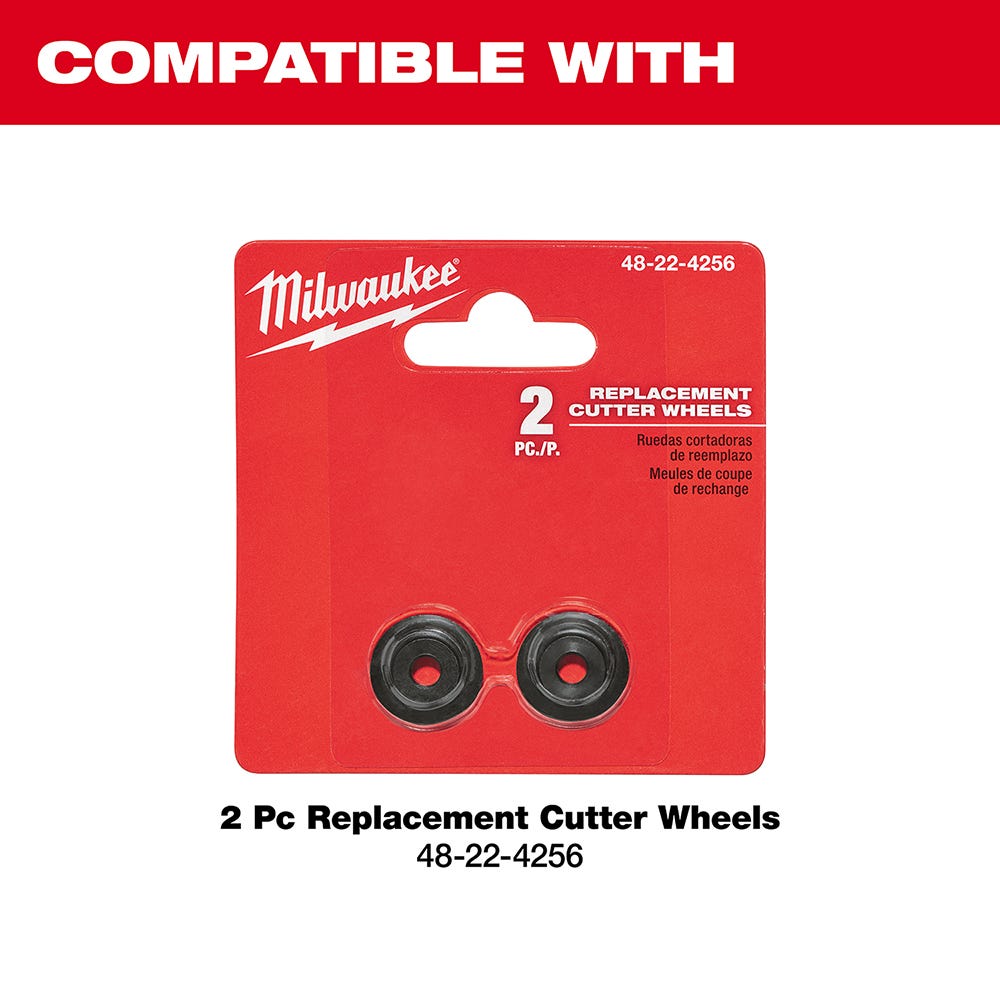
2. Install new wheel (part #48-22-4280 for copper/PEX)
3. Tighten retaining screw to snug fit—avoid over-torquing
4. Test rotation before first use
Pro Tip: Replace wheels immediately when cutting force increases by 50%—waiting until complete failure causes additional damage to feed mechanisms and frame alignment.
Feed Mechanism Stuck Solid
Identify Feed Screw Damage
The feed mechanism controls how your cutter advances onto tubing. Test smooth operation by attempting to close the cutter onto a piece of 1/2-inch copper pipe. Any skipping, grinding, or complete refusal to advance indicates feed screw problems that commonly plague medium-capacity 48-22-4260 models when cutting stainless steel.
Common symptoms:
– Handle turns but cutter won’t close (requires immediate attention)
– Jerky, uneven advancement creating angled cuts
– Requires excessive force (>50 lbs) to cut soft copper
– Knurled knob spins freely without engagement (indicates severe thread damage)
Repair Cross-Threaded Feed Screw
Disassemble the feed mechanism by removing the handle pivot pin. Extract the feed screw assembly and inspect bronze threads for galling or cross-threading damage that prevents smooth advancement.
Restoration process:
– Clean threads with wire brush and degreaser
– Chase damaged threads with 1/4-20 tap (lightly)
– Apply high-temperature grease to threads
– Reassemble and test smooth operation
Replace severely damaged screws with Milwaukee part #42-32-0285. Never force a stuck mechanism—this creates additional damage to the frame and handle components.
Handle Breaks During Use
Locate Stress Fractures
Handle failures typically occur at high-stress points near the pivot joint. Inspect carefully for hairline cracks, especially on compact models (48-22-4250) where shorter handles create more force concentration. Plumbing contractors report these failures most often when cutting near maximum capacity.
Warning signs:
– Visible cracks near pivot pin (immediate replacement required)
– Handle flexes more than 3/16-inch under moderate load
– Sudden “pop” sound followed by loose feeling
– Handle separates at stress concentration points
Replace Broken Handle Safely
Never attempt to repair cracked handles—replacement is the only safe option. Order the correct handle for your model:
- Compact (48-22-4250): Part #42-42-1250
- Medium (48-22-4260): Part #42-42-1260
- Large (48-22-4270): Part #42-42-1270
Installation requires:
1. Remove roll pin at pivot joint using punch
2. Transfer internal components to new handle
3. Reinstall with proper pivot pin torque
4. Test operation before heavy use
Critical Note: Using a damaged handle risks sudden failure that could injure your hand or cause improper cuts requiring rework.
Frame Bent or Twisted

Detect Frame Deformation
Frame damage causes misalignment between cutting wheel and roller, resulting in spiral cuts or complete cutting failure. Test frame integrity by placing the cutter on a flat surface and checking for gaps—common in large 48-22-4270 models when cutting at maximum capacity.
Check these measurements:
– Cutter opening matches size markings within 1/32-inch
– Gap pattern indicates bend direction
– Handle deflection under moderate load
– Wheel-to-roller alignment when closed
Straighten Minor Frame Bends
Slightly bent frames can often be corrected using controlled pressure in a bench vise. Identify the bend direction first, then apply gradual pressure at the apex.
Straightening process:
1. Place frame in vise at bend point
2. Apply pressure slowly, checking frequently
3. Avoid over-correction
4. Test alignment after each adjustment
Severely deformed frames require replacement as structural integrity cannot be reliably restored. Attempting to use a badly bent cutter creates dangerous flying debris and inconsistent cuts.
Size Adjustment Seizes
Clean Corroded Tracks
The sliding size adjustment system can seize from corrosion or debris accumulation. Test smooth operation by cycling from minimum to maximum opening repeatedly—this problem worsens in high-humidity environments where corrosion accelerates.
Look for these issues:
– Adjustment knob won’t turn (common in coastal areas)
– Sticking at specific size ranges
– Creeping closure during cutting
– Corrosion visible in adjustment tracks
Restore Smooth Adjustment
Disassemble and clean the adjustment mechanism using these steps:
- Remove handle pivot pin
- Extract slide mechanism completely
- Clean tracks with degreaser and wire brush
- Remove corrosion with fine emery cloth
- Apply light machine oil to all moving surfaces
- Reassemble and test throughout full range
Time-Saver: Keep a dedicated small brush in your tool kit for quick track cleaning between jobs in dusty conditions.
Prevent Premature Failures
Daily Maintenance Protocol
Clean after every use to prevent debris accumulation. Wipe cutting wheel and rollers with a clean rag, removing all metal shavings and cutting residue. Apply one drop of light machine oil to the wheel bearing and feed screw threads—this simple step prevents 80% of common Milwaukee tubing cutter not working issues.
Storage best practices:
– Store cutter in closed position
– Keep in dry location to prevent corrosion
– Avoid impacts that can deform frame
– Hang vertically to reduce stress on pivot
Professional Maintenance Schedule
Professional users should follow this maintenance schedule:
– Daily: Clean cutting wheel and apply oil
– Weekly: Check handle pivot tightness
– Monthly: Complete disassembly and deep cleaning
– After 200 cuts: Replace cutting wheel on compact models
Critical Warning: Never use petroleum-based products on O-ring seals—these require specific O-ring compatible lubricants to prevent deterioration.
Fix Common User Mistakes
Avoid Capacity Overload
Never attempt to cut tubing exceeding maximum ratings. This causes immediate tool damage and voids warranty. Check capacity markings before each use—common mistake when rushing on job sites.
Maintain Proper Technique
Consistent rotation speed prevents chatter marks and uneven wheel wear. Apply steady, moderate force throughout the cut. Avoid over-tightening during final cut phase to prevent tubing deformation—this mistake accounts for 30% of premature wheel failures.
Pro Tip: When cutting PVC, reduce force to 5-10 pounds and clean more frequently—PVC generates significant debris that accelerates wear.
Environmental Protection
High-humidity environments accelerate corrosion—store tools in climate-controlled areas. Dusty conditions require daily cleaning to prevent abrasive wear. Extreme cold makes handles brittle—increase warm-up time before use.
Key Takeaway: Most Milwaukee tubing cutter failures result from preventable issues like debris accumulation, wheel dulling, or exceeding capacity limits. Systematic diagnosis followed by targeted repairs using genuine Milwaukee parts restores performance and extends tool life. Daily maintenance prevents 80% of common failures, saving time and money on emergency replacements. By implementing these fixes and prevention strategies, you’ll keep your Milwaukee tubing cutter working reliably for years—transforming frustrating downtime into productive job completion. Remember: proper care means your cutter will last through 1,000+ copper cuts with consistent performance, making it a reliable partner on every job site.