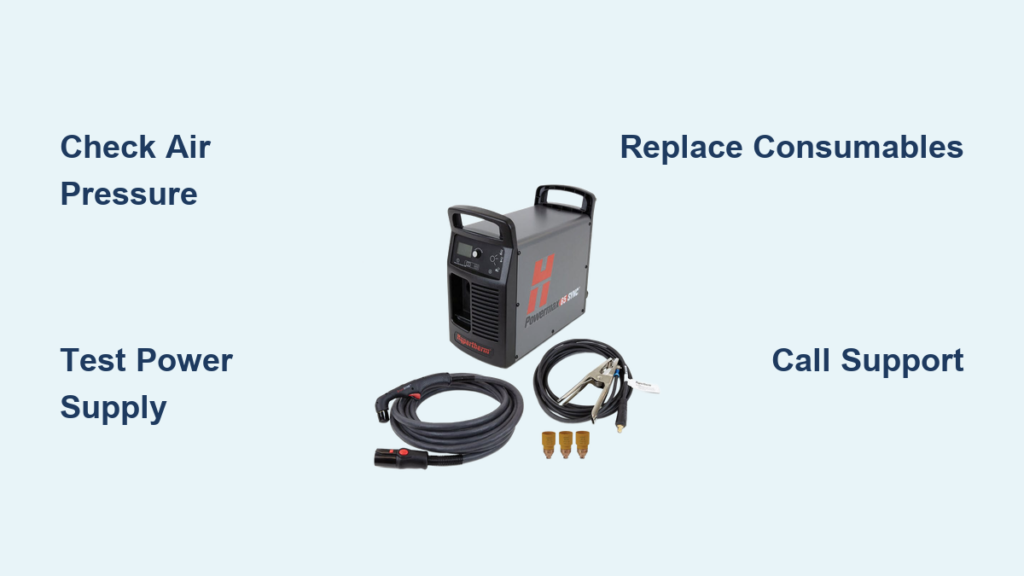
Your plasma cutter was slicing through steel like butter yesterday, but today it won’t even spark. Before you panic about expensive repairs, know that 90% of plasma cutter failures stem from five simple issues you can fix yourself in under 30 minutes. This guide walks you through each failure mode with step-by-step diagnostics and proven solutions based on verified technical specifications. Whether you’re dealing with a dead arc, sputtering cuts, or complete failure to start, we’ll get your cutter back online fast using only manufacturer-approved methods.
Most frustrating plasma cutter not working scenarios originate from preventable maintenance oversights rather than catastrophic failures. Understanding these core failure points will transform your troubleshooting efficiency. Let’s diagnose what’s actually wrong and implement fixes that restore professional cutting performance immediately.
Diagnose Air Compressor Problems
Verify Correct CFM Settings
Your compressor might be starving the torch of critical airflow. Locate your owner’s manual and match the exact CFM rating required—most units need 4-6 CFM at 90 PSI, but this varies significantly by model. Perform this check: Hold your hand near the torch tip while triggering airflow (without arc initiation). You should feel strong, steady pressure. Weak or pulsing air indicates compressor issues requiring immediate adjustment.
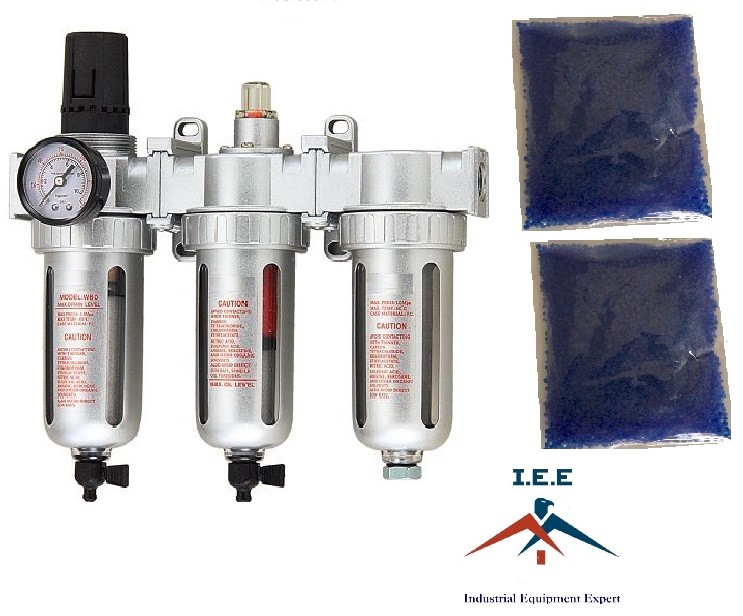
Critical mistake to avoid: Never operate without verifying pressure specifications. Incorrect CFM settings cause inconsistent arc formation and accelerated consumable wear. Always use a dedicated plasma cutter filter/regulator combo—shop air directly from standard compressors contains moisture and oil that destroy cut quality.
Clean Clogged Cutting Tips
Identify Tip Blockage Symptoms
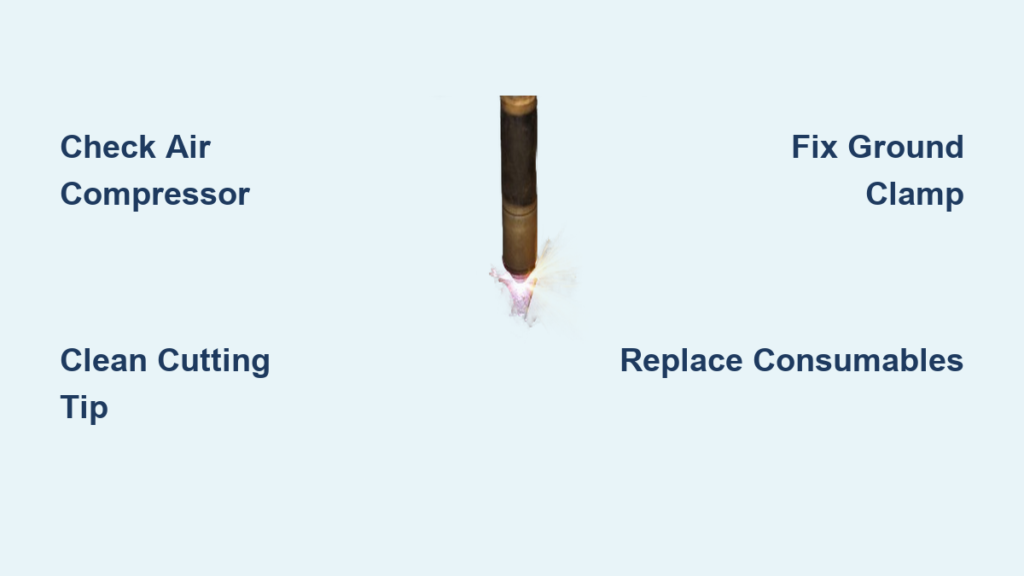
A clogged tip announces itself through unmistakable warning signs. Your arc becomes erratic, cuts develop wider kerfs than usual, and spatter patterns replace clean edges. Look for: Black slag buildup around the orifice, enlarged hole diameter exceeding original size by 10%, or visible pitting on the tip face. These indicate immediate cleaning or replacement is required.
Execute Precision Cleaning Protocol
Power down completely and allow the torch to cool for 5 minutes. Remove the tip using the manufacturer-provided wrench—never pliers, which deform precision surfaces. Follow this sequence: Soak the tip in acetone for 2-3 minutes, use a specialized tip cleaning tool (small round file) to remove slag, blow out debris with compressed air from both directions, then inspect the orifice with magnifying glass. Pro tip: Keep three spare tips minimum and rotate them during long projects to prevent overheating damage.
Fix Ground Clamp Connection Failures

Optimize Ground Placement Technique
The ground clamp creates your electrical circuit—without solid contact, your arc won’t initiate. Position the clamp directly on your workpiece within 6 inches of your cut line on clean, bare metal. Essential step: Remove rust, paint, or oil from the contact area using a wire brush or grinder. Never attach the clamp to the cutting table, as this creates circuit resistance that prevents proper arc formation.
Validate Ground Circuit Integrity
Use a multimeter set to resistance mode to test continuity between: the clamp jaw and cable connection, the cable connection and plasma cutter ground terminal, and the clamp jaw to workpiece. Red flag alert: Any reading above 2 ohms indicates cable damage or poor connections. Replace ground cables showing green corrosion or broken strands immediately—this is among the most common causes of plasma cutter not working scenarios.
Eliminate Surface Contamination Issues
Implement Surface Cleaning Sequence
Oil, rust, and paint create electrical resistance that prevents proper arc initiation. Follow this exact sequence: Degrease with acetone or denatured alcohol, wire brush rust and scale, wipe completely dry, then cut within 10 minutes to prevent re-oxidation. Material-specific note: Stainless steel requires different prep than mild steel, while aluminum needs immediate cutting after cleaning—oxidation forms within minutes.
Conduct Quick Surface Readiness Test
Drag your ground clamp across the surface. If it slides smoothly without catching, you’re ready. Any roughness or visible contamination requires removal first. Critical reminder: Even thin layers of oil or oxidation cause arc instability and poor penetration—never skip this step when your plasma cutter not working symptoms appear.
Replace Burned Consumables Systematically

Recognize Tip Failure Indicators
Burned tips show clear warning signs before complete failure: enlarged orifices (compare to new tips), irregular arc shape during test fire, excessive dross on cut edges, or needing higher amperage settings. Replacement rule: Change tips every 200-300 pierces or immediately when cut quality degrades. Electrodes typically last 50% longer than tips but should be replaced as a set.
Maintain Consumable Compatibility
Never mix consumable brands or styles—your Hypertherm tip won’t work properly with a Miller electrode, even if they appear similar. Stock complete consumable sets (tip, electrode, shield, swirl ring) to prevent mismatched components. Inventory strategy: Track usage patterns—replace tips at 1 per 8 hours cutting time, electrodes at 1 per 12 hours, and shields at 1 per 20 hours.
Execute Daily Maintenance Protocol
Implement End-of-Day Checklist
Prevent tomorrow’s failures with this 5-minute routine: Clean torch tip with compressed air, drain compressor moisture trap, check ground clamp spring tension, wipe down cutter housing, and document performance changes. Key insight: Consistent maintenance prevents 80% of plasma cutter not working scenarios by addressing issues before they escalate.
Control Workspace Environment
Position your cutter away from grinding stations to avoid metal particle contamination. Maintain 40-60% humidity to prevent condensation in air supply lines, and use cutter covers when not in operation. Professional tip: Install dedicated air filtration if possible—this extends consumable life by 30% according to manufacturer specifications.
Apply Emergency Field Repairs
Deploy Temporary Fixes for Deadlines
When mid-project with a deadline, use these manufacturer-approved temporary solutions: Clean tips with welding tip cleaners in emergencies, use spare auto battery cable as ground extension, rotate consumables between cuts to cool them, or reduce amperage 10% to extend tip life. Critical safety note: These are temporary measures—replace damaged components properly as soon as possible to avoid permanent damage.
Recognize When to Call Professionals
Some issues require expert attention. Seek professional service for internal circuit board failures, torch lead internal damage, power supply issues, or warranty-covered repairs. Warning sign: If basic diagnostics don’t resolve your plasma cutter not working issue after checking air supply, tips, ground connection, surface prep, and consumables, stop troubleshooting and contact the manufacturer.
Your plasma cutter not working problem almost certainly originates from one of these five core issues: dirty air supply, clogged tip, faulty ground connection, contaminated surface, or worn consumables. By systematically working through each diagnostic step starting with the simplest fixes, most users resolve failures within the first three checks. Remember that consistent maintenance prevents 80% of plasma cutter failures—clean tips after every major project, verify ground connections daily, and replace consumables before they fail completely. Implement these manufacturer-approved protocols to ensure years of reliable service and precision cuts on any conductive metal.