
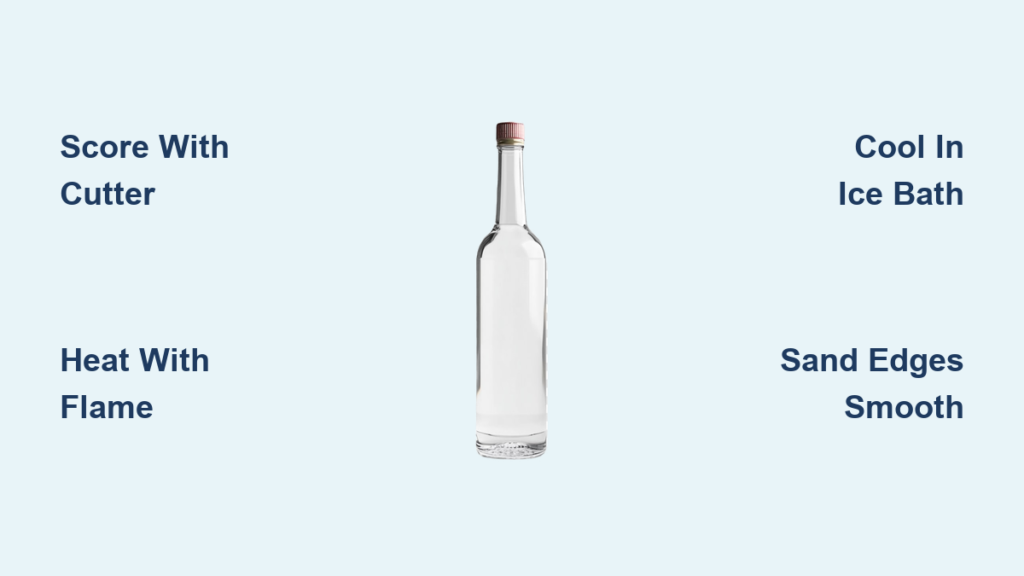
Nothing transforms empty wine bottles into stunning drinking glasses faster than mastering how to cut a glass bottle with a glass cutter. Whether you’re upcycling for profit or crafting personalized gifts, the difference between Pinterest-worthy results and frustrating shards lies in technique—not luck. This guide walks you through every step from scoring to finishing, turning trash into treasure with professional precision. Skip the trial-and-error phase and learn exactly what separates clean breaks from catastrophic shattering.
The key to success starts long before you touch the glass cutter. Most beginners fail because they underestimate how bottle selection, tool quality, and thermal control impact results. Within 15 minutes of applying these techniques, you’ll consistently separate bottles along perfect lines. Forget dangerous string-and-acetone hacks—this proven method delivers restaurant-quality drinkware every time.
Essential Tools for Bottle Cutting Success

Your glass cutter wheel quality determines everything. Skip the $5 hardware store special and invest in a tungsten carbide wheel cutter. The satisfying scratch sound it makes becomes your quality checkpoint—dull wheels create weak scores that shatter unpredictably. Pair it with cutting oil to reduce friction by 40% and extend cutter life significantly.
Required Safety Gear
- Cut-resistant gloves: Level 5 protection prevents deep cuts from unexpected breaks
- ANSI safety glasses: Side shields protect from microscopic glass dust
- Long sleeves: Because forearm cuts bleed excessively and heal slowly
- Dust mask: Essential during sanding phase when glass particles become airborne
Supporting Equipment That Matters
- Cutting oil: Reduces wheel friction by 40%, extending cutter life significantly
- 220-400 grit sandpaper: Progressive grits transform razor edges into safe, smooth rims
- Candle or small torch: Controlled heat source for thermal shock separation
- Ice bath: Cold shock completes the thermal expansion cycle cleanly
Pick Perfect Bottles Every Time
Quality starts with selection. Hold bottles up to bright light—reject any with uneven wall thickness, visible bubbles, or hairline cracks. These imperfections become failure points during separation. Standard 750ml wine bottles or beer bottles provide ideal starting material with consistent glass thickness.
Pre-Cutting Preparation
- Label removal hack: Soak bottles in warm soapy water for 30 minutes, then scrape off labels and adhesive residue
- Height measurement: Use a wine bottle’s punt (bottom indentation) as your zero point for consistent 4.5-inch drinking glass height
- Marking technique: Wrap painter’s tape around bottle as a guide, then mark cut line with permanent marker for precision
Master the Scoring Technique
Perfect scores require muscle memory. Practice on beer bottles first—they’re forgiving and plentiful. Proper scoring creates a microscopic groove that guides the break, while poor technique causes jagged edges or complete shattering.
Manual Scoring Steps
- Body positioning: Sit at table height, bottle horizontal at chest level
- Cutter angle: 90-degree perpendicular contact—angled cuts wander unpredictably
- Pressure test: Press cutter on scrap glass first—proper pressure leaves visible score without flaking
- Single pass rule: One continuous rotation creates cleanest break—multiple passes weaken the score
Pro Scoring Tips
- Sound check: Consistent scratching indicates proper pressure
- Speed control: Slow, steady rotation prevents wheel skipping
- Wheel maintenance: Clean with alcohol after every 3-4 bottles to remove glass dust buildup
Thermal Shock Separation Method
This technique separates bottles cleanly 90% of the time when executed correctly. The key? Controlled heating followed by rapid cooling. Avoid overheating—glass should feel warm but not hot to touch.
Heat Application Process
- Candle method: Hold scored line 1-2 inches above flame, rotate slowly for 30-60 seconds
- Heat indicator: Glass feels warm (not hot) to touch—overheating causes thermal stress cracks
- Boiling water alternative: Pour slowly over score line for 10-15 seconds, ensuring even coverage
Cold Shock Execution
- Ice water bath depth: Submerge just past score line—full submersion creates unnecessary stress
- Listen for the ping: Audible sound indicates successful separation—patience prevents forcing
- Gentle assistance: Light wooden spoon taps along score line encourage stubborn breaks
Bottle Cutting Jig Systems
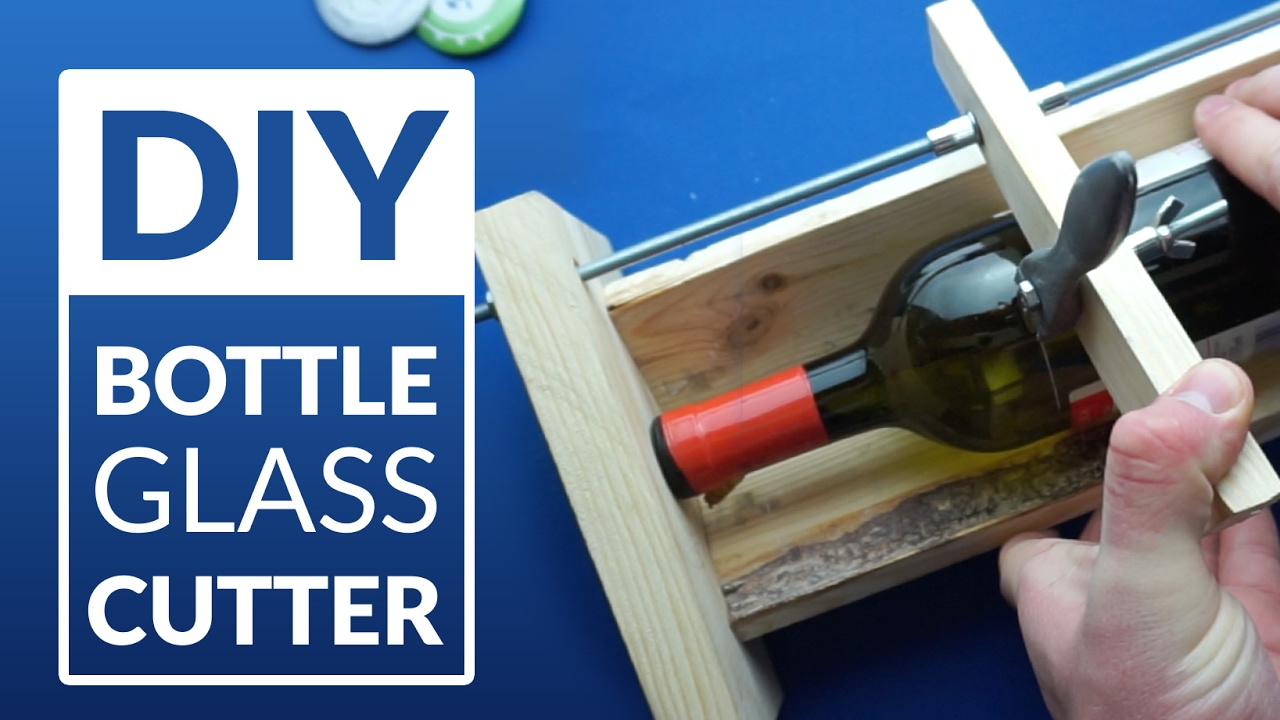
Jigs eliminate human error for consistent results across multiple bottles. Commercial jigs pay for themselves after 20+ cuts, but DIY versions work well for hobbyists.
Jig Setup Advantages
- Repeatable accuracy: ±1mm height consistency across batches
- Reduced fatigue: Fixed cutter position eliminates hand strain
- Faster processing: Score 10 bottles in the time manual cutting takes for 3
DIY Jig Construction
- Materials needed: 2×4 base, adjustable wood blocks, fixed glass cutter mount
- Critical measurement: Cutter wheel must align perfectly with bottle center axis
- Testing protocol: Cut 3 test bottles, adjust until heights match within 1mm
Troubleshooting Common Failures
Incomplete Separation Solutions
- Problem: Score too shallow—wheel didn’t penetrate glass surface
- Fix: Re-score with 20% more pressure, using original line as guide
- Prevention: Test pressure on bottle neck first—should create visible score without flaking
Jagged Edge Repair
- Cause: Dull cutter wheel creating irregular score
- Solution: Replace wheel immediately—costs $3, saves frustration
- Edge smoothing: Start 220-grit dry, progress to 400-grit wet sanding for glass-like finish
Bottle Shattering Prevention
- Temperature control: Never heat glass past warm touch—thermal shock causes uncontrolled breaks
- Inspection protocol: Check bottles under bright light for pre-existing stress cracks
- Separation patience: Allow natural break progression—forcing creates spider cracks
Professional Edge Finishing
Safe edges separate amateur crafts from sellable products. Invest time here—cut lips kill repeat customers. Start with coarse grits to remove sharp fragments before progressing to fine polishing.
Progressive Sanding Sequence
- 220-grit: Remove major irregularities and sharp fragments
- 400-grit: Smooth cut surface, eliminate visible scratches
- 600-grit wet: Create satin-smooth finish suitable for drinking
- Polishing compound: Optional diamond paste for mirror finish
Safety Edge Treatments
- Flame polishing: Brief torch application melts micro-sharp edges—requires practice
- Food-safe sealant: Apply epoxy resin coating for commercial drinkware applications
- Rubber grommets: Install protective sleeves for immediate safe use
Quality Control Checklist
Hold finished glasses up to bright light. Reject any with visible chips longer than 1mm or edges that catch fingernails when tested. Water-tightness is non-negotiable for drinkware—fill completely and let stand 24 hours on paper towel.
Functional Testing Protocol
- Water tightness: Fill completely, let stand 24 hours on paper towel
- Thermal shock: Pour boiling water, then ice water—no cracks should appear
- Drop test: 12-inch drop onto wood surface—edges should remain intact
- User safety: Run finger firmly around entire rim—zero sharp points acceptable
Advanced Creative Applications
Drinking Glass Production
- Optimal heights: 4.5 inches for wine bottles, 5.5 inches for taller liquor bottles
- Batch efficiency: Score 20 bottles, separate 10 at once, sand all edges together
- Pricing formula: Material cost + 1 hour labor = $12-15 retail per glass
Decorative Projects
- Wind chimes: Cut 5-7 bottles at 1-inch increments for musical scale
- Garden edging: Bury neck-down 2 inches deep for decorative borders
- Lighting fixtures: Combine with LED strips for ambient art pieces
Maintenance and Longevity
Tool Care Schedule
- Daily: Clean cutter wheel with alcohol-soaked cloth
- Weekly: Apply cutting oil to wheel mechanism
- Monthly: Replace cutter wheel after 50-75 cuts for optimal performance
- Storage: Keep in dry environment—moisture rusts wheel bearings
Workspace Organization
- Glass disposal: Use puncture-resistant containers, never household trash
- Surface protection: Replace cutting mat monthly—deep grooves affect score quality
- Ventilation: Open window or use exhaust fan when sanding—glass dust is hazardous
Final Pro Tip: Master one bottle type completely before expanding. Wine bottles cut differently than beer bottles—each glass thickness requires pressure adjustment. Your tenth perfect cut teaches more than reading twenty tutorials. With these techniques, you’ll transform recycling day into profitable crafting sessions. Remember: perfect scores make perfect breaks, and patient sanding creates safe, sellable products.


