
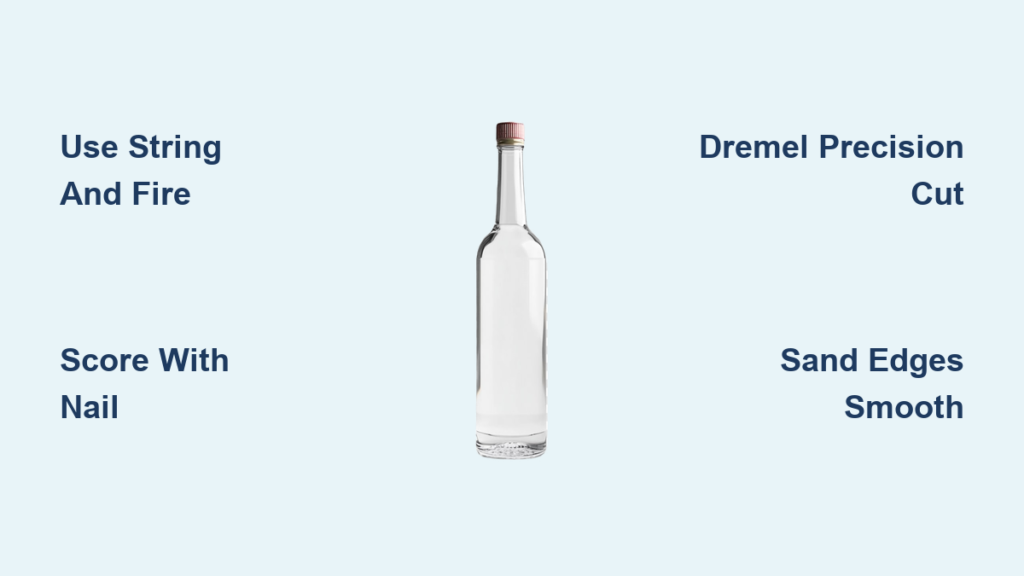
That empty wine bottle isn’t trash—it’s your next DIY project. Whether you’re crafting candle holders, creating self-watering planters, or building a glass bottle wall, knowing how to cut glass bottles without a glass cutter opens up endless creative possibilities. Most people assume glass cutting requires specialized equipment, but three proven methods let you achieve clean breaks using common household items. You’ll learn the string-and-fire technique, mechanical scoring with a nail, and rotary tool cutting—each suited for different bottle types and skill levels. Master these techniques to transform discarded bottles into functional art while saving money on expensive tools.
Essential Safety Steps Before Cutting Glass Bottles
Glass cutting without professional tools carries higher risks than traditional methods, making proper precautions non-negotiable. Skipping safety steps leads to preventable injuries—sharp glass shards cause thousands of ER visits annually. Always prioritize protection over speed to avoid dangerous cuts or eye damage.
Required Protective Gear for Safe Cutting
Slip on thick work gloves and safety goggles before touching any glass—these prevent 90% of common injuries during the how to cut glass bottles without a glass cutter process. Add a quality dust mask when sanding edges to avoid inhaling hazardous particles, and position a fire extinguisher within arm’s reach when using flame-based methods. Never compromise on eye protection; glass fragments travel at high speeds during thermal shock separation.
Optimal Workspace Setup for Bottle Cutting
Choose a clean, well-lit area with solid flooring and ample ventilation—glass dust and fumes require proper airflow. Remove all flammable objects within 6 feet when using fire methods, and place a deep bucket of ice water within immediate reach. Position a non-slip mat under your work surface since wet bottles become dangerously slippery. Designate a separate container for glass scraps to prevent accidental contact with sharp edges later.
String and Fire Method for Perfect Bottle Cuts
This thermal shock technique creates clean circular breaks ideal for drinking glasses or planters using household items. It works best on standard wine bottles and requires no special tools beyond basic safety gear.
Gather Your String Method Materials
You’ll need these specific items for successful bottle cutting:
– Thick cotton yarn or shoelace (thicker strings create better thermal shock)
– 70% isopropyl alcohol or acetone (pharmacy or hardware store)
– Long-reach lighter or matches
– Deep bucket filled with ice-cold water
– Permanent marker for precise marking
Mark the Exact Cut Line on Your Bottle
Measure 6-8 inches from the bottle bottom for standard drinking glass height. Wrap painter’s tape around the bottle as a straight guide, then trace along it with permanent marker. Remove the tape to reveal a perfect straight line—this precision ensures even heat distribution during the cutting process.
Execute the Thermal Shock Break Correctly
Soak your string thoroughly in alcohol until dripping, then tie it tightly around your marked line. Light one end with your lighter and let it burn completely—about 30-45 seconds for thick string. Crucially, immediately plunge the bottle into ice water upon flame extinction. The rapid temperature change creates stress fractures along your line, yielding a clean break. Rotate the bottle slowly while burning for even heating, and repeat the process for thicker bottles if separation isn’t complete.
Nail Scoring Technique for Straight Glass Cuts

When you need precise straight cuts on flat surfaces, a large nail becomes an effective scoring tool. This mechanical method offers more control than thermal shock but requires steady hands and proper technique.
Prepare Your Nail Scoring Tool Properly
Select the sharpest, largest nail available—a 16-penny nail provides ideal weight and sharpness. File the tip to a fine point if needed, as sharper tools create cleaner score lines. Thoroughly clean the bottle surface with glass cleaner to remove oils and debris that could derail your score line.
Create a Continuous Score Line for Clean Breaks
Hold your nail at a precise 45-degree angle against the glass, applying firm, consistent pressure as you score along your marked line. Use a ruler as your guide for perfect straightness. Complete the score in one continuous motion—stopping mid-score creates weak points that cause jagged breaks. Apply light glass cutting oil to reduce friction and heat buildup if available.
Complete the Break Without Damaging the Glass
Position the scored line over a table edge, applying gentle downward pressure on both sides of the bottle. The glass should separate cleanly along your score line. If resistance occurs, lightly tap along the score with your nail handle to initiate the break. Avoid excessive force—controlled pressure yields the cleanest separation.
Dremel Precision Cutting for Complex Shapes
When you need intricate patterns or curved cuts impossible with other methods, a rotary tool delivers professional results. This technique suits experienced DIYers tackling detailed projects but demands strict safety protocols.
Set Up Your Rotary Tool for Glass Cutting
Equip your Dremel with a diamond cutting wheel rated for glass, ensuring secure mounting before operation. Set speed to 15,000-20,000 RPM—too fast causes cracking, too slow creates jagged edges. Always wear safety goggles and a respirator (not just a dust mask) due to hazardous glass dust. Practice on scrap glass first to calibrate your technique.
Master the Cutting Technique for Flawless Results
Start with gentle pressure, letting the diamond wheel do the work rather than forcing it. Apply water or cutting oil every 10-15 seconds to prevent overheating that causes micro-cracks. Cut in shallow passes instead of attempting full-depth cuts immediately. For complex curves, move slowly and steadily—rushing guarantees breakage. Check cut quality frequently to adjust pressure and speed as needed.
Smooth Cut Edges to Prevent Dangerous Cuts

Raw glass edges slice like razors and require proper finishing to make your creations safe for daily use. This critical step transforms dangerous shards into smooth, functional surfaces.
Sand Edges Using Proper Grit Progression
Start with 400-grit wet/dry sandpaper soaked in water for 10-15 minutes. Work in circular motions along cut edges with gentle pressure, rinsing both glass and sandpaper frequently. Progress to 800-grit sandpaper for a polished finish that won’t snag fabrics or cut skin. This 10-minute process prevents future injuries while enhancing aesthetic appeal.
Verify Edge Safety with Simple Testing
Run a cotton swab along the sanded edge—any snags indicate spots needing additional work. Properly finished edges feel completely smooth and won’t catch the cotton fibers. Never skip this test; imperfect edges compromise both safety and project quality.
Fix Common Bottle Cutting Problems Immediately
Even experienced crafters encounter issues during the how to cut glass bottles without a glass cutter process. Quick troubleshooting saves materials and prevents project failure.
Correct Jagged Breaks with Technique Adjustments
Apply lighter, more consistent pressure during scoring or cutting—jagged edges typically indicate excessive force. Re-sand problem areas with progressively finer grits (400→800) to smooth imperfections. For thermal shock methods, ensure your string is tightly wrapped and thoroughly saturated.
Solve Incomplete Separation Issues
With the string method, increase alcohol saturation and verify maximum temperature contrast between flame-heated glass and ice water. If separation fails, repeat the process once more. For scoring methods, deepen your score line slightly with additional passes before attempting to break again.
Prevent Unwanted Cracks During Cutting
Check tools for damage—dull or chipped cutting wheels cause micro-cracks. Ensure consistent pressure throughout the process, and avoid sudden temperature changes after cutting. For rotary tools, maintain proper cooling intervals with water or cutting oil.
Choose Your Best Cutting Method by Project Type
Each technique suits different projects and skill levels—selecting the right method prevents frustration and wasted materials.
String method: Perfect for beginners making drinking glasses or planters. Achieves 70-80% success rate on standard bottles with proper technique. Requires only household items and yields clean circular cuts in 5-10 minutes.
Scoring method: Ideal for straight cuts on flat panels like bottle bottoms. Beginners achieve 60-70% success rate, improving to 90%+ with practice. Delivers excellent precision for projects like glass coasters in 3-5 minutes.
Rotary tool: Best for complex shapes and detailed work. Requires tool investment but offers 80-90% success rate for intricate designs. Essential for custom projects like bottle lamps or mosaic tiles, though cutting takes 10-30 minutes.
Maintain Your Cut Glass Creations for Longevity
Proper care extends the life of your bottle projects significantly. Inspect edges monthly for developing cracks using bright light to reveal micro-fractures. Clean with standard glass cleaners only—avoid abrasive materials that scratch surfaces. Store finished pieces away from extreme temperature changes that stress cut edges. For liquid-holding projects like planters, apply food-safe epoxy sealant to cut edges before first use.
Ready to Transform Bottles Into Creations?
Start your how to cut glass bottles without a glass cutter journey today using the technique matching your tools and skill level. The string method works immediately with household items, while scoring and rotary methods offer greater precision with practice. Begin with inexpensive practice bottles before attempting final projects—your third cut will look dramatically better than your first. Remember that every imperfect cut teaches valuable lessons; that slightly uneven rim on your wine bottle glass adds character while remaining perfectly functional. With these proven methods, you’re equipped to turn recycling into remarkable creations—safely and successfully.


