
A clean, square cut makes the difference between a leak-free plumbing job and costly callbacks. Whether you’re tackling copper, brass, or PVC, a Husky pipe cutter delivers professional results without the sparks and metal shavings of a hacksaw. This guide walks you through every step—from choosing the right model to achieving burr-free cuts that slide perfectly into fittings.
You’ll master the technique for different materials, learn the critical adjustments pros use daily, and discover how to extend blade life for years of reliable service. By the end, you’ll cut pipe like a seasoned plumber using the same tools found in their belts. The “how to use a Husky pipe cutter” process becomes second nature with proper technique, saving you time and frustration on every plumbing project.
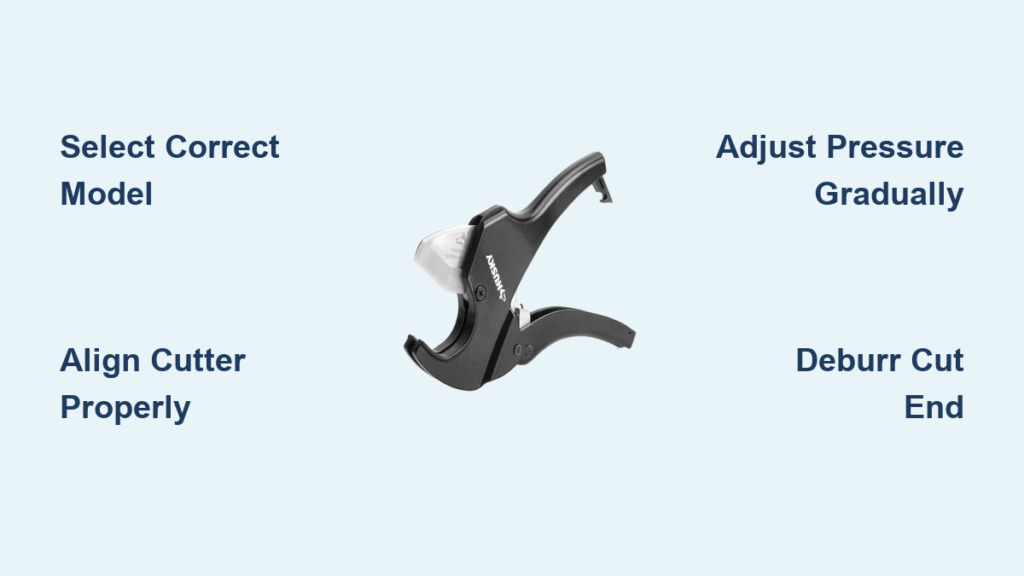
Select the Right Husky Pipe Cutter for Your Project

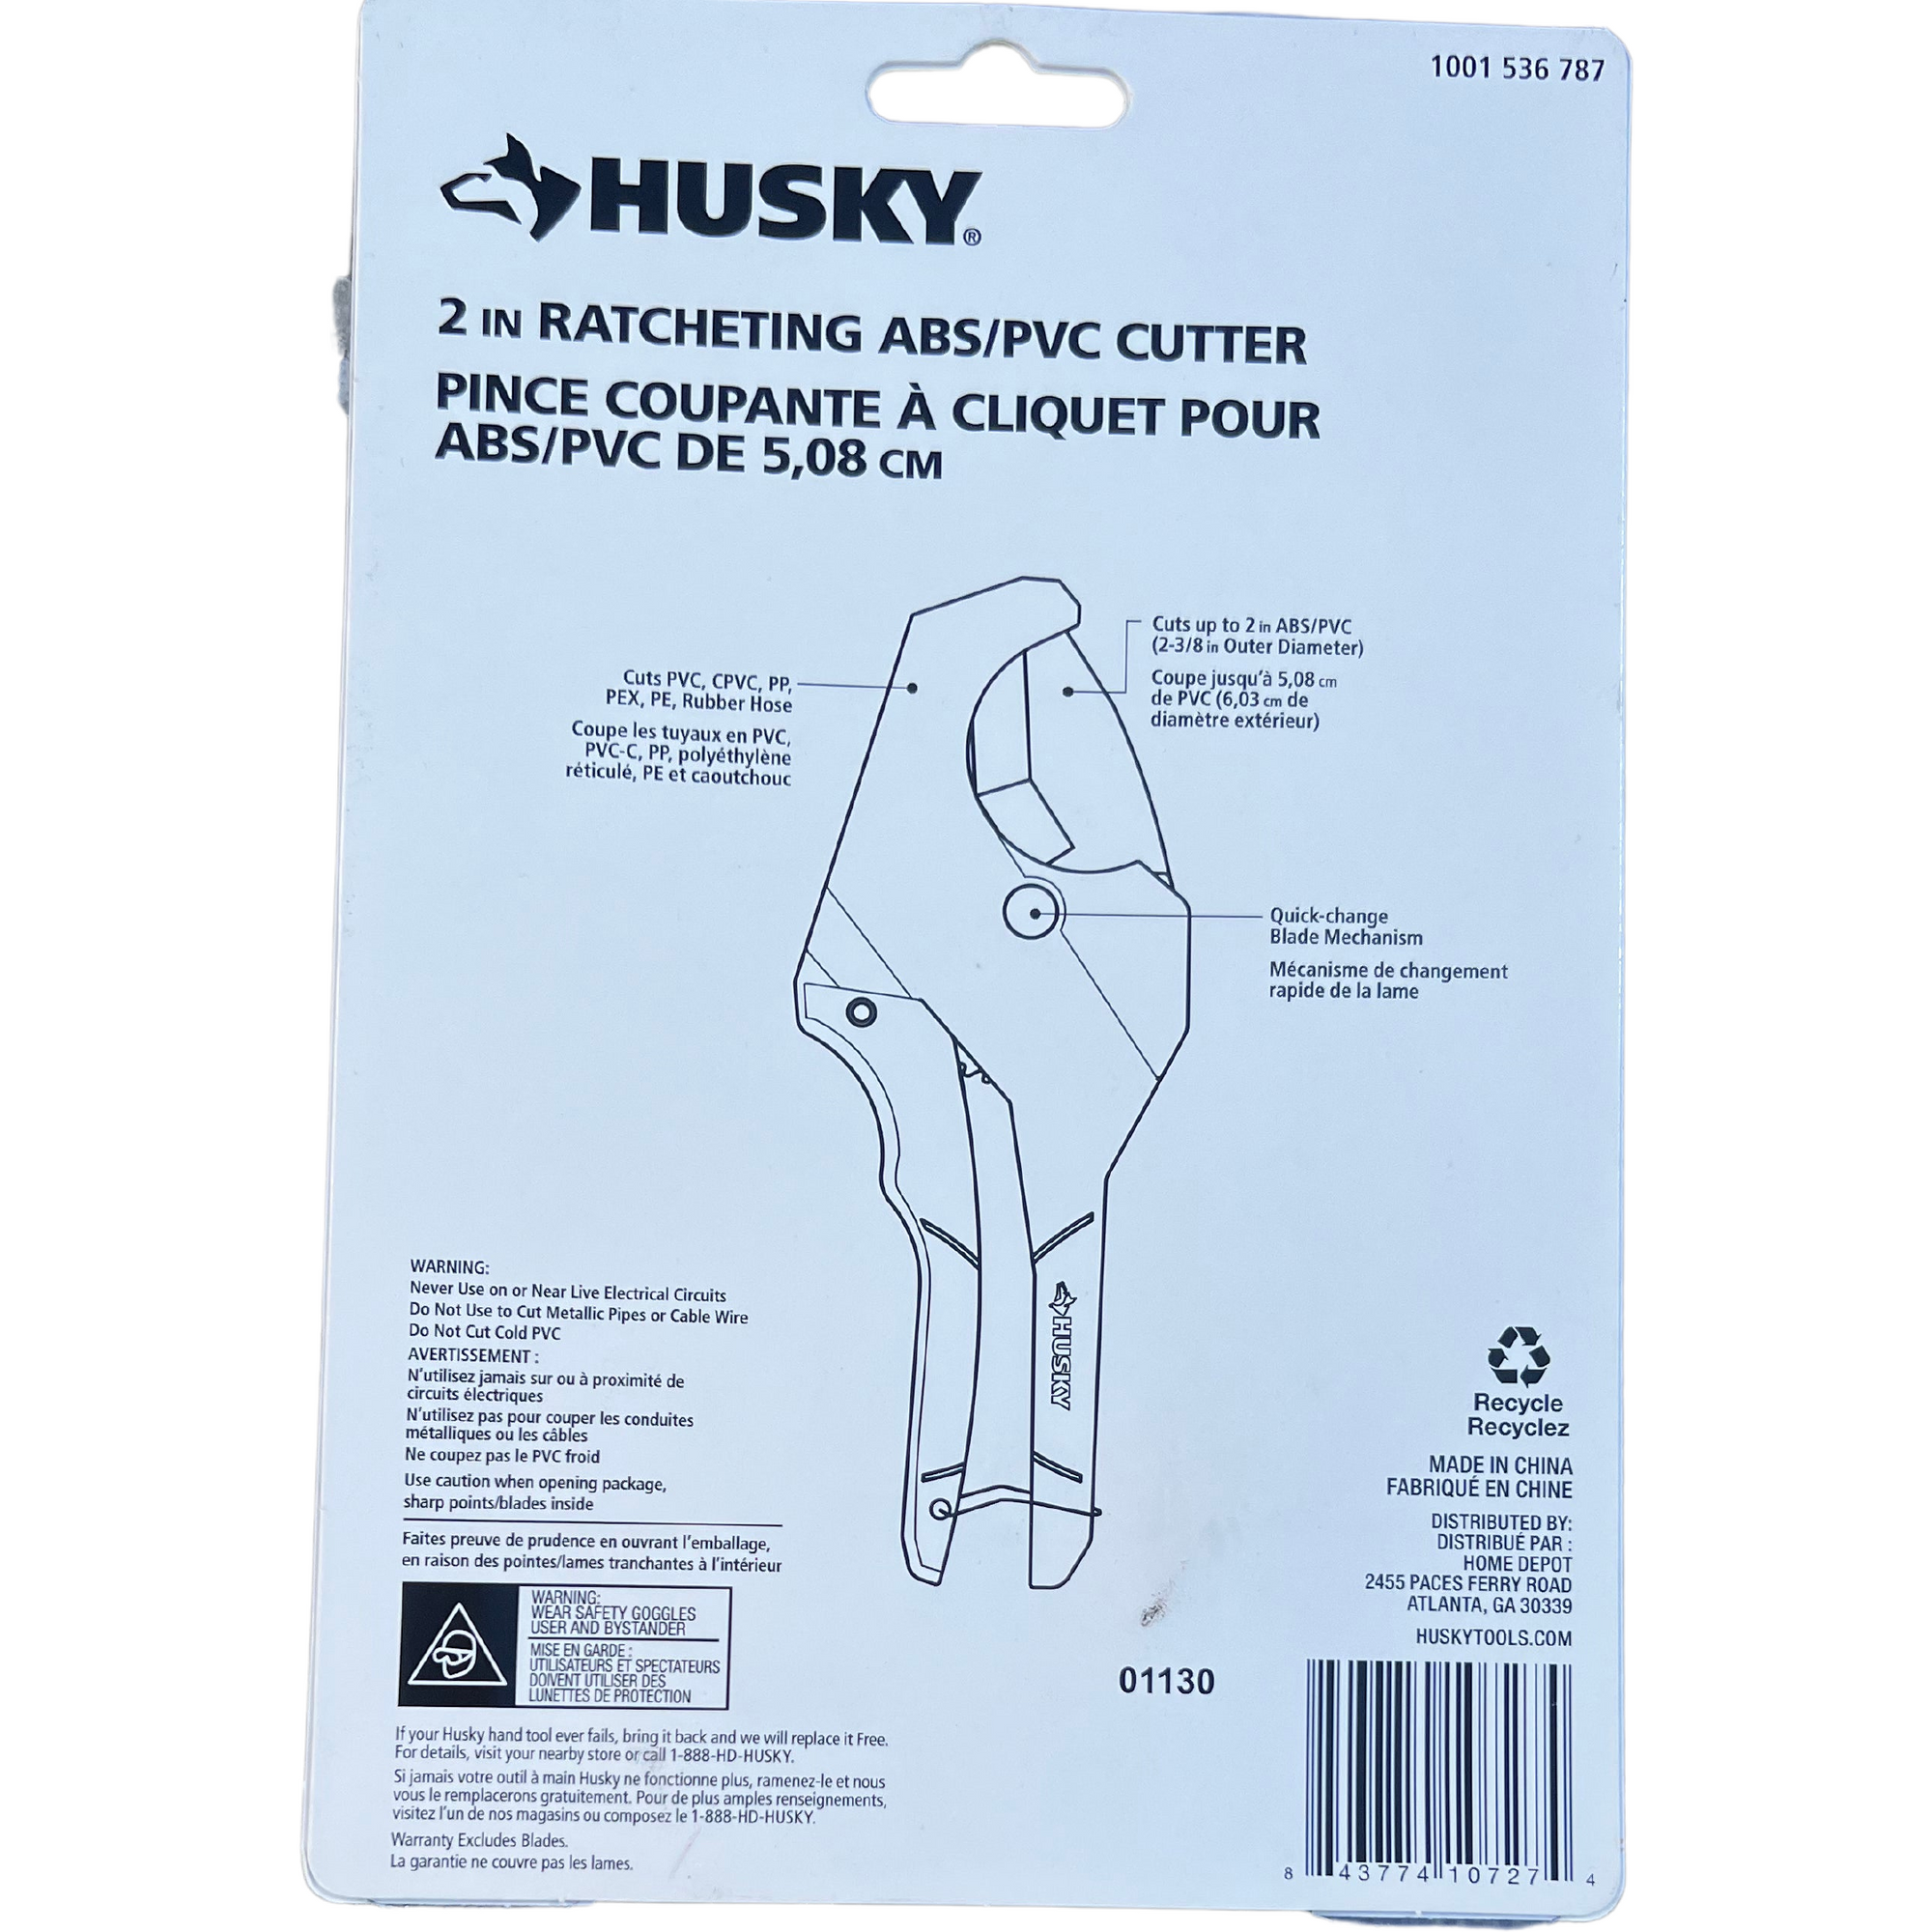
Choosing the correct Husky model prevents frustration and ensures clean cuts on your specific pipe material. Husky offers three main cutter styles, each designed for specific pipe sizes and materials. Auto-cut models handle 1/8″ to 1″ pipe with one-handed operation—perfect for tight spaces behind walls where you can’t rotate the cutter freely. Standard tube cutters cover 1/4″ to 2″ pipe using a thumb wheel for precise pressure control, making them ideal for most residential plumbing jobs. Heavy-duty cast cutters tackle 1/8″ to 2-1/8″ pipe with reinforced frames for daily professional use, especially when cutting steel or stainless steel that requires more torque.
Match Your Cutter to Pipe Material Type
Your pipe material determines which cutting wheel configuration you need for optimal performance. Copper and brass require sharp cutting wheels with lighter pressure settings—excessive force will crush these softer metals, creating oval-shaped ends that won’t seal properly in fittings. Steel and stainless steel need reinforced wheels with higher torque capacity; standard wheels will dull quickly when cutting these harder materials. PVC and CPVC work best with plastic-cutting wheels that prevent cracking, as the standard metal-cutting wheels create stress points that lead to failures months after installation. Never use a metal-cutting wheel on plastic pipe—it creates microscopic stress cracks that eventually cause leaks.
Gather Essential Tools Before Starting
Having the right supporting tools makes the “how to use a Husky pipe cutter” process efficient and safe. You’ll need your Husky pipe cutter in the appropriate size for your pipe diameter, plus a backup replacement cutting wheel in case the primary one dulls during your project. A deburring tool or half-round file is essential for smoothing cut edges. Measure twice with a quality tape measure and mark your cut line with a permanent marker that won’t smudge. Always wear safety glasses to protect your eyes from metal shavings and work gloves to prevent cuts from sharp pipe edges.
Prepare Your Pipe and Cutting Area Properly
Start by measuring your cut mark using a tape measure, then mark the pipe completely around its circumference with a straight edge as your guide—this ensures a square cut even if the cutter shifts slightly during operation. Clean the pipe surface thoroughly with a clean rag to remove dirt, oil, or corrosion that could prematurely dull the cutting wheel and create uneven cuts.
Secure the pipe firmly in a vise or use pipe supports if working horizontally. Never hold pipe by hand during cutting—even slight movement creates angled cuts that won’t seat properly in fittings and can damage the cutting wheel. Position the cutter 1/8″ from your mark to account for the blade width, ensuring your final cut lands precisely where you need it. This small offset prevents having to recut pipe when your measurement falls short.
Position the Husky Cutter for Perfect Alignment
Open the cutter jaws wider than the pipe diameter using the thumb wheel adjustment. Place the cutting wheel exactly on your mark with the cutter frame perfectly perpendicular to the pipe—any angle here transfers directly to your cut. The two support rollers should contact the pipe opposite the cutting wheel, forming a stable triangle that prevents wobbling.
Close the jaws until the wheel just touches the pipe—apply no pressure yet. Rotate the cutter 360° while watching the wheel track to verify it follows your mark completely. If the groove starts to wander, immediately stop and reposition the cutter. Proper alignment at this stage prevents spiral cuts that require filing down or complete recutting of the pipe section.
Execute the Cut with Proper Technique
Turn the thumb wheel 1/8 turn clockwise to apply initial pressure—this is the most critical adjustment in learning how to use a Husky pipe cutter correctly. Too much pressure crushes thin copper pipes, while too little causes the wheel to skate across the surface without cutting. Rotate the cutter clockwise 2-3 full revolutions, maintaining steady pressure. You’ll feel resistance decrease as the wheel penetrates the pipe wall.
Master Pressure Adjustment for Different Materials
After each rotation, tighten the thumb wheel another 1/8 turn to maintain consistent cutting pressure as the wheel progresses through the pipe wall. Listen for the sound change—a clean, consistent scraping sound means you’ve applied proper pressure. Grinding or squealing indicates excessive force that will damage both your pipe and cutter. For copper pipes, complete the cut in 6-8 rotations with gradual pressure increases. Steel requires 10-12 rotations with more frequent pressure adjustments and firmer tightening of the thumb wheel.
Troubleshoot Common Cutting Problems Immediately
If the wheel starts skidding instead of cutting, you need either slightly more pressure or a sharper blade—dull wheels require more force to cut effectively. Pipe deformation occurs from over-tightening the cutter before you’ve made several full rotations—this is especially problematic with thin-walled copper. Spiral cuts happen when the pipe moves during cutting or when the cutter frame tilts relative to the pipe axis. Stop immediately and reposition if the groove starts wandering off your mark—continuing will only worsen the problem.
Finish the Cut Without Damaging the Pipe End
When the cut nears completion, you’ll feel a sudden decrease in resistance as the wheel severs the final portion of pipe. Reduce pressure significantly for the final rotation to prevent the pipe from snapping abruptly and deforming the end. The two halves should separate cleanly with a smooth, square cut face perpendicular to the pipe axis. If the pipe doesn’t separate on its own, gently bend the cut section back and forth to complete the break—never force it with pliers as this will deform the end.
Deburr and Perfect Your Cut End
Use the built-in deburring tool (if equipped on your Husky model) or a separate deburring blade immediately after cutting. Rotate the tool clockwise around the pipe interior to remove the sharp metal burr left by the cutting process—this burr can restrict flow and damage O-rings in compression fittings. For copper pipes specifically, follow with an exterior deburring pass to create a slight 15-degree chamfer—this helps fittings slide on smoothly without catching on the sharp edge.
Clean cut ends thoroughly with emery cloth or a wire brush. Shiny, clean metal ensures proper solder adhesion and prevents leaks in sweat fittings. Remove all metal shavings from inside the pipe using a dedicated pipe brush—these particles can travel through your system and clog valves or fixtures downstream.
Maintain Your Husky Cutter for Longevity
After each use, wipe the cutter clean with a dry cloth and apply a single drop of light machine oil to the moving parts, especially the thumb wheel mechanism. Check cutting wheel sharpness monthly by examining the edge under good light—dull wheels require excessive pressure and create poor cuts with visible ridges. Replace wheels when cuts require more than normal pressure or produce rough, uneven edges on test cuts.
Replace Cutting Wheels Correctly
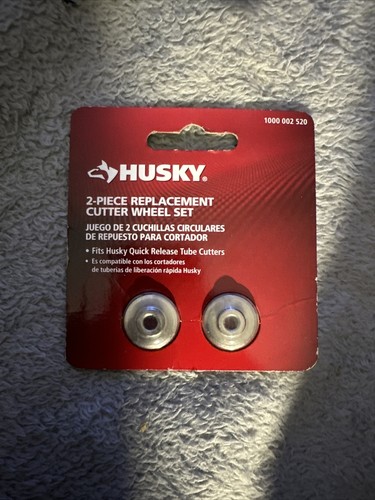
- Remove the retaining screw with a appropriately sized screwdriver—don’t force it as stripped screws complicate future maintenance
- Lift out the old wheel and retaining clip, noting their orientation for proper reassembly
- Install the new wheel with the sharp cutting edge facing toward the pipe direction
- Replace the retaining clip and tighten the screw firmly but don’t overtighten
- Test the cutter on scrap pipe before using it on your actual project
Follow Critical Safety Practices
Always wear safety glasses when operating a Husky pipe cutter—metal slivers can fly off at high speed during cutting and cause serious eye injury. Keep fingers clear of the cutting path at all times and handle cut ends carefully; they’re razor-sharp and can easily cut skin. Work in well-lit areas with stable footing, especially when cutting overhead pipes where falling debris becomes a hazard. Never wear loose clothing or gloves that could catch in the rotating cutter mechanism.
Avoid These Common Pipe Cutting Mistakes
Over-tightening is the top error among beginners—it deforms pipe and creates oval ends that won’t seal properly in fittings. Rushing the cut by applying too much pressure too quickly generates heat that work-hardens copper, making subsequent cuts difficult and inconsistent. Using dull wheels forces you to apply excessive pressure, leading to angled cuts and pipe damage that requires replacement.
Never lubricate the cutting wheel during operation—this causes skidding and poor cuts by reducing friction needed for the wheel to bite into the pipe. Don’t attempt to use pipe cutters on hardened steel or cast iron; these materials require a hacksaw or abrasive wheel cutter designed for their hardness. Remember that proper technique in how to use a Husky pipe cutter separates professional results from amateur work that leads to callbacks and leaks. Keep your blade sharp, maintain steady pressure, and always deburr properly for leak-free plumbing every time.


