
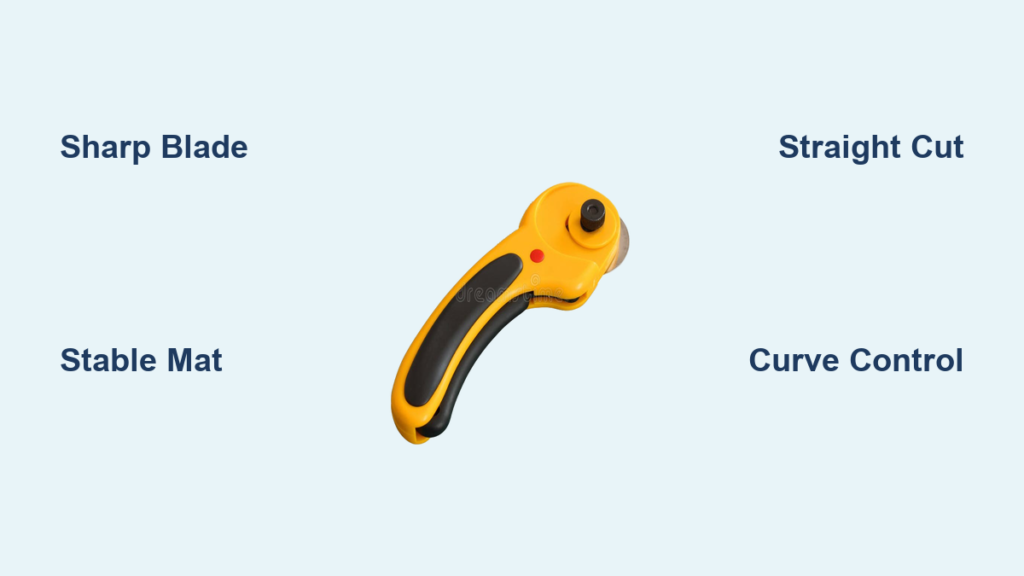
When your scissors snag on thick denim or leave jagged edges on delicate silk, it’s time to master the roller cutter. This precision tool transforms frustrating cutting sessions into smooth, professional results—whether you’re quilting intricate patterns or crafting custom upholstery. You’ll discover how to achieve razor-sharp straight lines, perfect curves, and consistent strips in a fraction of the time traditional methods require. Stop wrestling with fabric and start cutting with surgical accuracy that elevates every project from homemade to high-end.
Select Your Precision Cutting Blade Size

45mm for Everyday Fabric Mastery
Grab your 45mm roller cutter for 90% of sewing projects. This workhorse slices through two layers of denim, four layers of quilting cotton, or upholstery fabric with a single smooth pass. Its sweet spot is straight lines and gentle curves—position it at a 45-degree angle and roll away from your body without stopping mid-cut. If you hear a crunchy sound instead of a whisper, replace the blade immediately; a sharp blade cuts cleanly while a dull one forces fabric distortion.
28mm for Intricate Detail Work
Switch to a 28mm cutter when tackling tight quilt corners or trimming seam allowances under 1/4 inch. The smaller blade radius gives you surgical control for delicate tasks like cutting bias binding strips or snipping around appliqué templates. Hold it more upright (30 degrees) and rotate the fabric—not the cutter—as you follow curved lines. Always cut slightly outside your marked line; you can trim to exact size after sewing for perfect accuracy.
60mm for Heavy-Duty Material Cutting
Unleash the 60mm cutter for thick projects like canvas tote bags or multiple layers of fleece. This powerhouse handles eight layers of quilting cotton or two layers of leather with minimal hand pressure. Test on scrap fabric first—if you need to lean heavily on the cutter, reduce layers immediately. For leather, make multiple light passes instead of forcing a single deep cut to prevent blade damage and material tearing.
Build a Bulletproof Cutting Station
Mat and Surface Essentials
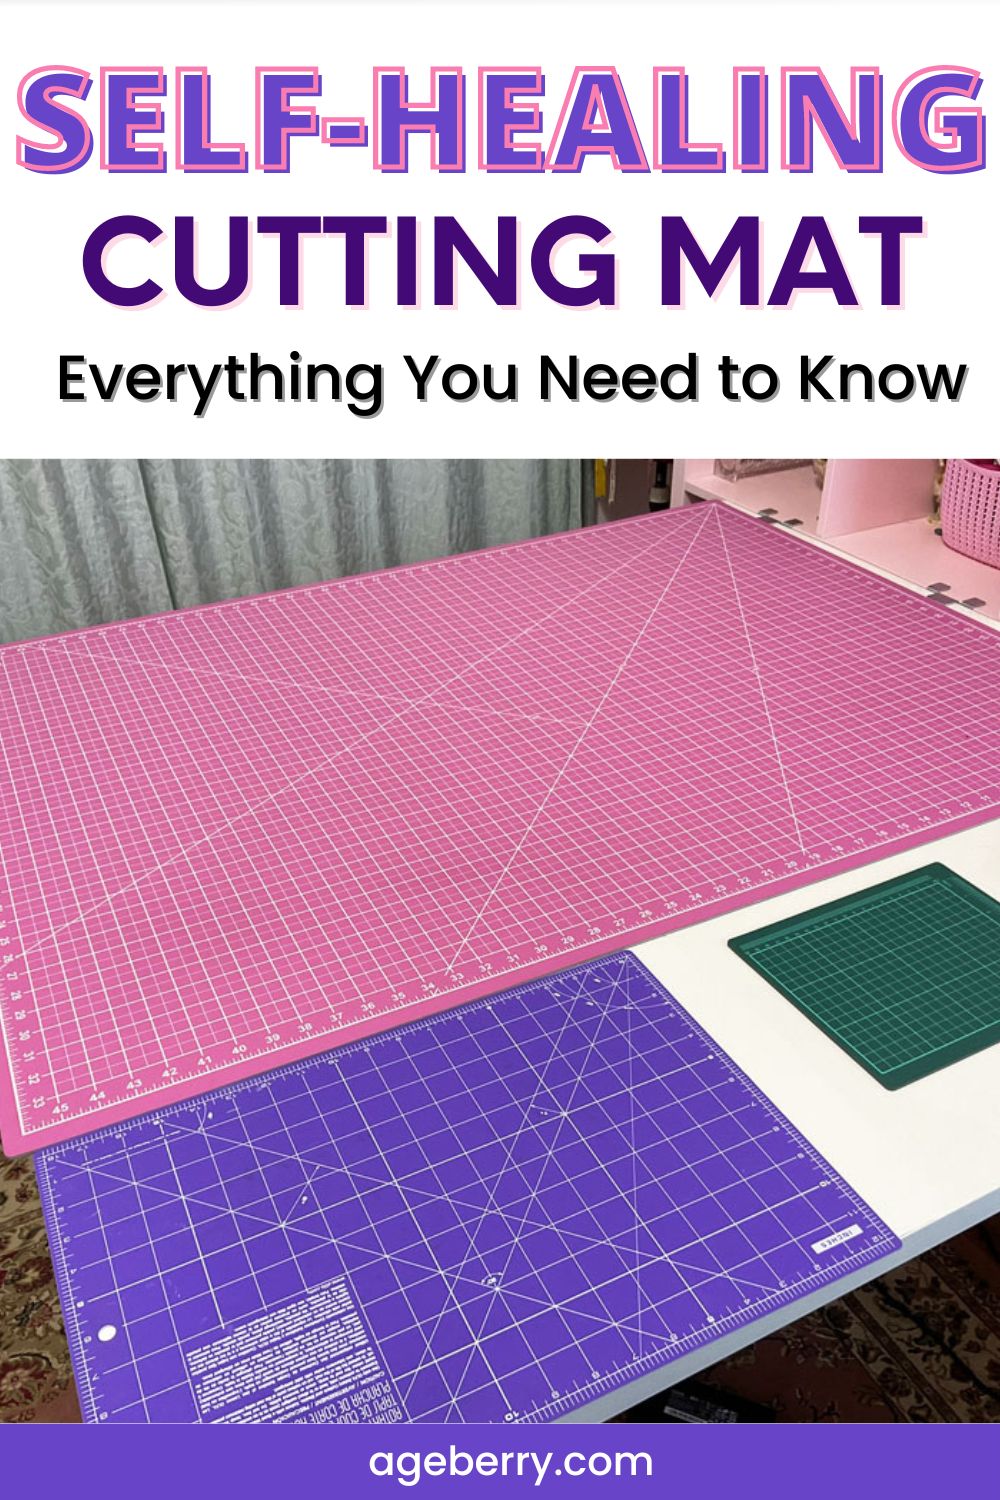
Place a self-healing mat (minimum 18″x24″) on a rock-solid table—warping causes uneven cuts. Align your fabric’s selvage edge parallel to the mat’s grid lines, then press out all wrinkles before cutting. Use bright task lighting positioned to eliminate shadows across your cutting zone; dim areas cause measurement errors that compound in final seams.
Fabric Positioning Protocol
Lay fabric right side down on the mat, smoothing from the center outward with your palms to prevent distortion. Secure patterns with low-tack painter’s tape or pattern weights—not pins—to avoid shifting. For slippery fabrics like silk, sandwich between tissue paper layers and cut through all three. Always cut away from your body with fingers positioned behind the ruler edge.
Execute Perfect Straight-Line Cuts
Ruler Lockdown Technique
Position a quilting ruler with a non-slip backing along your cutting line, covering the entire length. Flatten your non-cutting hand across the ruler, fingers spread wide but kept 2+ inches from the blade path. If the ruler slides, clean its back with rubbing alcohol to restore grip—a wobbling ruler creates jagged edges that ruin seam alignment.
One-Pass Cutting Motion
Roll the roller cutter away from your body in a single continuous motion with firm downward pressure. Start 1 inch before the fabric edge and roll 2 inches past it for clean termination. Never stop mid-cut; hesitation causes ridges that force you to re-cut and waste fabric. For thick materials, increase pressure gradually while listening for the blade’s consistent whisper—any change in sound means you’re forcing the cut.
Conquer Curves Without Compromise
Micro-Blade Curve Strategy
Use an 18mm cutter for tight curves under 2-inch radii. Trace your pattern line with water-soluble pen first, then hold the cutter nearly vertical (20-degree angle). Roll in 1-inch increments, rotating the fabric after each short stroke instead of twisting the cutter. This prevents blade skipping and maintains curve integrity—critical for bias-cut necklines or rounded pockets.
Pin-Free Pivoting Method
Place long quilting pins perpendicular to cut lines every 4-6 inches, removing them just before the blade reaches them. For continuous curves, cut slightly outside your marked line, then use a fresh 28mm blade for final trimming after sewing. Always cut curves before straight edges in complex shapes to prevent fabric distortion.
Cut Multiple Layers Safely
Layer Limit Safety Rules
Never exceed 6 layers of quilting cotton or 3 layers of denim—the roller cutter requires exponentially more pressure with each added layer, increasing slip risk. Test on scrap first: if fabric puckers or the blade drags, reduce layers immediately. For knits, stretch fabric slightly while cutting to maintain shape through all layers.
Pin Placement Precision
Insert quilting pins at 90-degree angles to cut lines, spaced 4 inches apart. Remove pins with your non-cutting hand just before the blade reaches them—never cut over pins as this chips blades and bends pins. For slippery fabrics, use basting spray instead of pins to hold layers together without hole damage.
Maintain Peak Cutting Performance
Blade Change Emergency Protocol
Replace blades at the first sign of skipped cuts or fabric tearing—dull blades cause dangerous slips. Engage the blade lock, use a screwdriver to loosen the retaining screw, and handle blades only by the center hole. Store used blades in a dedicated sharps container (never loose in drawers).
Daily Maintenance Routine
Wipe blade residue with a microfiber cloth after each project. Apply one drop of sewing machine oil to the pivot point monthly. Check handle screws weekly—loose screws cause wobbling that ruins precision. Store cutters with blades retracted and locked in a dedicated case.
Fix Critical Cutting Failures
Skipped Cut Emergency Response
If the roller cutter jumps sections, stop immediately—this indicates a chipped blade or unstable mat. Replace the blade and verify your cutting surface lies perfectly flat. For persistent skipping, clean mat debris from the blade housing with a soft brush.
Ragged Edge Rescue
Frayed edges mean either excessive pressure or cutting against fabric grain. Reduce downward force and align fabric selvage with mat grid lines. For knits, place tissue paper underneath before cutting. Always cut with the grain unless your pattern specifies bias cutting.
Cut Specialty Materials Confidently
Delicate Fabric Protocol
For silk or chiffon, sandwich fabric between tissue paper layers and use a fresh 28mm blade with feather-light pressure. Cut slightly outside marked lines, then trim to exact size after sewing. Never stretch delicate fabrics—let the sharp blade do the work.
Heavy Material Strategy
With denim or leather, make two light passes instead of one heavy cut. For leather, use a specialized blade and rotate the material—not the cutter—to follow curves. Always test settings on scraps first; thick materials require 20% more pressure than quilting cotton.
Organize for Cutting Efficiency
Batch Processing System
Group identical cuts together to minimize blade changes. Pre-mark ruler edges with removable tape for repeated measurements (e.g., 2.5-inch strip lines). Store cut pieces in labeled bins immediately after cutting to prevent mix-ups during assembly.
Workflow Optimization
Place your mat, rulers, and cutter within arm’s reach on a dedicated cutting table. Rotate the mat—not yourself—when changing directions to maintain cutting rhythm. For continuous strip cutting, roll the cutter past the fabric edge, lift, and restart at the top without repositioning the ruler.
Professional Cutting Shortcuts
Speed Strip Technique
Stack and cut six identical strips simultaneously by marking ruler lines with washi tape guides. Roll continuously from top to bottom without lifting the cutter, then separate strips before moving to the next set. This cuts cutting time by 60% for quilt backings.
Freehand Curve Mastery
Once comfortable with guided cuts, practice freehand curves on scrap fabric. Hold the cutter in a loose “pencil grip” and rotate the fabric smoothly under the blade. Start with gentle arcs before attempting tight spirals—this skill unlocks custom design possibilities beyond pattern limitations.
Final Note: Master these roller cutter techniques to transform frayed edges into gallery-worthy seams. Remember—sharp blades, stable surfaces, and consistent pressure separate amateur results from professional finishes. Start with single-layer cotton practice cuts, then graduate to multi-layer denim as your confidence builds. Your next project deserves the precision only a properly wielded roller cutter delivers.


