
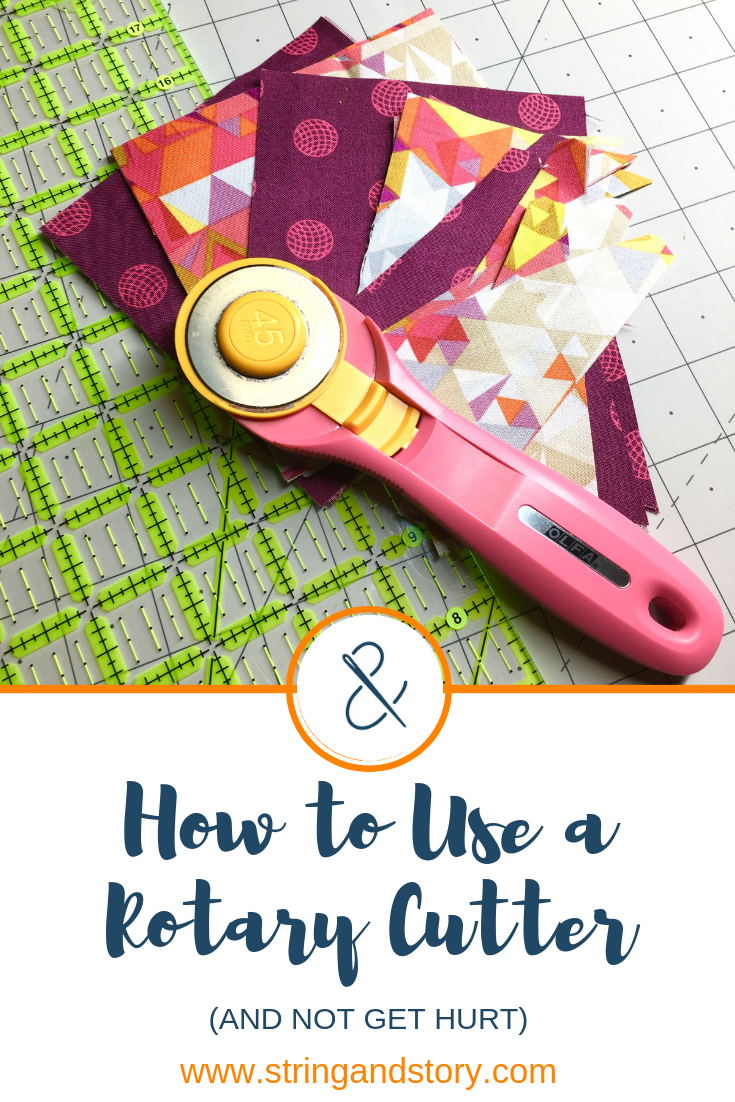
You’ve just bought your first rotary cutter, excited to speed up your quilting projects. But as you unbox it, you realize this sharp wheel looks nothing like your familiar fabric scissors. Where do you start? How do you cut straight lines without slicing your fingers? This guide transforms you from nervous beginner to confident rotary cutter user in minutes.
Whether you’re tackling your first quilt or simply want cleaner fabric cuts, mastering the rotary cutter will revolutionize your sewing experience. Let’s dive into the exact steps, safety protocols, and insider tricks that experienced quilters use daily. You’ll learn how to use a rotary cutter for beginners with confidence, avoiding the common mistakes that lead to frustration—or worse, injury.
Essential Tools for Safe Rotary Cutting Success

Choosing the Right Rotary Cutter Size
Most beginners start with a 45mm rotary cutter, which handles standard quilting cotton with ease. If you’ll be cutting thicker fabrics like denim or multiple layers, consider a 60mm cutter for extra power. Left-handed models are available with blade placement optimized for southpaws—don’t force yourself to use a right-handed cutter if it feels unnatural.
Self-Healing Mat Selection Guide
Your mat size should match your typical project scale. A 17″x24″ mat works well for most quilting projects, while smaller 12″x18″ mats suit crafters with limited space. Look for mats with clear grid markings every 1/2 inch—these help align fabric edges but shouldn’t be your primary measurement tool. Check that the mat has a non-slip backing to prevent dangerous shifting during cutting.
Why Your Ruler Matters Most
Rotary rulers come in various sizes, but a 6″x24″ ruler should be your first purchase—it’s long enough for most straight cuts but still manageable for beginners. The thickness is crucial: proper rotary rulers are 1/4-inch thick, providing stability against the blade pressure. Never substitute with thin metal rulers—they’re dangerous as blades can catch and jump over the edge, potentially causing serious injury.
Critical Safety Steps Before Your First Cut
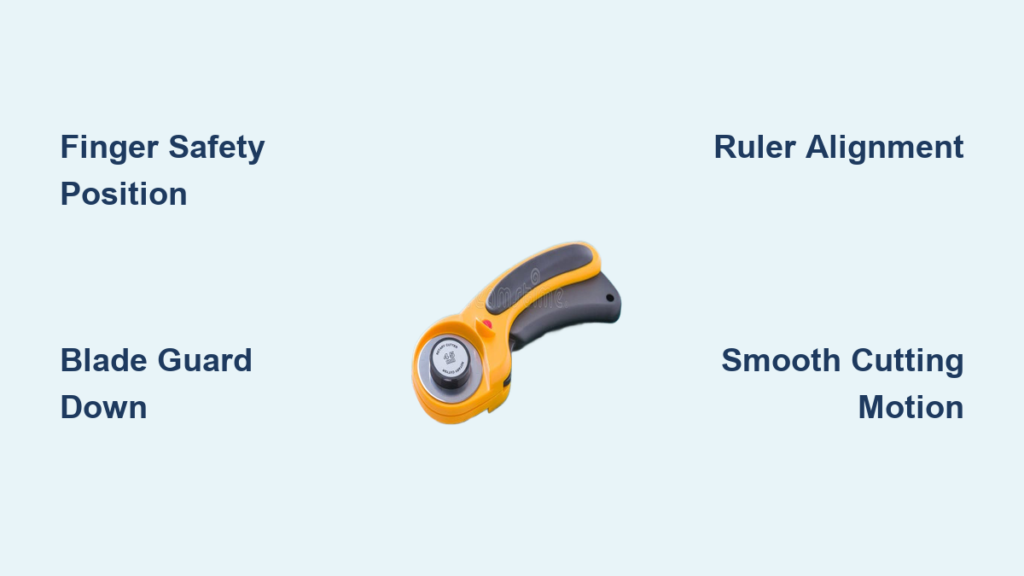
Finger Safety Positioning Technique
Always position your fingers at least two inches away from the ruler edge. Place your entire palm flat on the ruler for maximum stability, with fingers spread wide like a starfish. Your thumb should rest securely on top of the ruler—not near the cutting edge where it could slip into the blade’s path. If you’re nervous, consider wearing a cut-resistant glove on your ruler hand until you build confidence.
Blade Guard Discipline Protocol
Make closing the blade guard an automatic reflex. Every single time you set your cutter down—even for a second—close the guard. This takes two seconds but prevents serious accidents. Pets, children, or even your own sleeve can accidentally trigger an open blade. Place a bright sticky note on your cutting area saying “GUARD DOWN?” as a visual reminder during your first few weeks.
Proper Body Positioning for Safe Cutting
Stand with your feet shoulder-width apart, positioned to the side of your cutting path rather than directly behind it. Your dominant hand should move smoothly away from your body in a natural motion. Right-handed cutters work left-to-right; left-handed cutters work right-to-left. Never cut toward yourself—this common beginner mistake causes most rotary cutter injuries.
Executing Your First Perfect Straight Cut
Fabric Alignment for Flawless Cuts
Start with fabric that has a straight edge aligned with the grain. If your fabric edge is wavy, fold it in half and make a fresh cut to create a straight starting line. Place your mat on a stable, waist-high surface—kitchen counters work perfectly. Align the fabric edge with a horizontal grid line on your mat as a reference point.
Precise Measurement Method for Beginners
Place your ruler on the fabric (not directly on the mat), not the mat grid. Slide the ruler until your desired measurement line sits directly on the fabric edge. For a 3-inch strip, align the 3-inch mark on the ruler with your fabric edge. Always measure using your ruler—not the mat grid lines—as rulers provide more accurate measurements for cutting.
Cutting Motion Technique for Clean Edges
Hold the ruler firmly with your non-cutting hand, applying even pressure across its entire length. Position the rotary cutter at a 45-degree angle against the ruler edge. Apply steady, even pressure as you roll the cutter away from you in one smooth motion. You should hear a satisfying “shhh-zing” sound—not grinding or catching. If you hear resistance, your blade is likely dull and needs replacement.
Troubleshooting Beginner Cutting Problems
Fixing Jagged or Unclean Cuts Immediately
If your cuts look chewed instead of clean, your blade is dull. Replace it immediately using the manufacturer’s directions. Dull blades require more pressure, increasing injury risk. Most beginners don’t realize how quickly blades dull—weekly quilters typically replace blades every 2-3 months. If you’re cutting through multiple layers, change blades more frequently.
Preventing Fabric Slippage During Cuts
If your ruler slides during cutting, you’re not applying enough downward pressure. Press firmly on the ruler with your entire hand, not just fingertips. Check that your mat has adequate grip—worn mats cause slippage. If your fabric keeps shifting, try spritzing it lightly with starch to add stability before cutting.
Correcting Uneven Strip Widths
This indicates inconsistent pressure or wobbly ruler placement. Practice on scrap fabric first. Focus on keeping the cutter blade flush against the ruler throughout the entire cut. If you’re cutting strips, measure your first strip immediately after cutting to check accuracy before proceeding with more cuts.
Cutting Multiple Fabric Layers Efficiently
Layer Limit Guidelines for Beginners
Start with 2-3 layers of quilting cotton. Your rotary cutter handles 4-6 layers easily, but build confidence with fewer layers first. Stack fabrics carefully, ensuring edges align perfectly before cutting. For thicker fabrics like denim, limit yourself to 1-2 layers until you develop proper technique.
Bulk Cutting Strategy for Quilt Projects
When cutting multiple identical strips, cut through all layers at once, then separate. This saves massive time on quilt projects. Always use a fresh blade for bulk cutting—dull blades struggle with layers and can cause uneven cuts. For large projects, cut all your strips in one session while your blade is fresh.
Beginner Mistakes That Sabotage Your Cutting Success
Using scissors instead of the rotary cutter defeats the purpose. Once you experience the precision and speed, you’ll never return to scissors for straight cuts. Rotary cutters create cleaner edges and maintain consistent widths that scissors simply can’t match.
Measuring from the mat grid creates inaccurate cuts. Always use your ruler’s measurement lines—they’re calibrated for precision. The mat grid serves only as a reference for straightening fabric edges.
Cutting toward yourself feels natural but is extremely dangerous. Force yourself to develop the away-from-body habit from day one. Many experienced quilters learned this lesson the hard way after minor injuries.
Forgetting the blade guard becomes automatic after a few conscious reminders. Place a bright sticker on your cutting mat that says “GUARD DOWN?” to build this life-saving habit.
Maintaining Your Rotary Cutter for Long-Term Use
Blade Replacement Warning Signs
Replace your blade when cuts require sawing motions or when edges look fuzzy. For weekly quilters, this means every 2-3 months. Beginners using scrap fabric might extend this to 6 months. A simple test: if you can easily cut through a single layer of fabric with light pressure, your blade is sharp enough.
Proper Storage Solutions for Safety
Store your rotary cutter with the blade closed in a dedicated container. Keep it on a high shelf or locked drawer—this tool is sharper than most kitchen knives and deserves serious respect. Consider a magnetic strip mounted high on the wall for quick access while keeping it away from children.
Practice Projects to Build Cutting Confidence
Start with simple 2.5-inch strips from scrap fabric. Cut 10 strips, then measure each one for consistency. Aim for strips within 1/16-inch of your target measurement. This builds muscle memory for consistent pressure and ruler stability.
Progress to cutting squares—first 5-inch squares, then smaller 3.5-inch squares. These form the foundation of most quilt blocks and give you confidence for larger projects. Time yourself cutting 10 squares; as you improve, you’ll see dramatic time savings compared to scissors.
Master the rotary cutter today, and you’ll wonder how you ever managed with scissors. Begin with these fundamentals, practice on scrap fabric, and gradually tackle bigger projects. Your quilting speed will triple, and your cuts will achieve professional-level precision that makes every project shine. Remember: safety first, proper technique second, and before you know it, you’ll be cutting fabric like a seasoned pro—efficiently, accurately, and without fear.


