
Your Summa cutter sits ready on your workbench, but that blinking display and array of buttons might leave you wondering where to begin. Many crafters and sign makers waste valuable time and expensive materials simply because they skip proper setup procedures. Knowing exactly how to load materials correctly, configure software settings, and maintain your machine separates professionals from hobbyists who constantly battle misaligned cuts and wasted vinyl.
This guide delivers the precise steps needed to operate your Summa cutter effectively from day one. You’ll learn industry-tested techniques that prevent common issues like incomplete cuts, material skewing, and premature blade wear—saving you hundreds in wasted materials and countless hours of frustration.
Positioning Your Summa Cutter for Optimal Performance
Place your Summa cutter on a sturdy, level surface with at least 24 inches of clearance on both sides to accommodate material feeding. Uneven surfaces cause tracking problems that lead to crooked cuts, especially with wide-format materials. Connect the power cord to a surge protector—never directly to a wall outlet—to protect against voltage spikes that can damage the cutter’s sensitive electronics.
Install the latest Summa drivers from the manufacturer’s website rather than using the CD that came with your machine. Newer driver versions often contain critical fixes for communication issues between your computer and cutter. After installation, restart your computer before attempting your first cut job to ensure proper device recognition.
Loading Vinyl Material Without Skewing
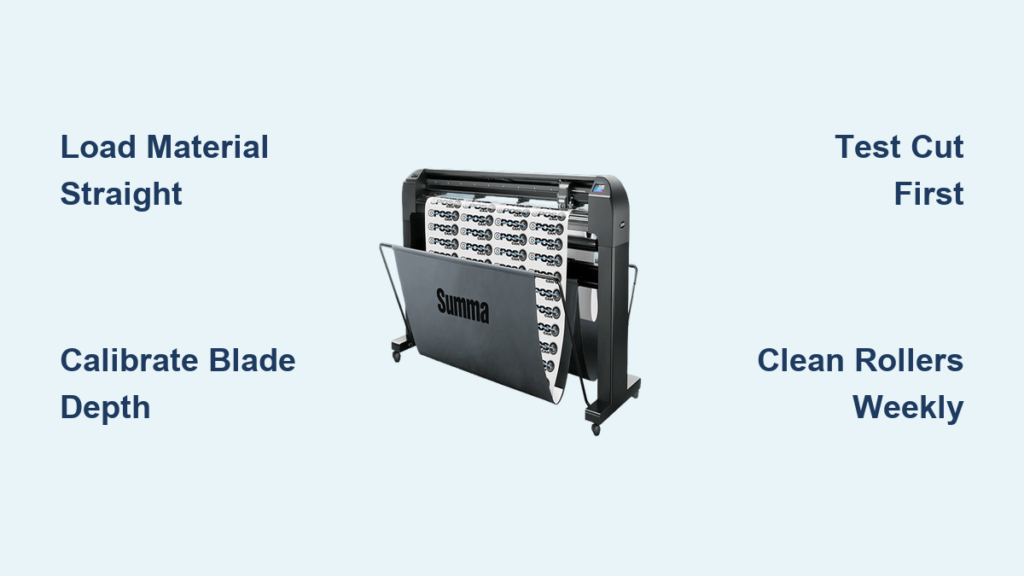
Raise the pinch roller lever and position your vinyl material face-up on the cutting strip, aligning the right edge precisely with the ruler markings. Lower the pinch rollers onto the material edges—not the center—to maintain straight tracking during cutting. Materials wider than 24 inches require all three rollers engaged, while narrower materials (under 12 inches) should use only the left and center rollers.
Verifying Straight Material Tracking
Always perform a test feed before your actual cut job by advancing 6-8 inches of material through the cutter’s menu system. Watch carefully as the material feeds through—if it drifts more than 1/16 inch to either side, reposition it and try again. This simple step prevents wasted material when your design cuts off-center.
Configuring Media Edge Detection
Enable the edge sensor in your cutter’s menu system when working with expensive specialty materials. This feature detects your material’s actual boundaries rather than relying on manual measurements, preventing cuts that extend beyond your material edges. The sensor automatically adjusts for slight variations in material width across the roll.
Configuring Summa Software for Perfect Cuts

Select your Summa cutter as the output device in your design software (GoSign, Illustrator, or CorelDRAW) and set the cutting dimensions to match your physical material size—not your design dimensions. This critical distinction prevents edge-cutting errors where parts of your design get cut off.
Set these essential parameters before cutting:
– Cut speed: Start at 50% for test cuts (20-30% for intricate designs)
– Cut pressure: Begin with 80g for standard 3.5mil vinyl, adjusting upward for thicker materials
– Blade offset: Set to 0.25mm for standard 45° blades to account for blade width
– Overcut: Enable 0.5mm overcut for clean corners on detailed designs
Performing an Effective Test Cut
Send a simple star or square shape to your cutter before running your actual design. Examine the test cut closely—the blade should slice through the vinyl layer without cutting the backing paper. If cuts appear ragged, increase pressure in 10g increments. If the backing paper shows cutting marks, reduce pressure immediately to prevent blade damage.
Installing and Calibrating Your Cutting Blade
Remove the blade holder from the cutting carriage and insert a new blade tip-first until it clicks into position. Extend the blade approximately 0.5mm beyond the holder—about the thickness of a standard credit card. Never extend the blade more than 1mm, as excessive extension causes premature blade wear and jagged cuts.
Secure the blade holder back into the carriage until it clicks firmly into place. The blade must sit perfectly perpendicular to the material surface; a tilted blade creates uneven cutting depths that show as lighter and darker areas in your finished cut.
Selecting the Right Blade for Your Material
Match your blade type to your material thickness for optimal results:
– 45° standard blade: Best for standard vinyl, paper, and thin cardstock (up to 10pt)
– 60° heavy-duty blade: Required for reflective vinyl, laminated materials, and thick cardstock
– 30° precision blade: Ideal for thin window films and delicate heat transfer materials
Executing Flawless Production Cuts
Send your design to the cutter using either USB or Ethernet connection, depending on your setup. Press the “Online” button on the cutter’s control panel to begin the job. Watch the first few inches of cutting carefully—this is when problems become visible before wasting significant material.
Pause immediately if you notice incomplete cuts or excessive noise. Adjust pressure or speed through your software interface, then resume cutting from the pause point. Never force the cutter through difficult materials by manually pushing the carriage—that damages the machine’s precision components.
Multi-Color Layering Techniques
When creating layered designs, cut each color separately to maintain registration accuracy. Include registration marks in your design file that the cutter recognizes to align subsequent colors perfectly. After cutting and weeding the first color, reload the material precisely using these marks before cutting the next color layer.
Advanced Cutting Capabilities You Should Master
Precision Contour Cutting for Printed Materials

Enable contour cutting mode when working with pre-printed graphics. Print 5mm square registration marks 10mm from each corner of your design, then use the cutter’s optical sensor to scan these marks. The machine automatically adjusts for any printing misalignment, ensuring cuts follow printed edges exactly—critical for professional vehicle wraps and retail signage.
Creating Perfect Half-Cuts for Sticker Production
Reduce cut pressure by 30-40% from your standard settings for half-cut applications like stickers that remain on backing sheets. Test on scrap material first, as half-cutting requires extremely precise pressure adjustment. The blade should cut through the top layer only—you should be able to peel the design while leaving the backing intact.
Fixing Common Summa Cutter Problems Immediately
Correcting Material Tracking Issues
If your material feeds crooked, clean the grit rollers with 90% isopropyl alcohol to remove adhesive buildup causing slippage. Verify pinch rollers grip the material edges firmly without compressing the material. For persistent issues, recalibrate the roller sensors through the cutter’s maintenance menu.
Solving Incomplete Cutting Problems
Increase cut pressure in 10g increments until cuts penetrate completely through your material. If you reach maximum pressure without success, replace the blade immediately—dull blades require excessive pressure that damages cutting strips. Always test new blades with your standard pressure settings before cutting production jobs.
Eliminating Jagged Cut Edges
Reduce cut speed to 30-40% when cutting detailed designs with many sharp corners. High speeds cause the blade to skip over intricate details. If jagged edges persist, inspect your cutting strip for deep grooves that deflect the blade—replace strips showing visible wear patterns along the cutting path.
Essential Weekly Maintenance Routine
Power down your Summa cutter and unplug it before performing maintenance. Use compressed air to remove vinyl scraps and dust from the cutting area, paying special attention to the sensor windows and media edge detectors. Wipe the cutting strip with alcohol wipes to remove adhesive residue that affects material feeding.
Lubricate the guide rails monthly using Summa’s recommended silicone lubricant—never use oil-based lubricants that attract dust. Apply a thin film along the entire rail length, then run the cutter head back and forth to distribute evenly. Replace blades after approximately 750 linear feet of cutting to maintain consistent quality.
Professional Time-Saving Workflows
Create material-specific templates in your design software with pre-configured cut settings. Save these as “Vinyl-Standard,” “Reflective-60deg,” or “HTV-Delicate” for instant recall—eliminating trial-and-error setup for repeat jobs. Organize your templates by material type and thickness for quick access.
Use the job queue feature to batch multiple small designs onto a single material sheet. The software automatically nests designs to maximize material usage and minimizes setup time between jobs. This technique reduces material waste by up to 30% compared to cutting designs individually.
Mastering your Summa cutter starts with consistent setup procedures and ends with professional results that impress clients. The difference between amateur and professional output comes down to attention to blade calibration, material handling, and software configuration—not expensive equipment upgrades. Implement these techniques immediately to reduce material waste, minimize troubleshooting time, and deliver flawless cuts on every job. Start with simple projects to build confidence with your machine’s capabilities, then gradually incorporate advanced features like contour cutting as your skills develop. Remember that perfect cuts begin long before you press “send”—they start with proper preparation and attention to detail at every step.


